The Gutenberg WordPress gallery block allows creating images gallery grid with the options to adjust columns. That itself looks good and neat. However, you can easily apply some CSS shapes to give your WordPress image gallery new look.
There are different ways to apply CSS shapes to your Gutenberg. I tried to choose the simplest and easiest ways for you to follow using clip-path & border-radius.
We will be using free online tools to generate CSS.
- Clippy – CSS Clip Path Generator.
- Fancy Border Radius Generator – 8 point border-radius generator.
How to Add Custom CSS code in Gutenberg
Before we move on, make sure you learn how you can add the custom CSS code to a Gutenberg block as we need to do that in this tutorial. I’ve already posted a little tutorial explaining different ways you can add custom CSS code in WordPress Gutenberg.
And the recommended option is to simply install Editor Plus plugin that allows you to style Gutenberg core blocks visually. And also let you add custom CSS to any block or globally. So simply install and activate this plugin before you follow this tutorial.
Create a Gutenberg Gallery
Let’s start creating the images gallery simply by dropping images in the Gutenberg editor.
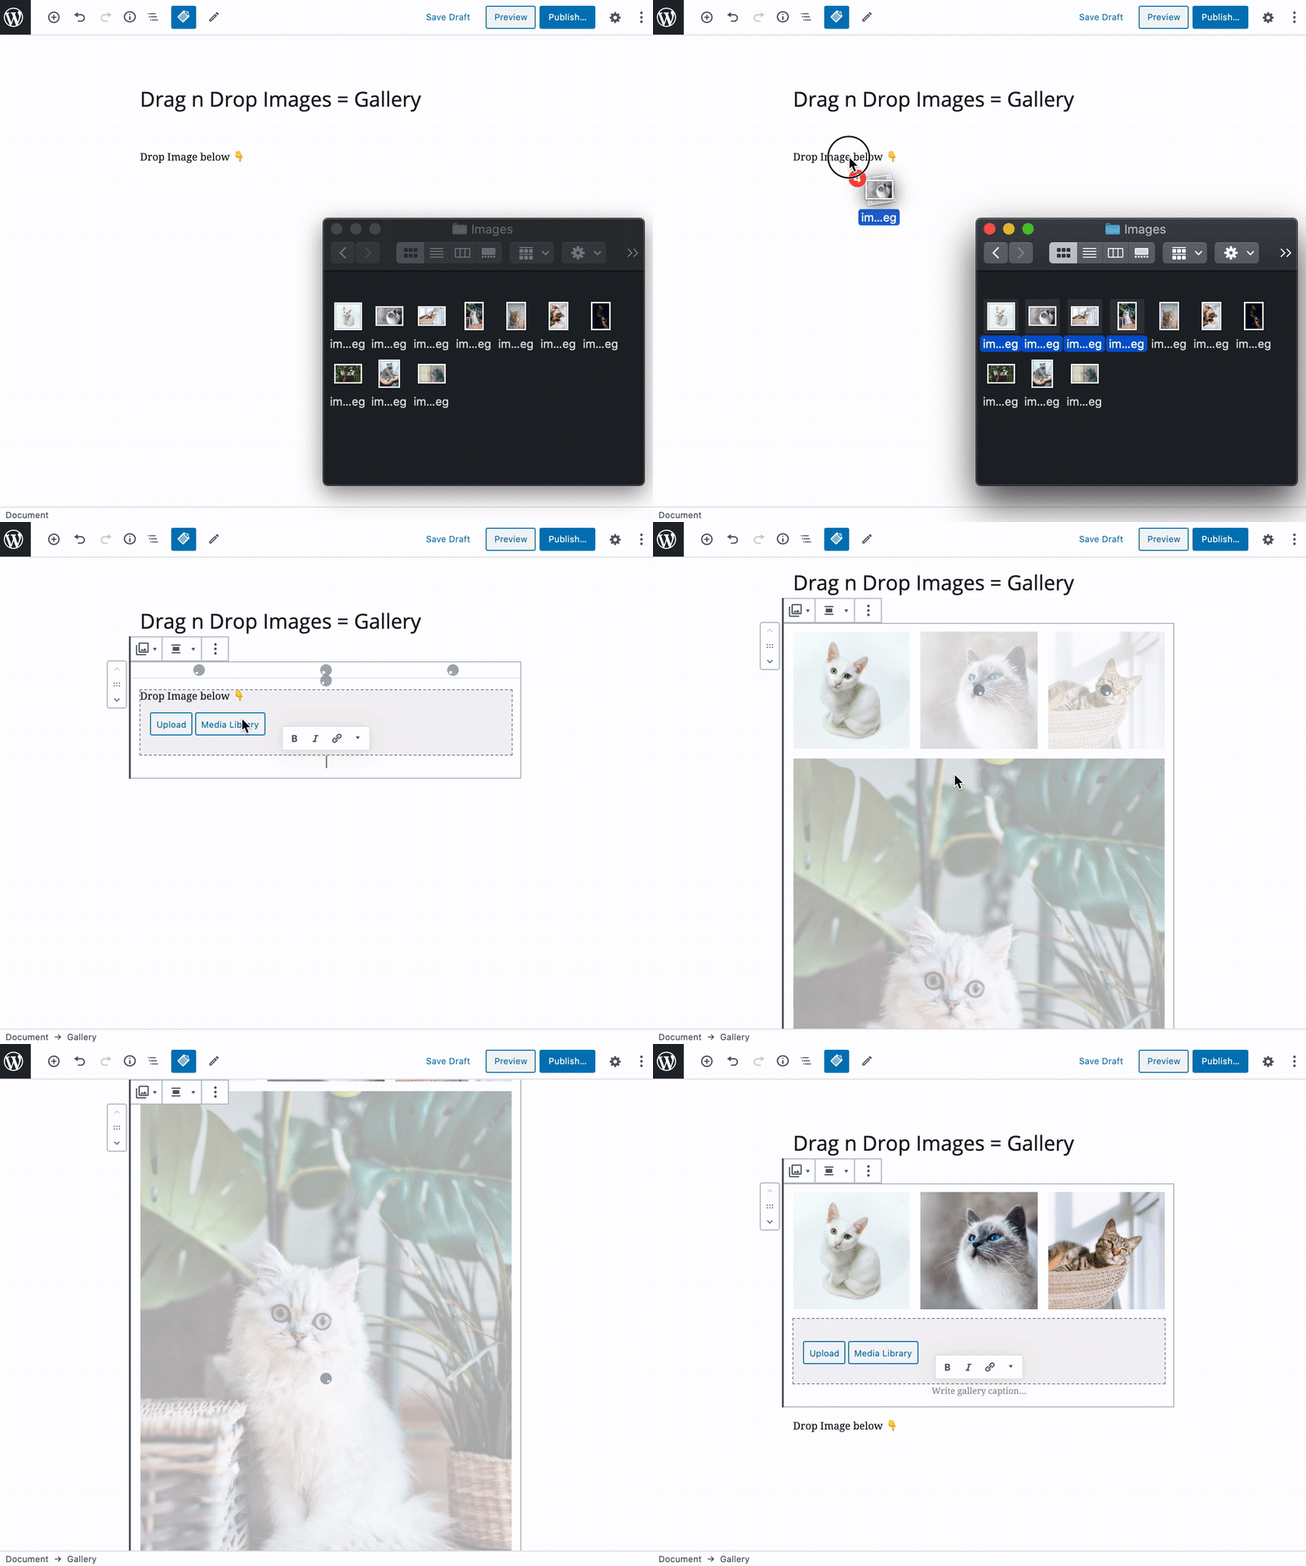
Add CSS Shape to Gutenberg WordPress Gallery – Clip Path Method
Now let’s add some shapes to our gallery images using the clip path method.
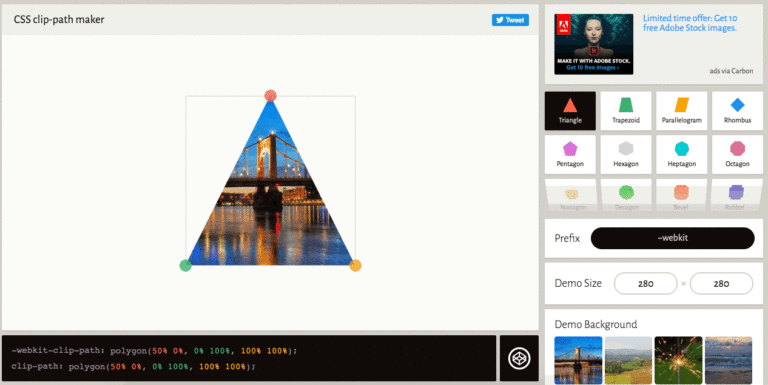
Go to Clippy Website
The generator already has a collection of popular CSS shapes which you can click and copy the CSS code. Let’s start with Circle Image Gallery, click on circle shape and copy the CSS code.
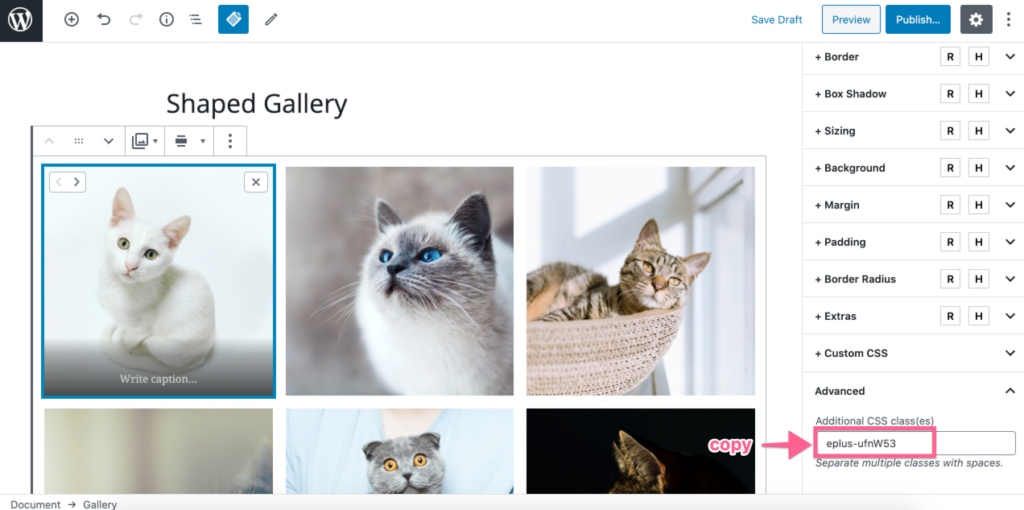
Now to apply that code we just copied, we need to select our Gutenberg Gallery block and paste the CSS code targeting the CSS class already added by Editor Plus plugin
From the inspector panel/sidebar panel in the Gutenberg WordPress Editor click on the Advanced Section. And note the CSS class added to this block. We need to use this CSS class as a selector to apply the CSS code w copied from the Clippy website. Here are the step by step screenshots.
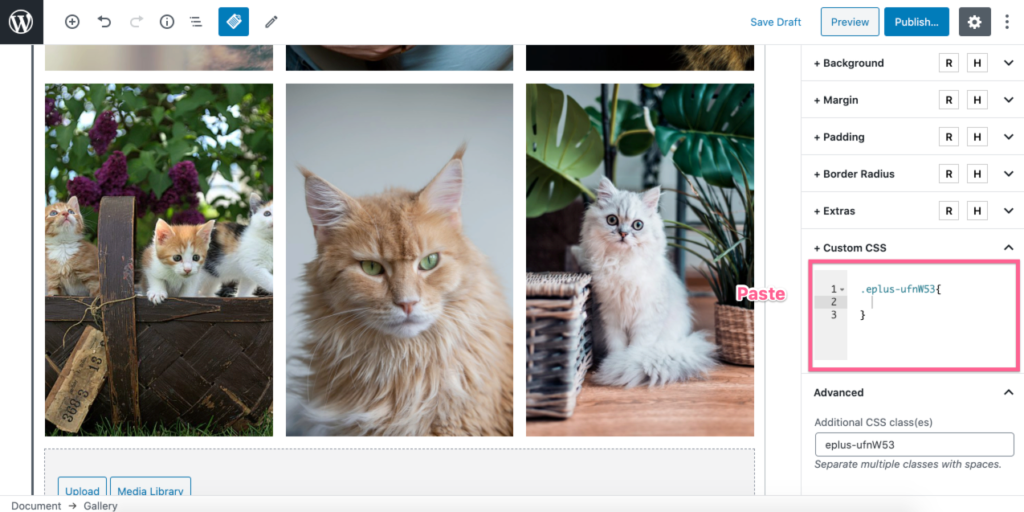
Now we need to past the class followed by a dot and brackets (if you know CSS you know that already). Like this 👇
.Your_CSS_Class {
   //Paste Code Here
}
Now simply paste the code copied from Clippy between brackets. But, that will apply the shape on the whole gallery blocks. Like this.
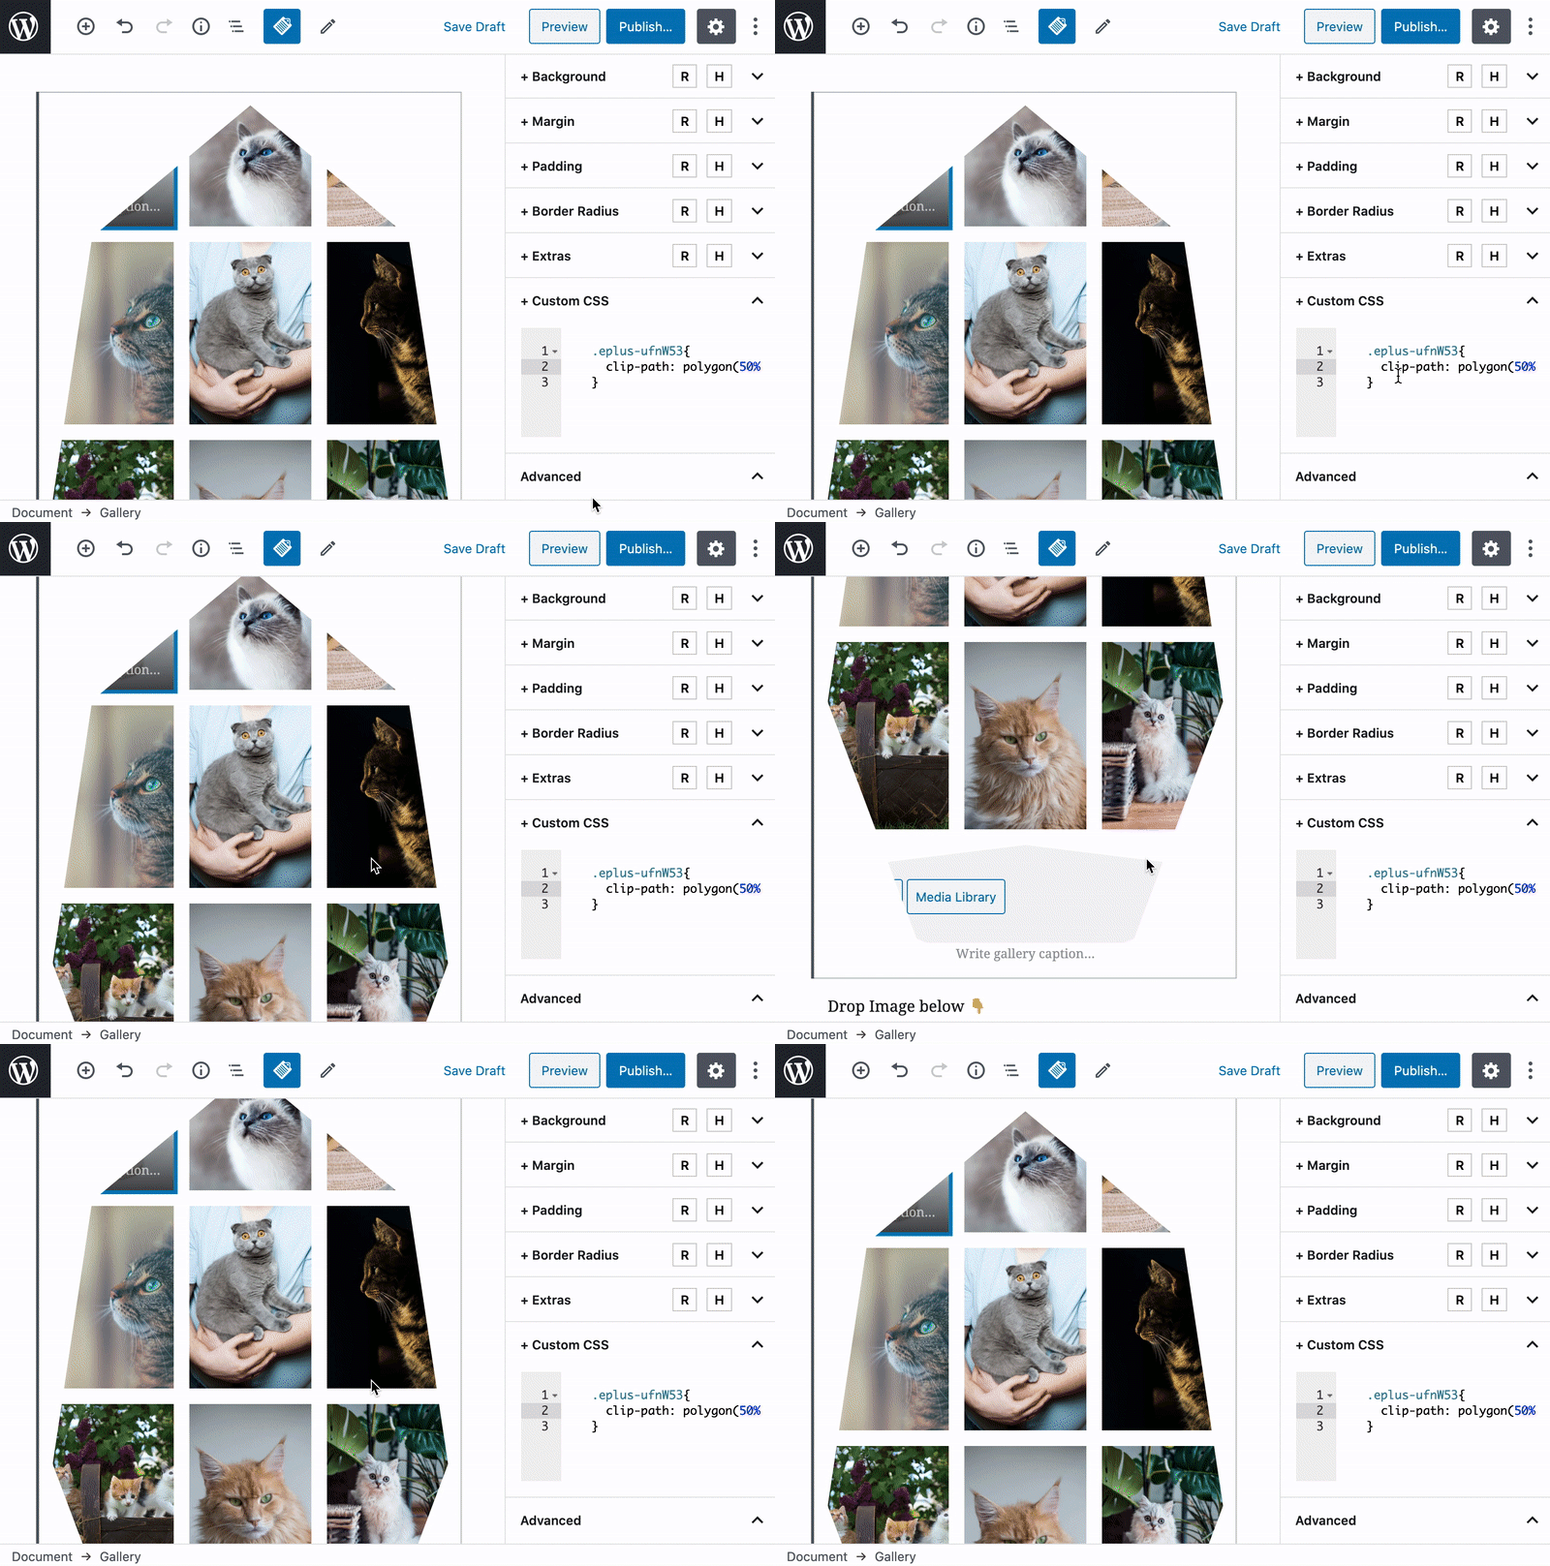
The gallery images are enclosed in li tags. So we need to target “li” to apply the shape on all images. Simply add li to your selector like this 👇
.Your_CSS_Class li{
   //Paste Code Here
}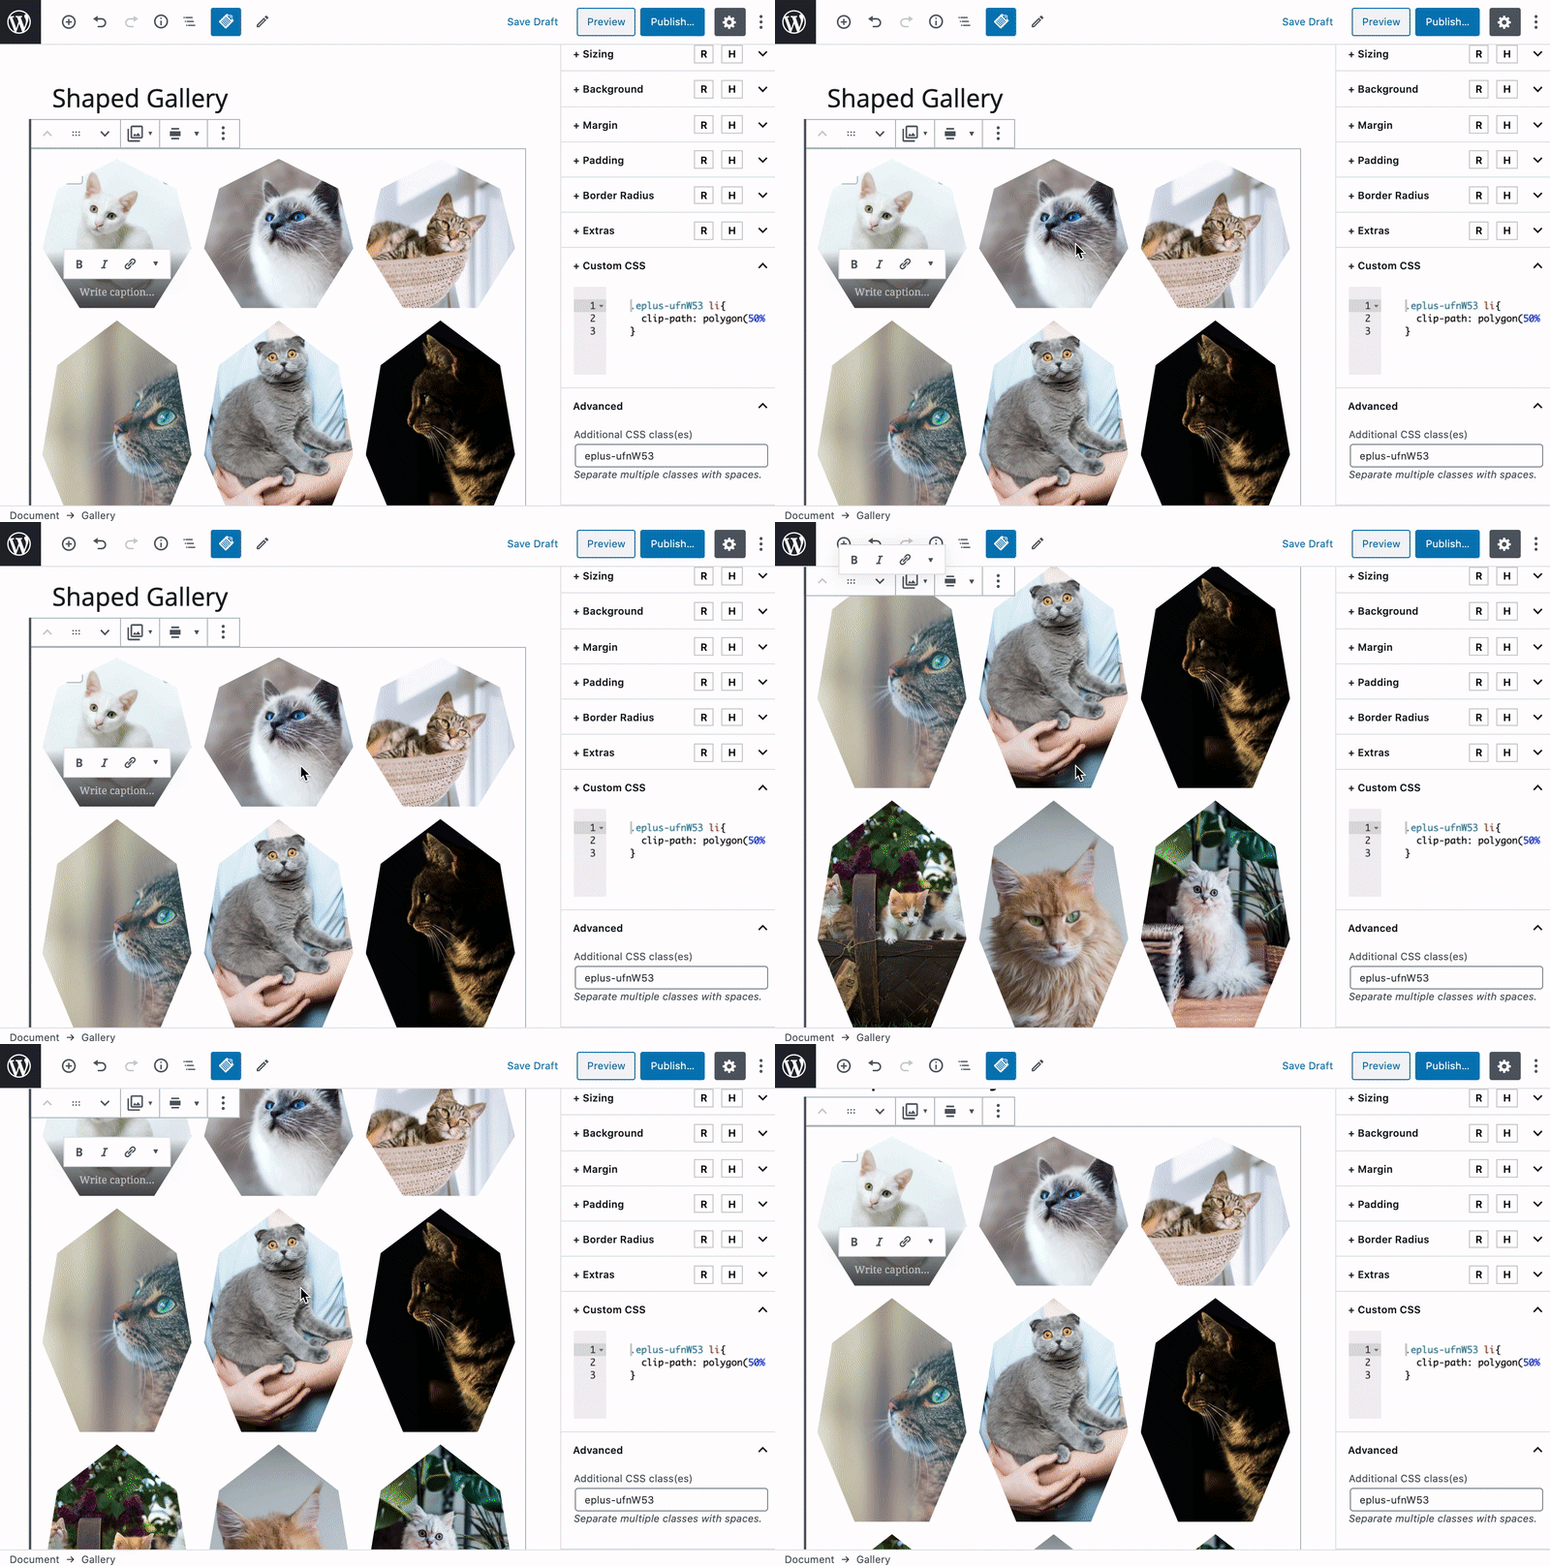
This is it, we have successfully applied the CSS shape to the Gutenberg Images Gallery.
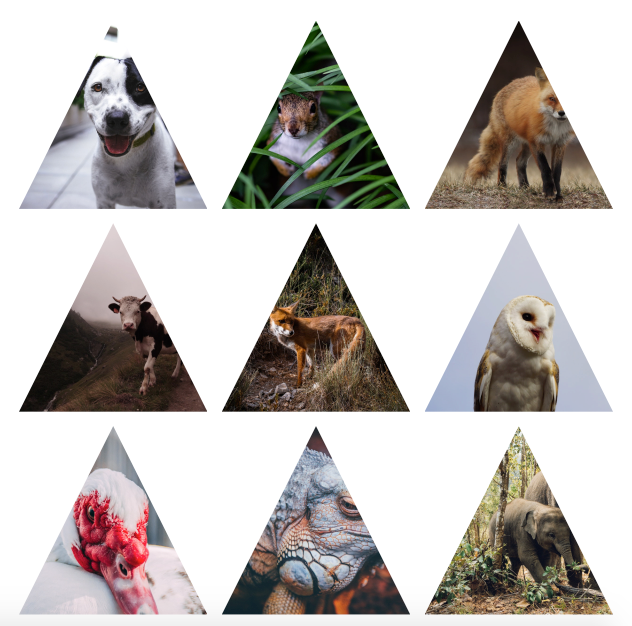
You can follow the same steps to apply any CSS shape to your WordPress galleries. Simply click on the preset shapes in Clippy or create your own using the custom polygon option there. And copy the code to your website targeting a specific CSS class applied to your Gutenberg Gallery Block.
Here are some other examples I created.



Add CSS Shape to Gutenberg WordPress Gallery – Border Radius Method
Another way to create nice image shapes is by using 8 point border-radius technique. Don’t worry there is a very easy to use online generator for this as well. Simply go to this border-radius generator tool and generate a shape that you like.
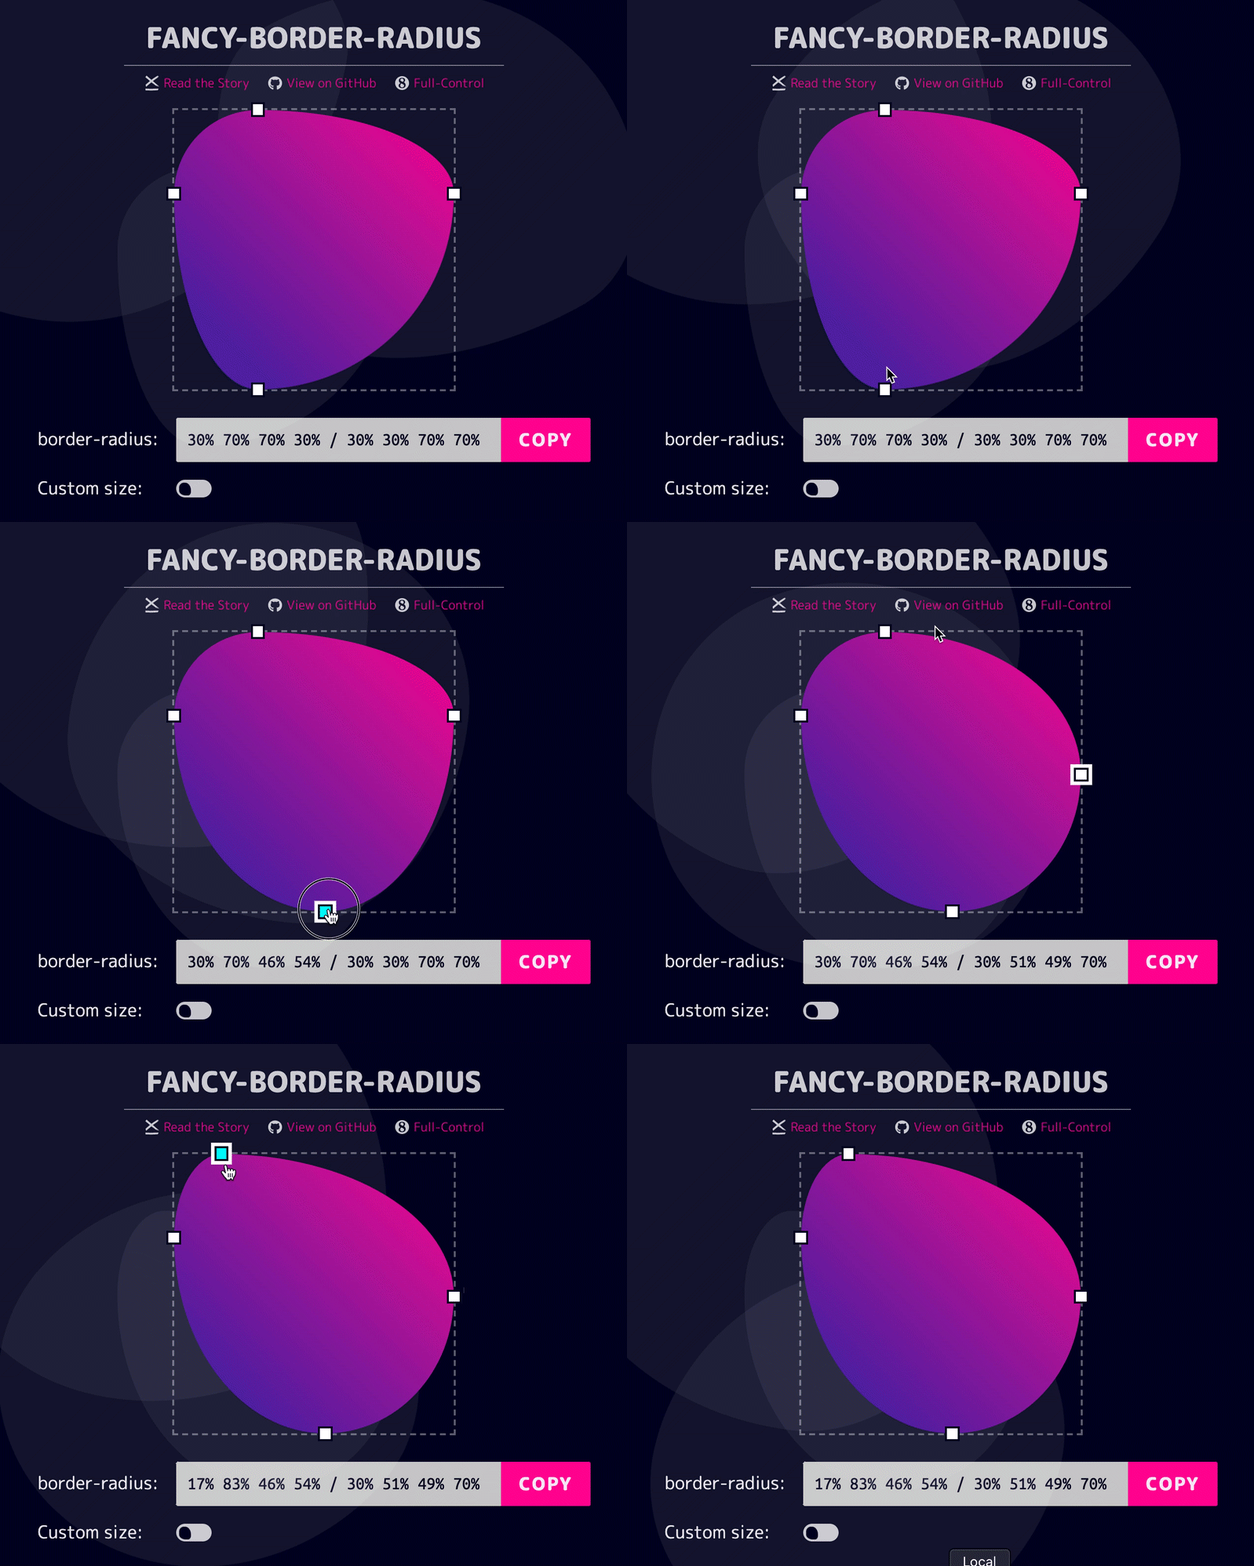
Once you generated your desired shape, you maya copy the code by clicking the copy button simply.
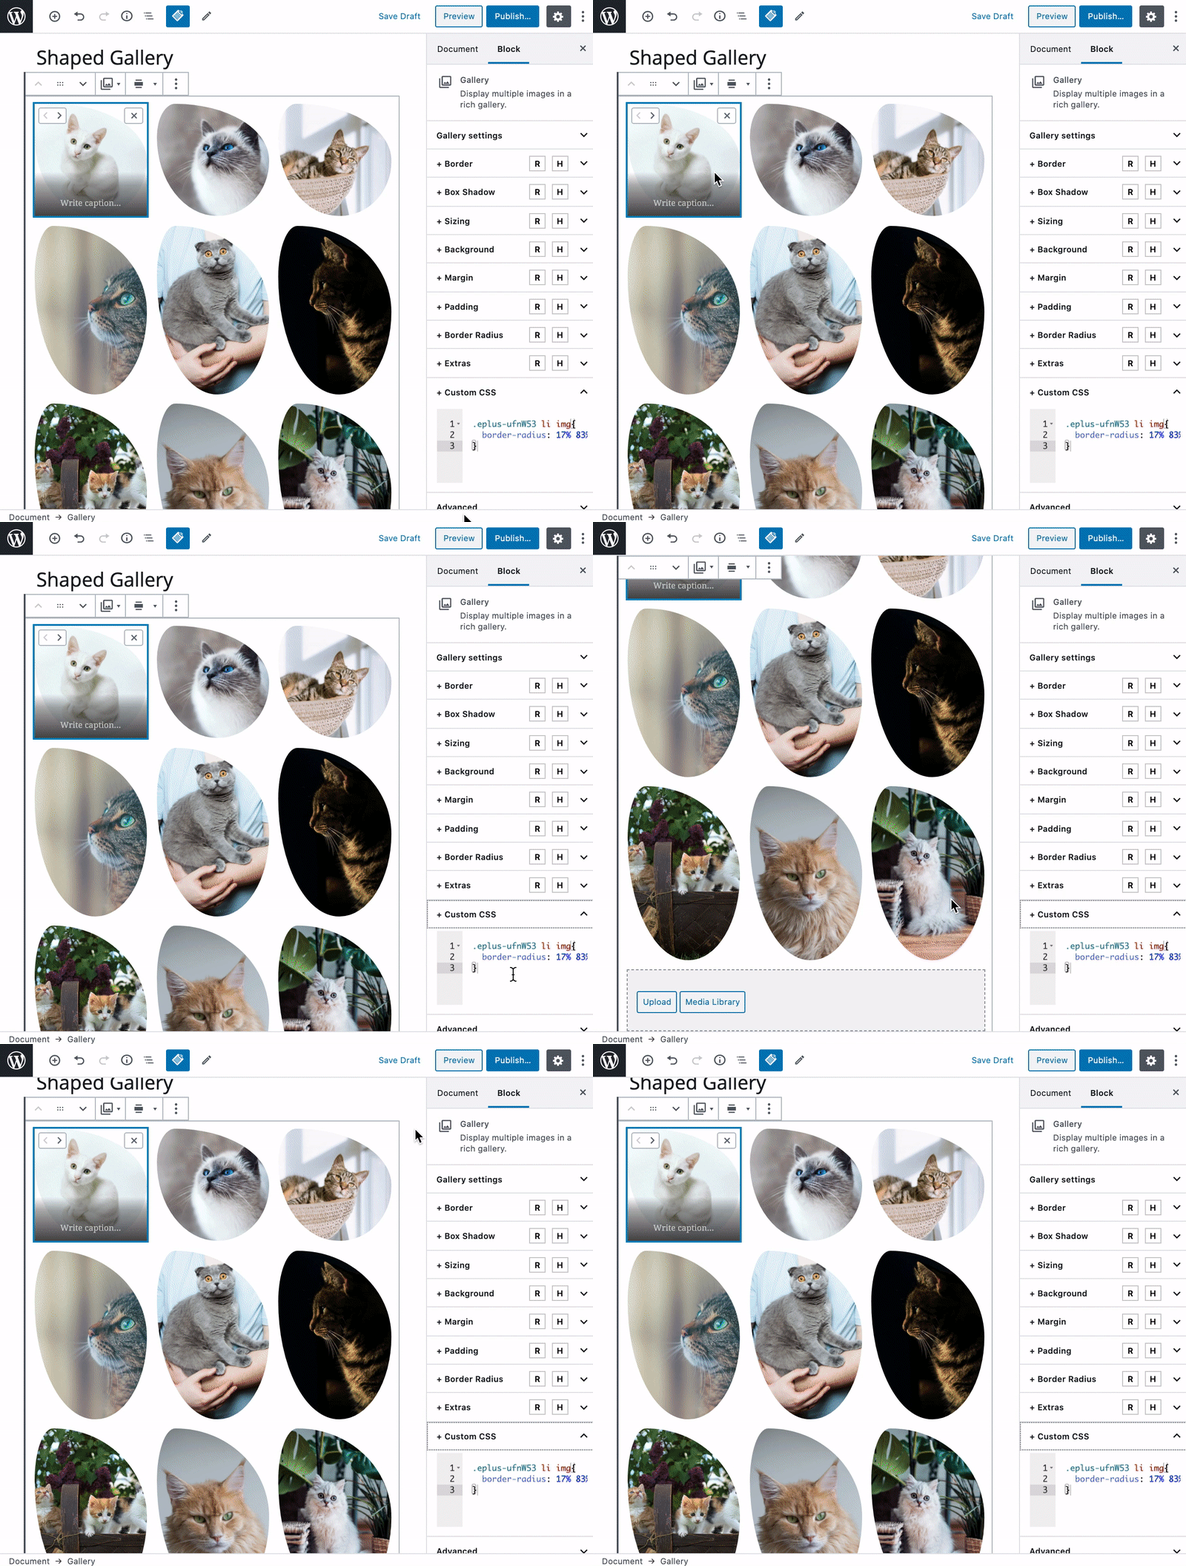
Now we may apply this to our gallery similarly how we did it in the clip-path method. This time we will target “img” tag inside “li” and apply the value copied to “border-radius” CSS property. Like this 👇
.Your_CSS_Class li img{
   //Paste Code Here
}
That’s it. Hope this helps you. 😇


Leave a Reply