Are you looking to create a comparison table for your pricing page but don’t know where to start? Look no further, as this guide will walk you through the step-by-step process of creating a pricing plan comparison table using the core Gutenberg table block in WordPress.
Why Use Comparison Tables in Your Pricing Page?
Comparison tables are an effective way to present information in a clear and organized manner. They are particularly useful when trying to compare different products, services, or plans. A well-designed comparison table can help visitors understand the differences between options quickly, making it easier for them to make an informed decision.
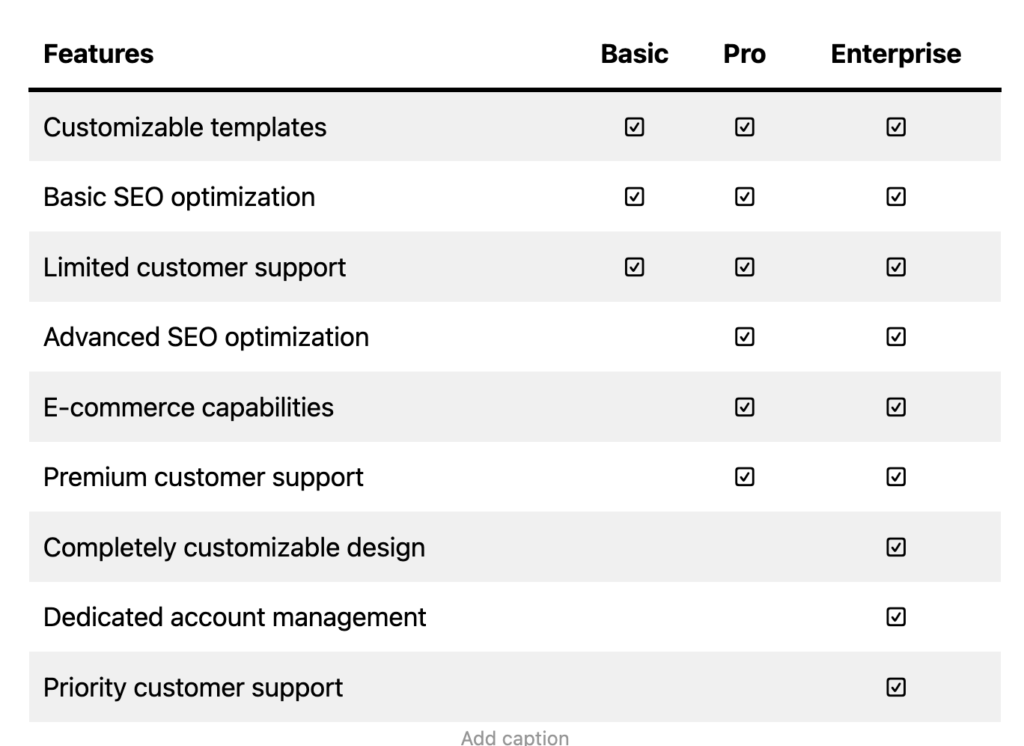
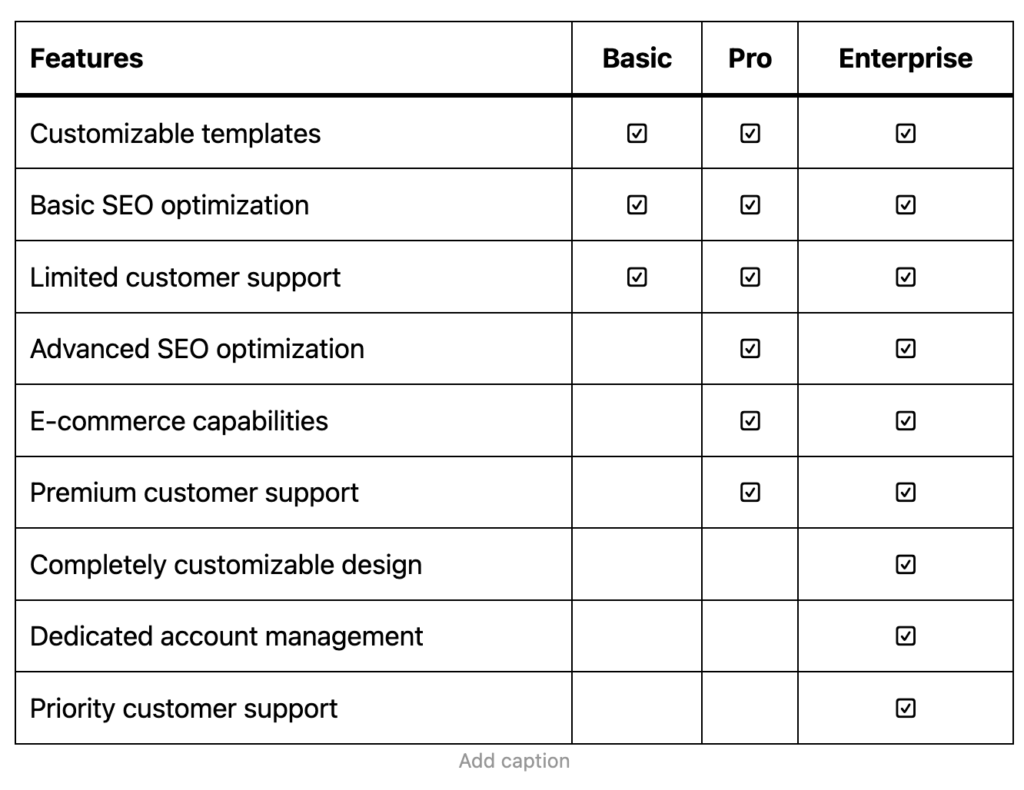
Let’s make this table as an example. It has 4 columns (Features, Basic, Pro, and Enterprise) and 10 rows.
Step 1: Add a Table Block on a Page
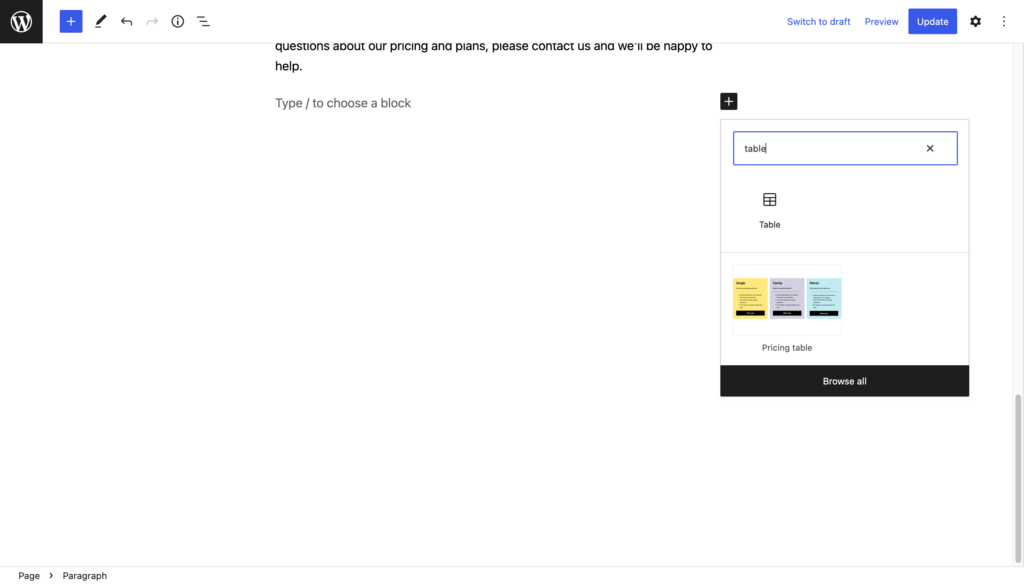
To start, you will need to add a table block to your page or post. You can do this by clicking on the “+” icon in the Gutenberg editor and searching for the “Table” block. Once you have located it, click on it to add it to your page.
Step 2: Enter the Number of Columns and Rows
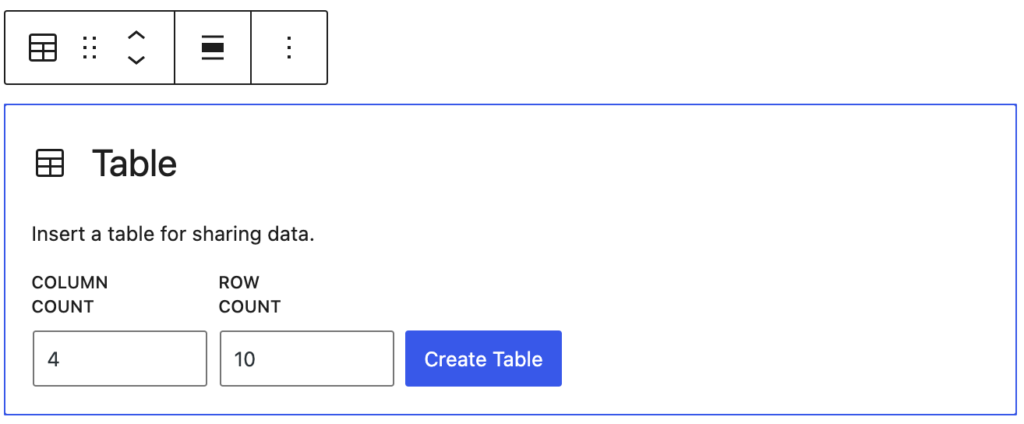
Once the table block is added, you will be prompted to enter the number of columns and rows you want in your table. For this example, we will be adding 4 columns and 10 rows.
Later on, you can add rows and columns as per your requirement. I’ll explain you below in this post.
Step 3: Fill in the Details Inside the Table
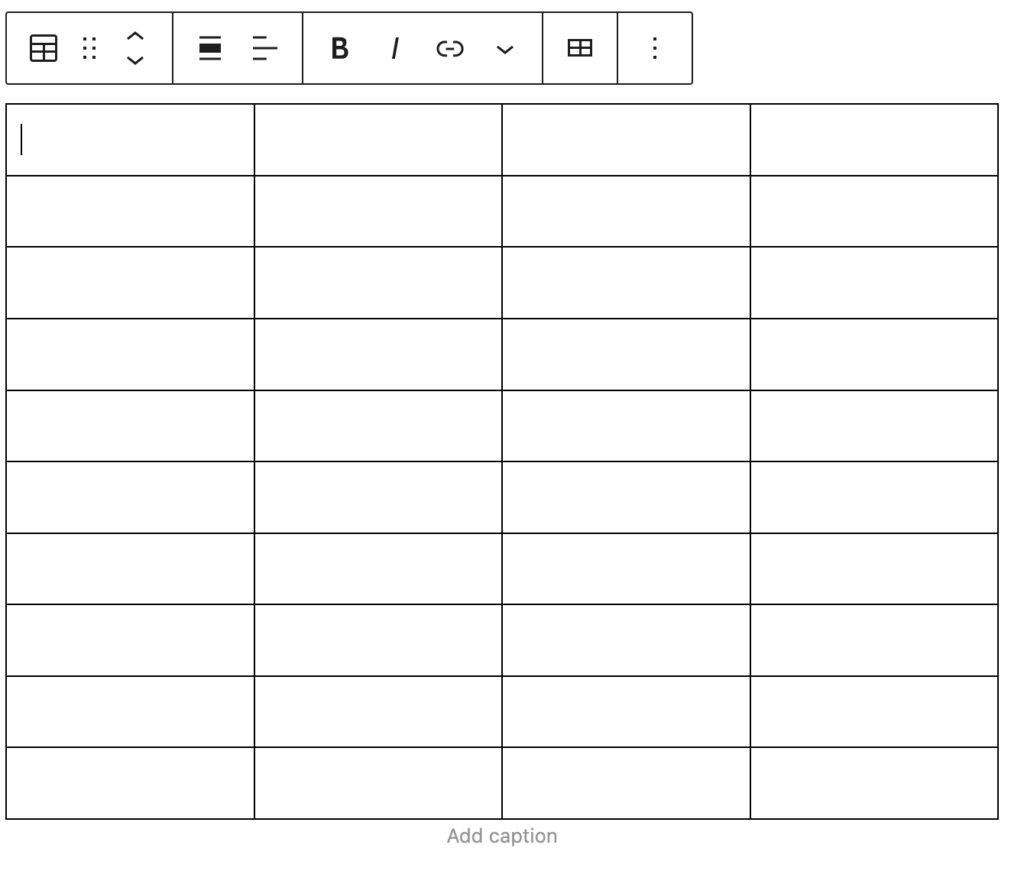
Once the table is created, you can start filling in the details inside the table. The table is now empty and ready for you to fill in the details.
Now, let’s go ahead and fill in the details for each column and row to complete the table.
Now we have the comparison table ready. If you want to add special characters like tick marks, arrows or any other character to make your table stand out even more, you can use the website https://copyglyphs.com/. This website has a wide variety of special characters and symbols that you can use to enhance your table. To use this website, simply go to the website and browse through the available symbols. Once you find one that you like, simply click on it to copy it to your clipboard. Then, go back to your WordPress Gutenberg editor and paste the symbol into your table.
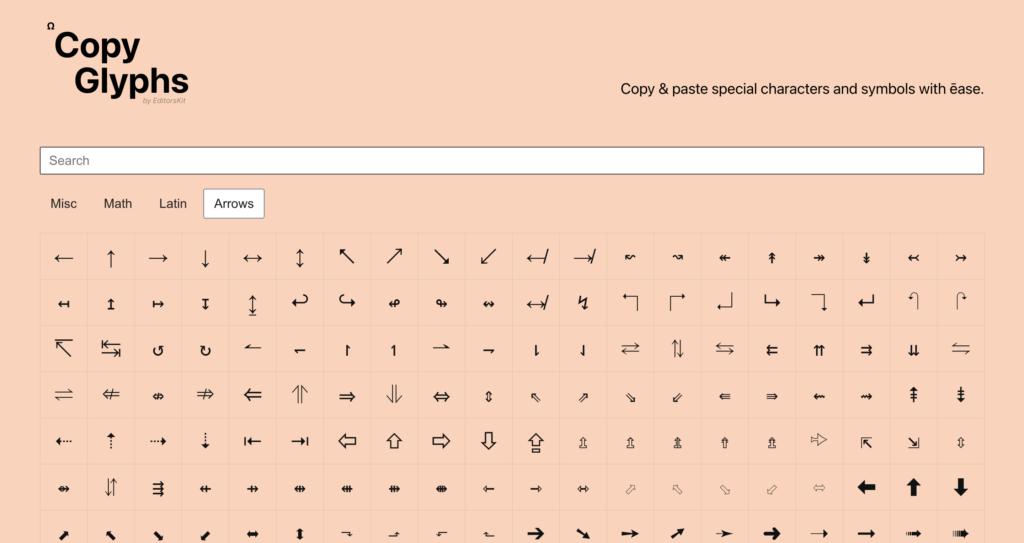
This is a quick and easy way to add some extra flair to your comparison table and make it stand out even more. Keep in mind that you can use this website not only for your table but for any other place in your website.
How to Add Rows, Columns and Apply a Style to The Table Block
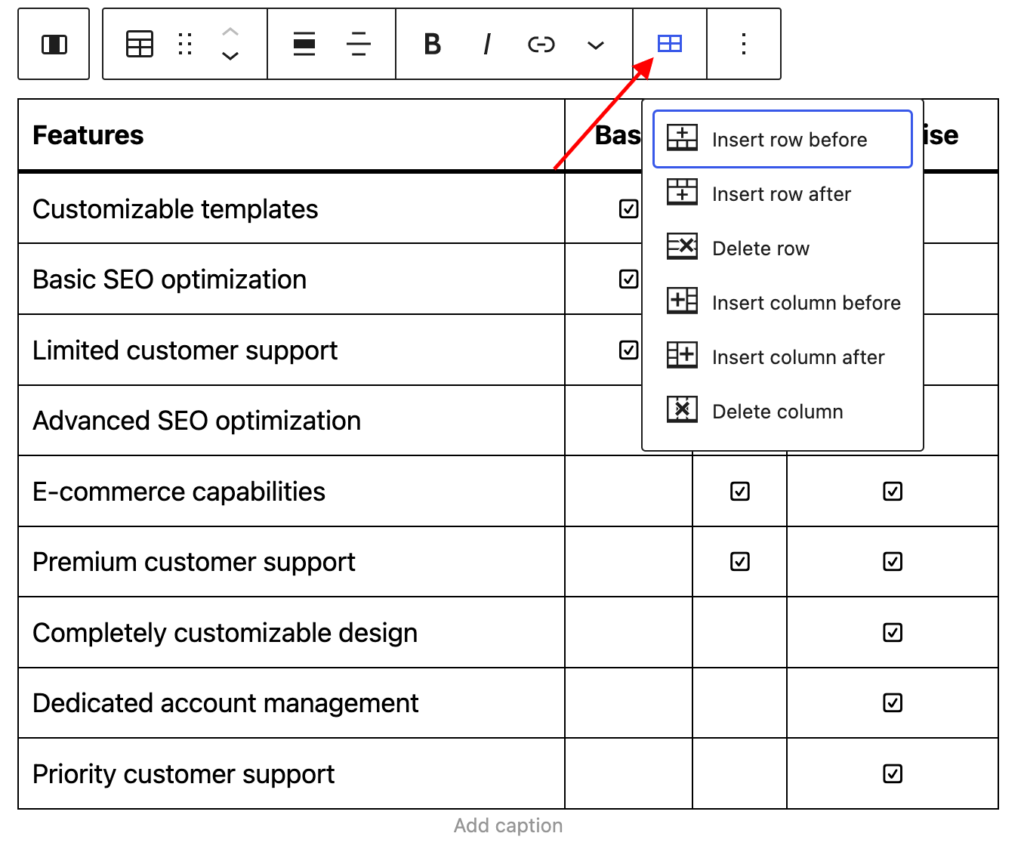
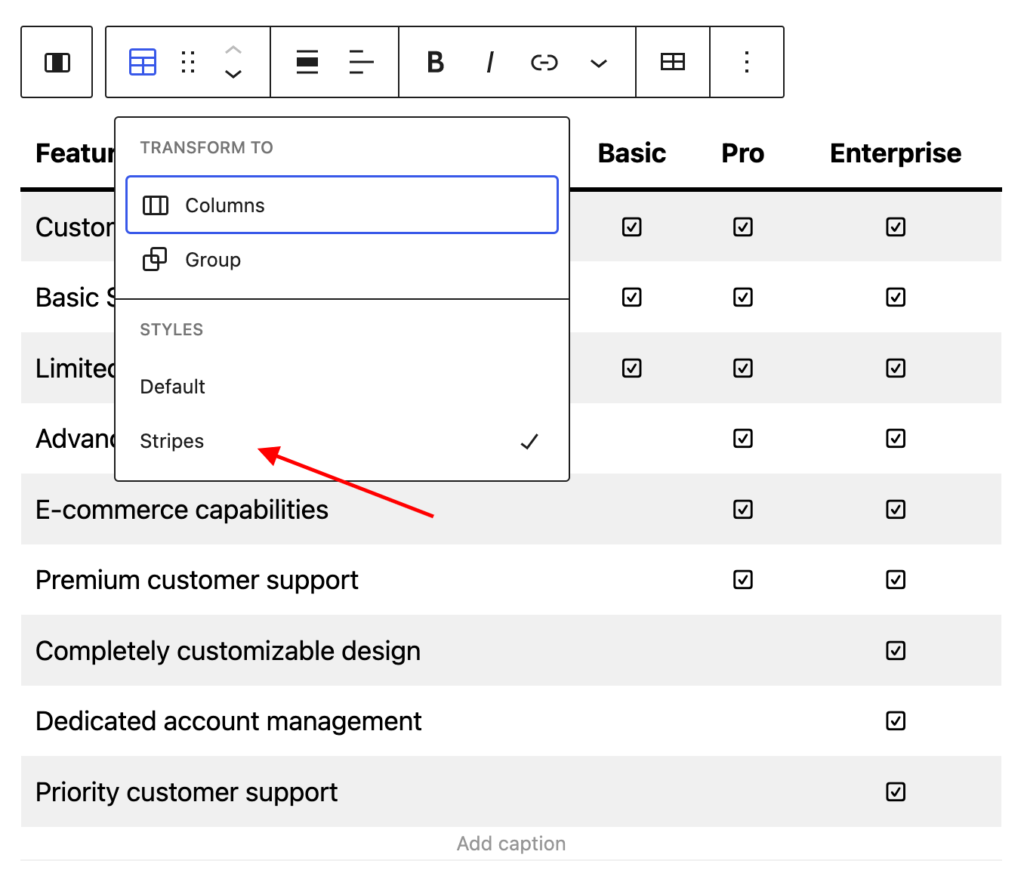
In the toolbar, you will have options to add or delete rows and columns from your table. You can also add columns and rows in any point.
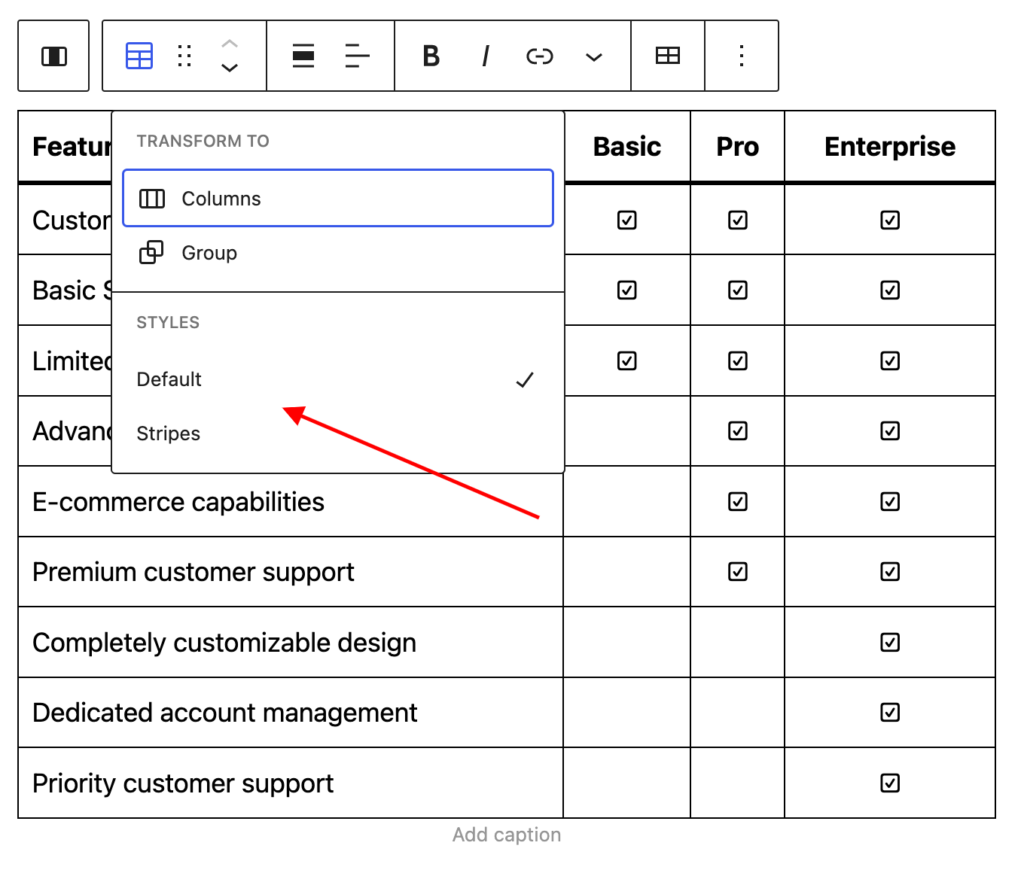
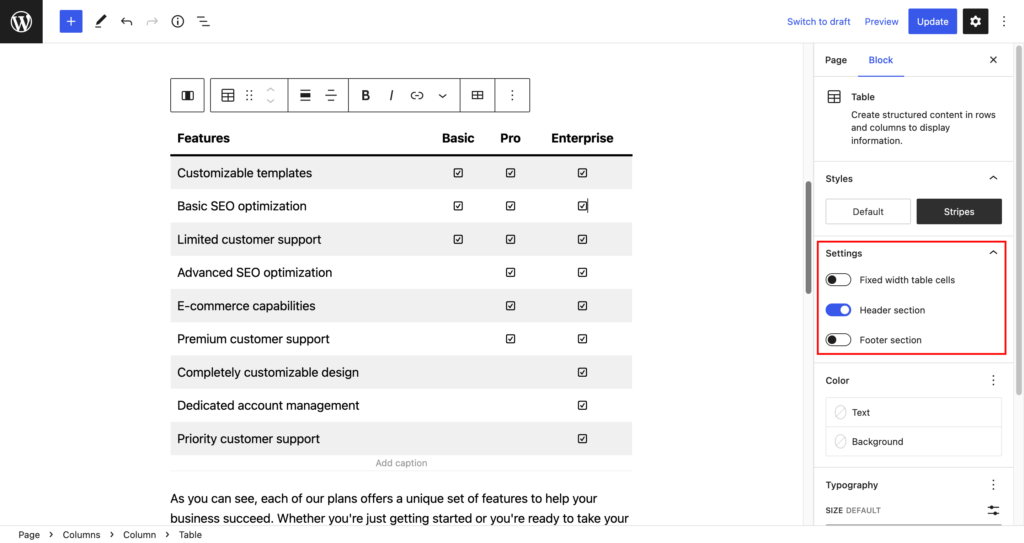
Additionally, you will have two table styles to choose from – default and stripes.
In the settings, you can enable or disable options such as fixed width table cells, header section, and footer section. This will help you to customize the table to your liking.
By following these simple steps, you can easily create a comparison table for your pricing page in WordPress Gutenberg without the use of any third-party plugins.


Leave a Reply