Due to its space-saving benefits and improved readability, multi-column formatting has been a staple in print media, such as newspapers and magazines.
Although single-column formatting is the norm for web content, multi-column arrangements can still provide value by highlighting important information and enhancing readability.
This tutorial will demonstrate how to create multi-column lists in your WordPress posts or pages.
For Example:

1
Add the default list block and add content to it.
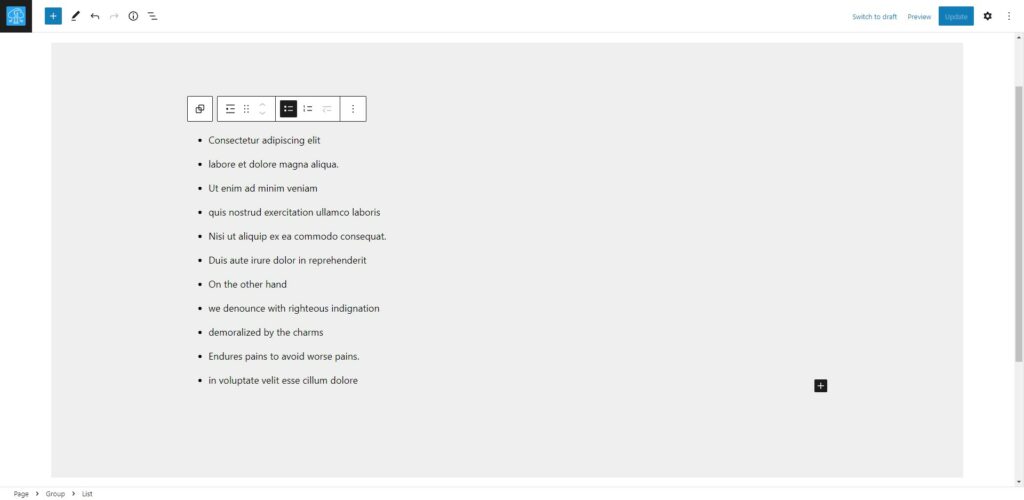
2
Navigate to the block’s sidebar settings options in the top-right corner, represented by a “settings icon,” and click on advanced options.
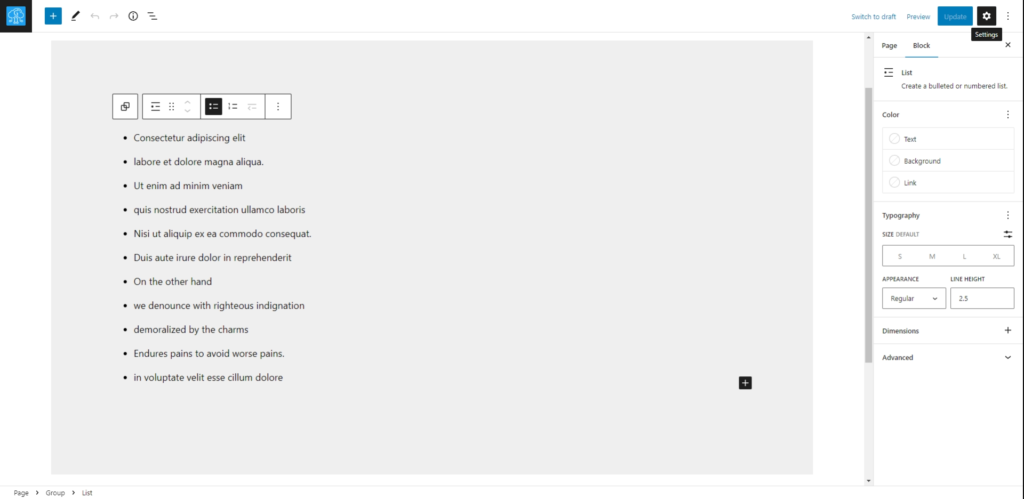
3
In the additional CSS class(es) input field, insert the class “multi-column-list.”
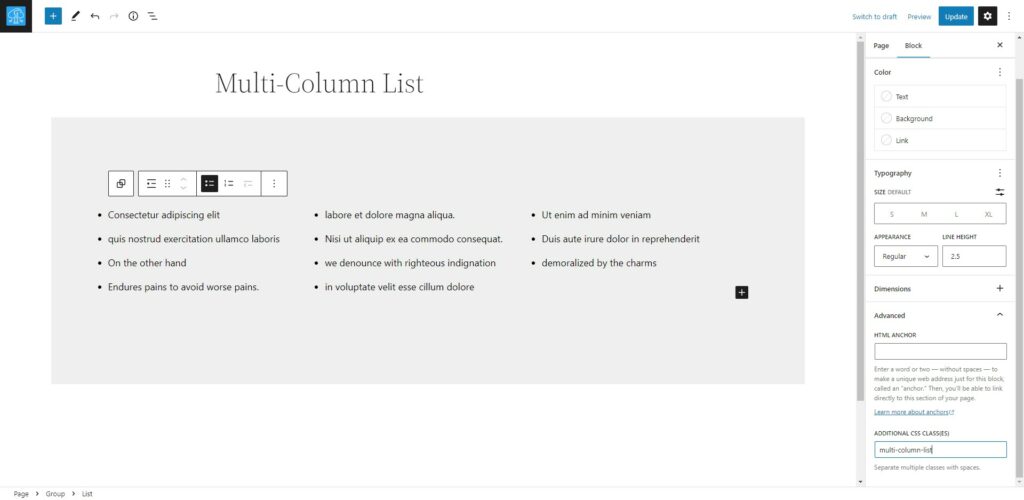
Add the following Custom CSS
You can add custom CSS to your website in several ways, including the theme customizer, a child theme, or a plugin. We will use the Code Snippets plugin for this tutorial, but feel free to choose any method that suits you. This article explains how to add custom CSS.
Install and activate the following plugin.
4
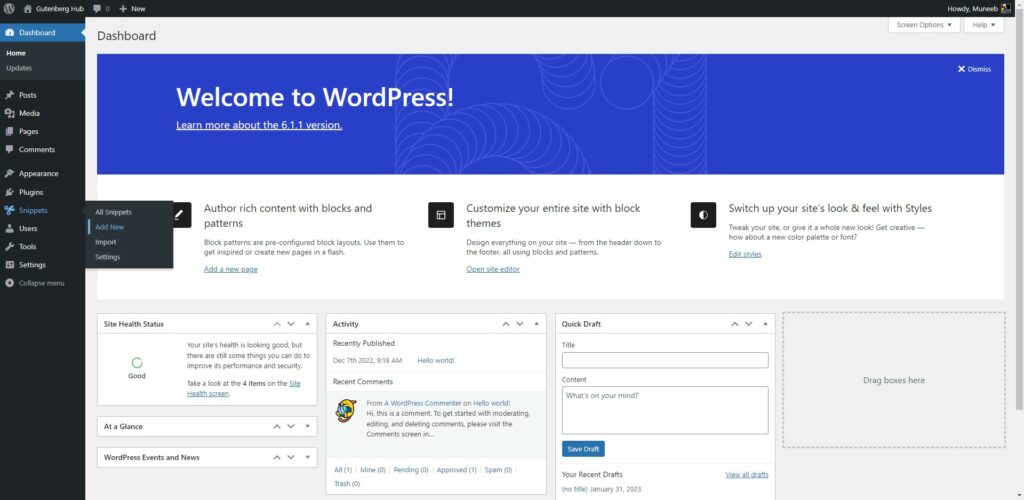
Go to the WordPress dashboard.
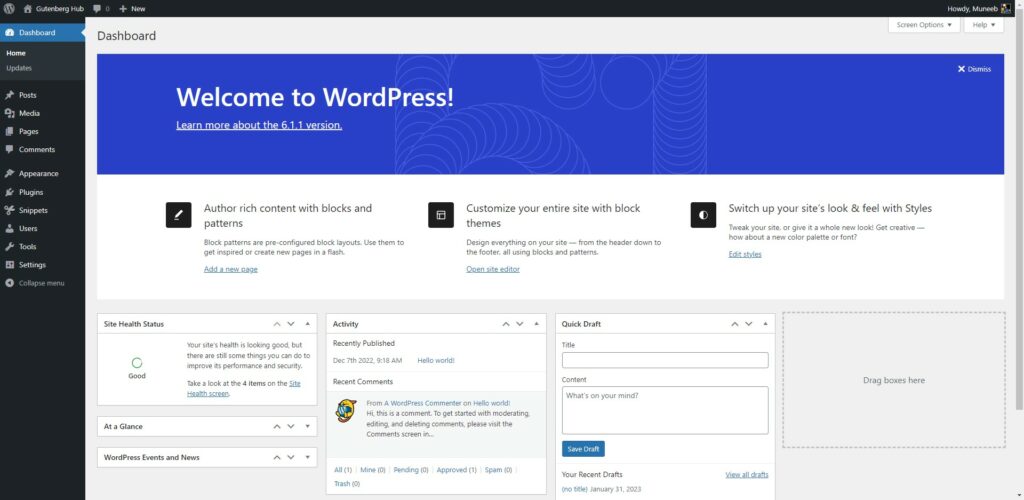
5
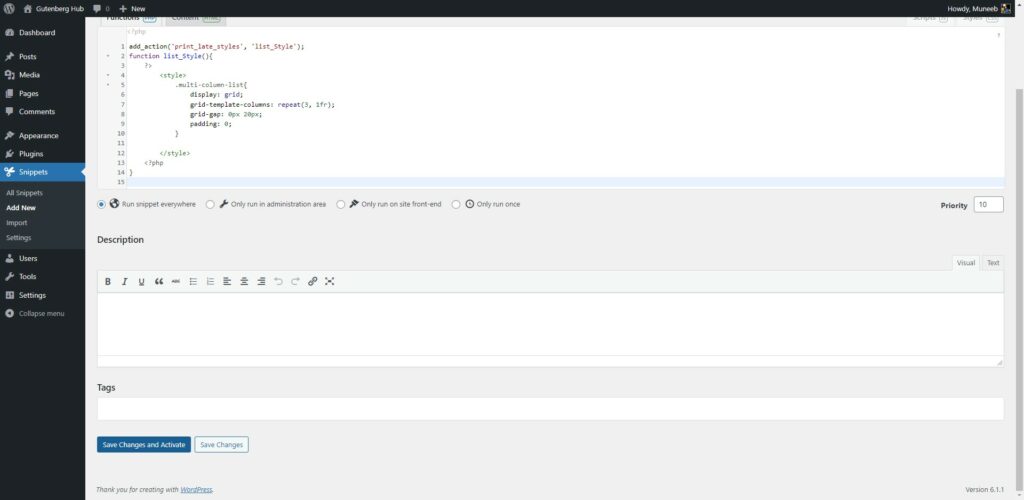
Access the Code Snippets in the bottom left corner of the dashboard, and then click the “Add New” option to create a new code snippet.
6
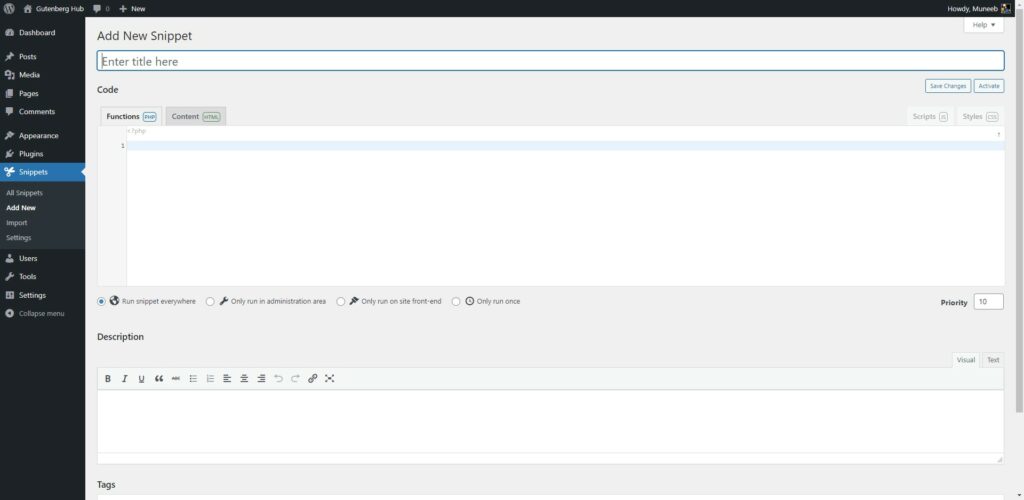
To create a new snippet successfully, enter a title for it.
7
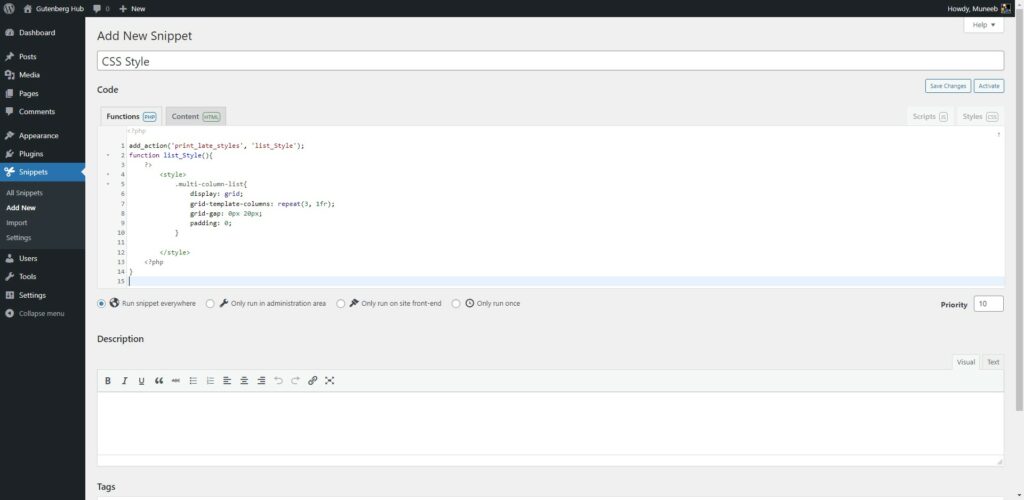
“Copy the following code and paste it under the CSS snippet:
add_action('print_late_styles', 'list_Style');
function list_Style(){
	?>
		<style>
			.multi-column-list{
				display: grid;
    			grid-template-columns: repeat(3, 1fr);
    			grid-gap: 0px 20px;
    			padding: 0;
			}

		</style>
	<?php
}
8
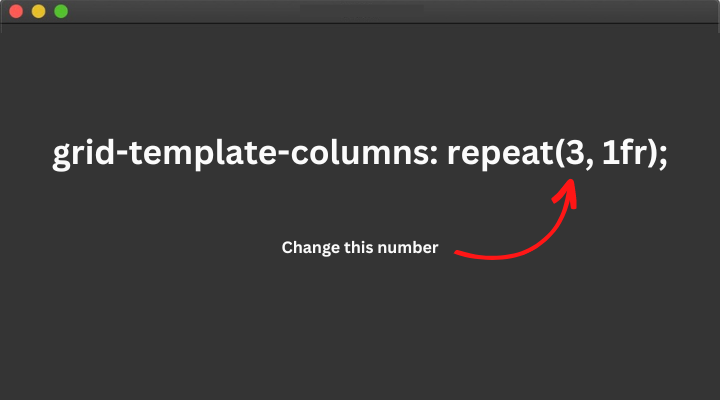
You can also adjust the number of columns by changing this value.
9
Click the “Save Changes and Activate” button to save and activate the snippet.
10
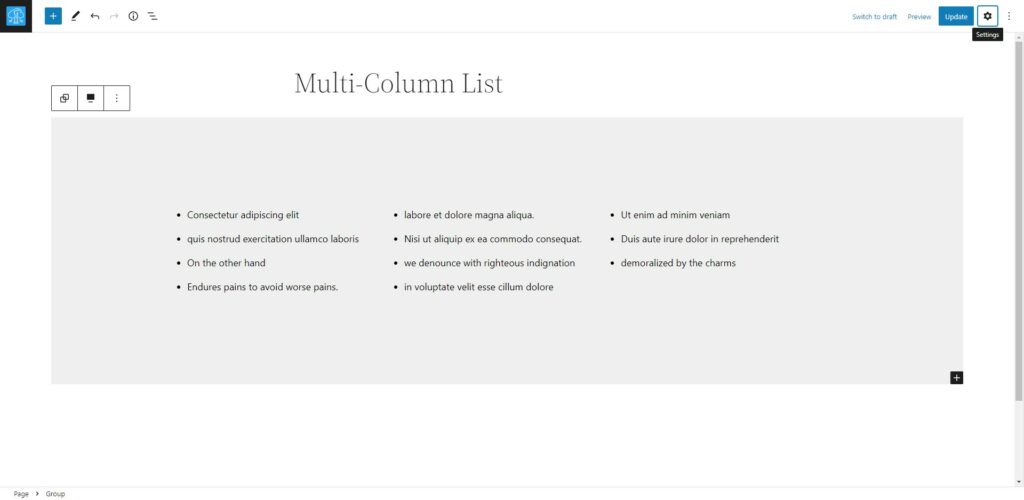
Done! we now have a multi-column list without using the columns block.


Leave a Reply