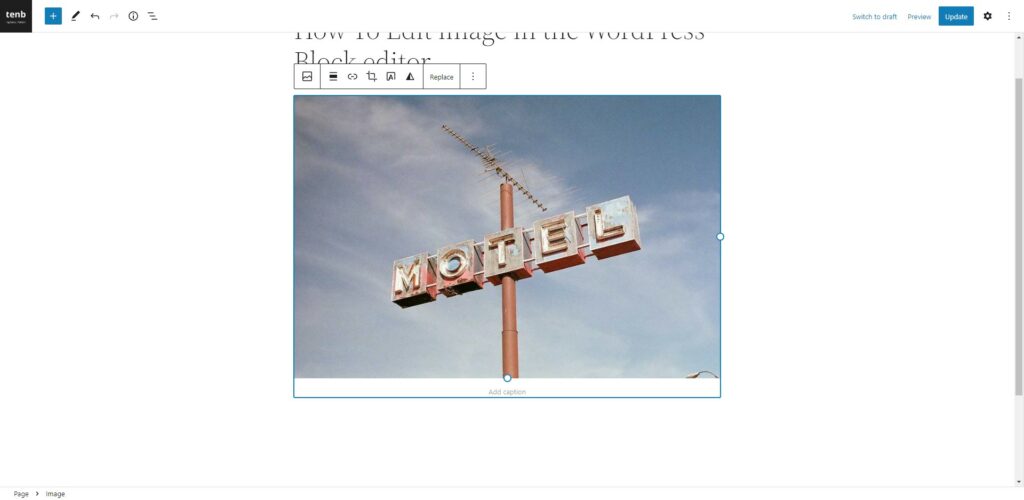
The default image block in WordPress includes several tools and features for editing and formatting images. Here is a list of some of the tools and features that may be available:
- Edit Image: This button opens the Image Editor, which allows you to crop, rotate, and resize the image, as well as apply filters and effects.
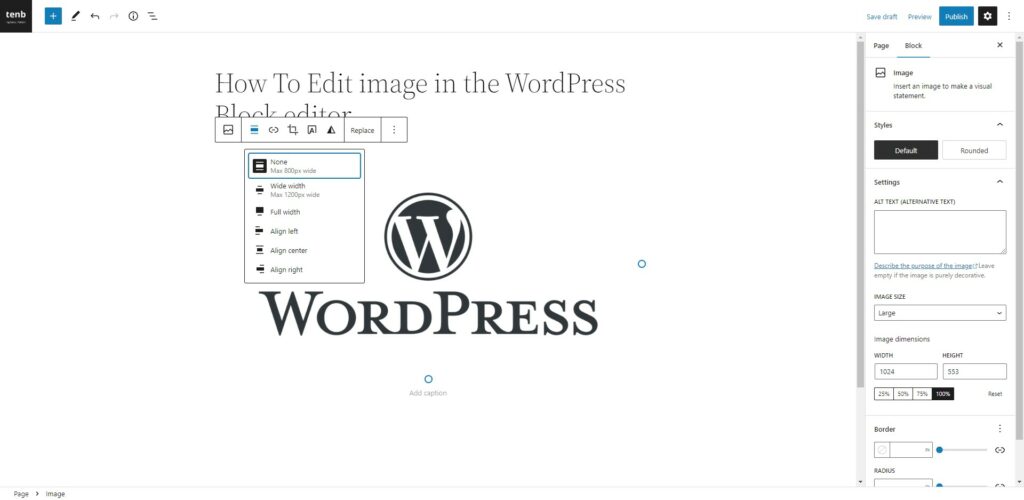
- Alignment: This option can align the image to the text’s left, center, or right.
- Image size: You can use this option to change the image size. You can choose a predefined size or enter a custom size.
- Link To: You can use this option to add a link to the image. You can link to the media file, an attachment page, or a custom URL.
- Alt Text: You can use this option to add alternative text to the image. Screen readers and search engines use this text to understand the content and context of the image.
- Caption: You can use this option to add a caption to the image. The caption will appear below the image.
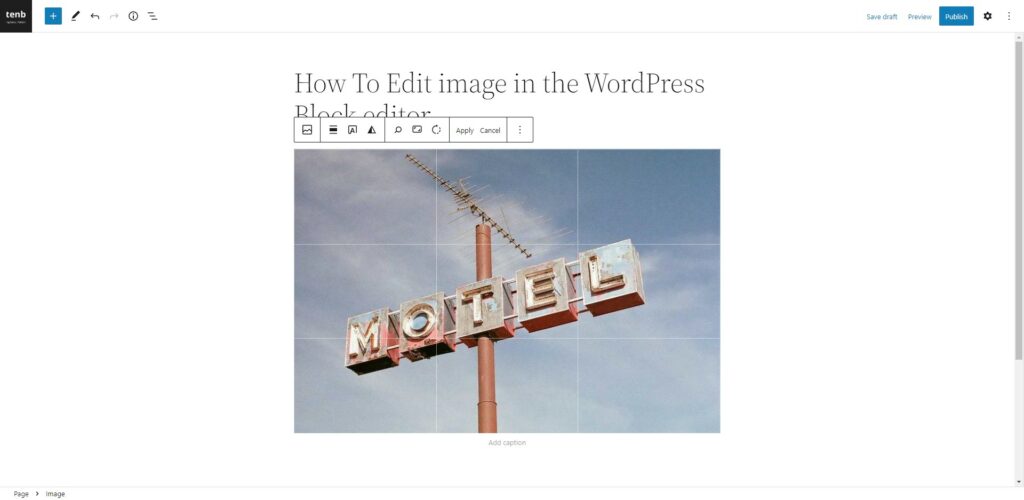
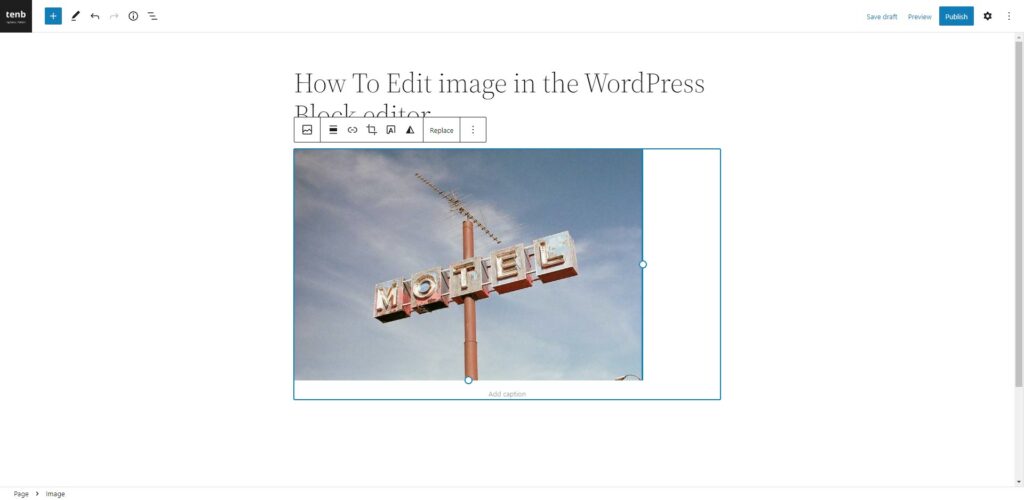
How To Crop an Image

Tip
The crop is a feature in the WordPress block editor that allows you to modify the size of images in your posts and pages. With this feature, you can easily crop an image to focus on a specific aspect or remove unwanted elements.
1
Select the image you want to edit.

2
Click on the “Crop” option in the top toolbar of the image block. It will enable three options for editing the image.

3
Zoom and Drag: The first icon lets you zoom the image then you can drag the image to adjust the visible area for cropping.
4
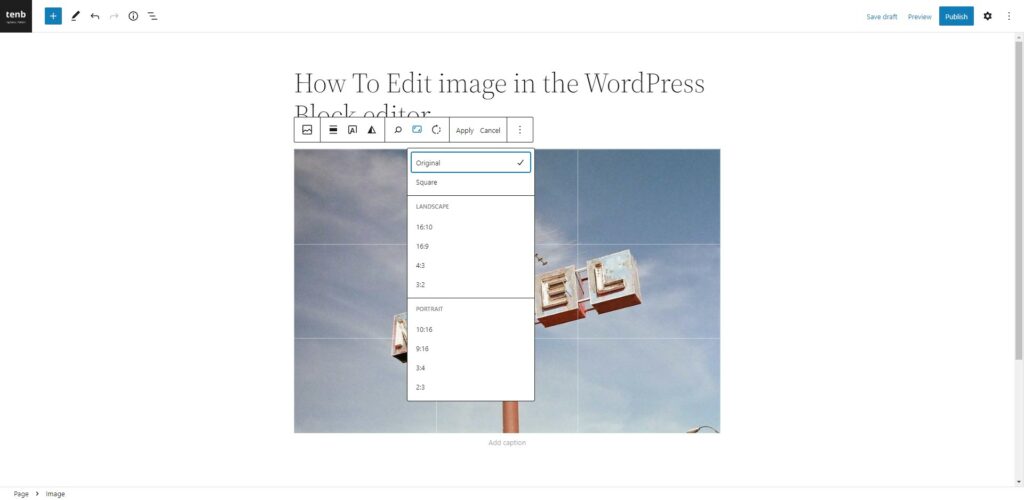
You can also use the “Aspect Ratio” dropdown option to select a specific aspect ratio for the cropped image.
5
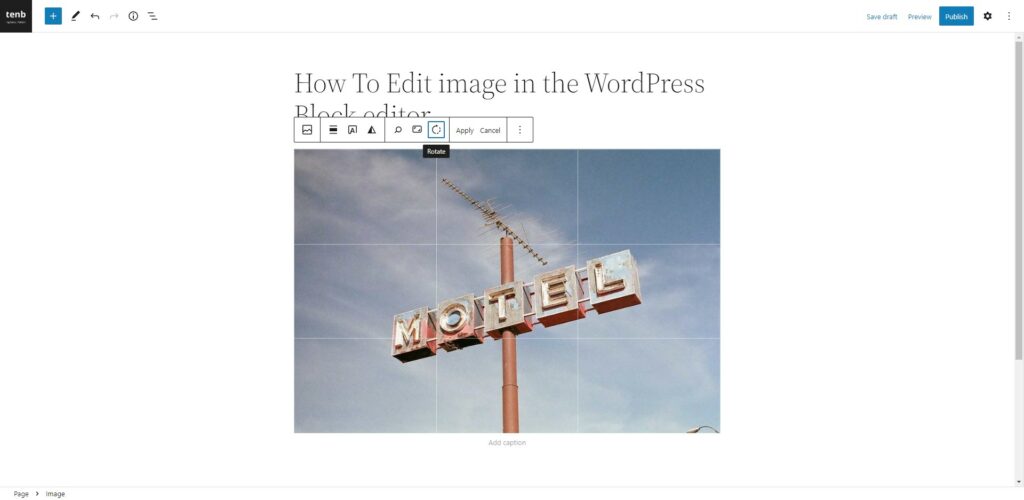
The third option in the crop tools is to rotate the image if you need to correct the orientation of an image uploaded in the wrong direction. Just Click on the rotate icon two rotate the image.
How To Resize an Image
Tip
Resizing an image using the image block in the WordPress block editor allows you to adjust the image’s dimensions by entering specific width and height values or by using the drag controls. This can be useful if you want to make the image larger or smaller to fit your website’s specific layout or design.
6
Select the image you want to resize.

7
Once the image is selected, you will see a set of resize controllers at the edges of the image.
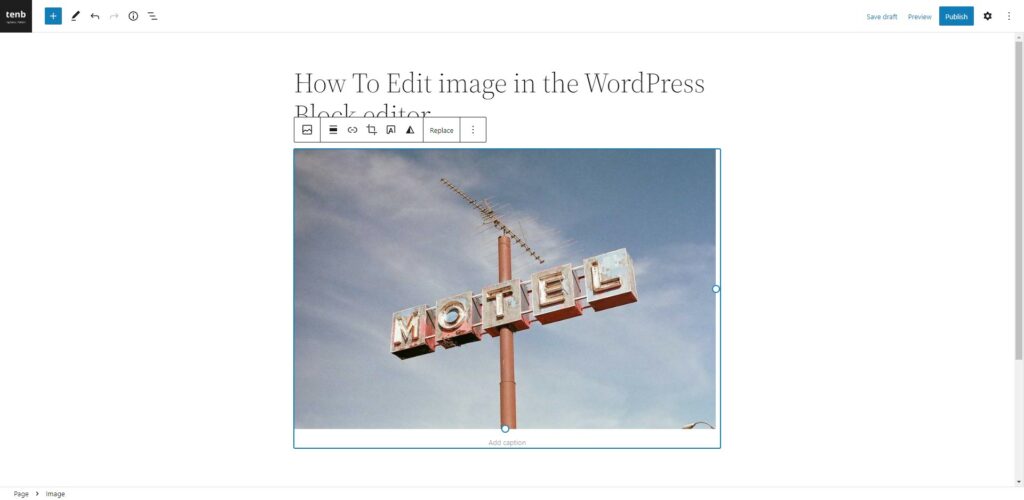
8
Click and hold on to one of the controllers and drag it toward the center of the image while holding it down. As you drag the controller, the image will resize. When you are happy with the new size of the image, release the mouse button.
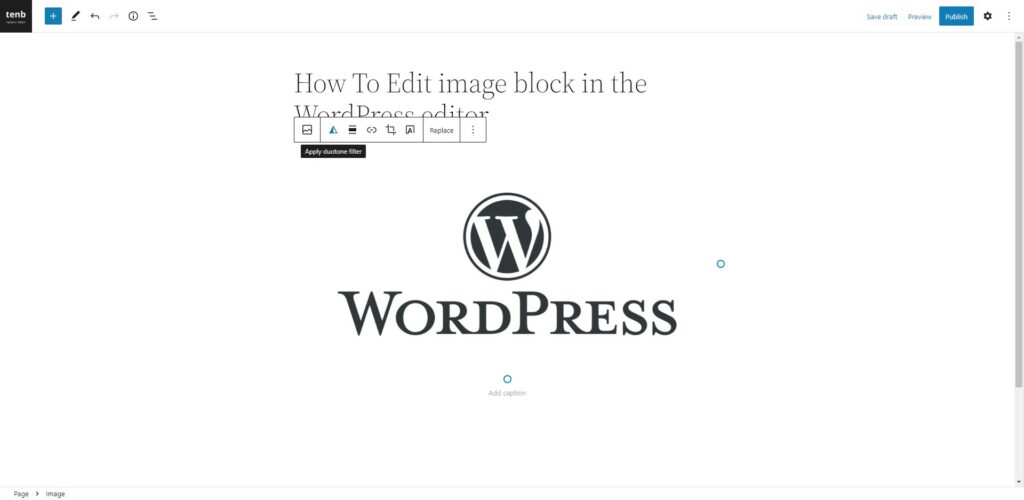
How To Apply Filters And Effects on an Image
Tip
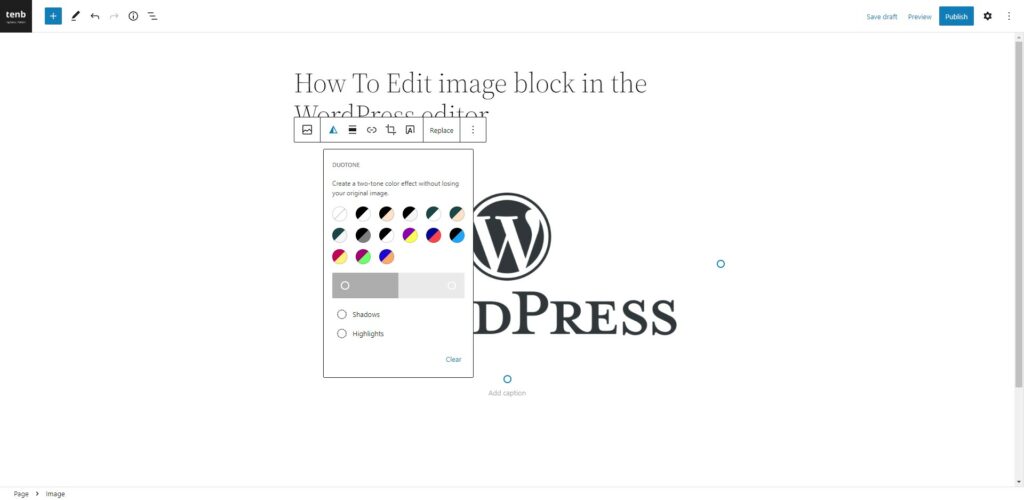
Duotone is a filter effect that applies a gradient map to an image, resulting in a two-tone color effect. This can be used to create a specific look or mood for the image or to make it stand out in a particular way.
9
Click the Duotone Filter option from the top toolbar.
10
Choose the colors you want to use for the duotone effect. You can also adjust the intensity of the effect using the slider.

11
To clear a duotone filter from an image in the WordPress editor. Click the “Clear” button to clear the filter and return the image to its original state.
Tip
Remember that the duotone effect works best on images with a limited color palette. The duotone effect may have less impact if the image contains many colors.
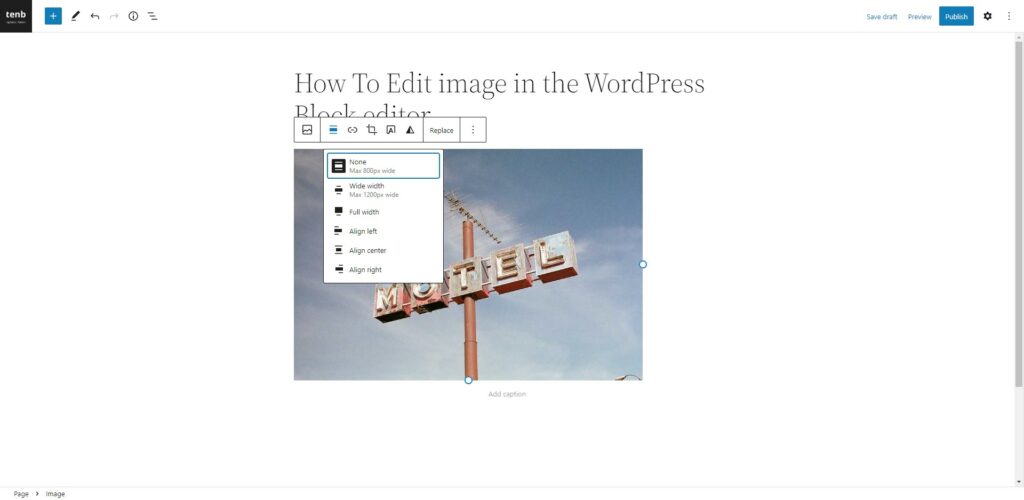
How To Set Alignment on an Image
Tip
Alignment refers to the position of an image within a block of content in the WordPress block editor. The alignment option allows you to specify how the image should be positioned relative to the text or other elements on the page.
12
Select the image block to align the image. Click on the “Align” option in the top toolbar.

13
You will see different alignment options from the alignment menu.
The “left” alignment option positions the image on the left side of the block, with the text flowing around it on the right.
The “center” alignment option centers the image within the block, with the text flowing around it on both sides.
The “right” alignment option positions the image on the right side of the league, with the text flowing around it on the left.
The “wide” alignment option stretches the image block to the entire content area’s width, with the text flowing below the image. This can be useful for creating a more visually striking layout.
14
Choose the alignment option that you want to apply to the image block. The image will automatically be aligned according to your selection.
Tip
Using the same method, you can align other blocks, such as text, column, group, and others.
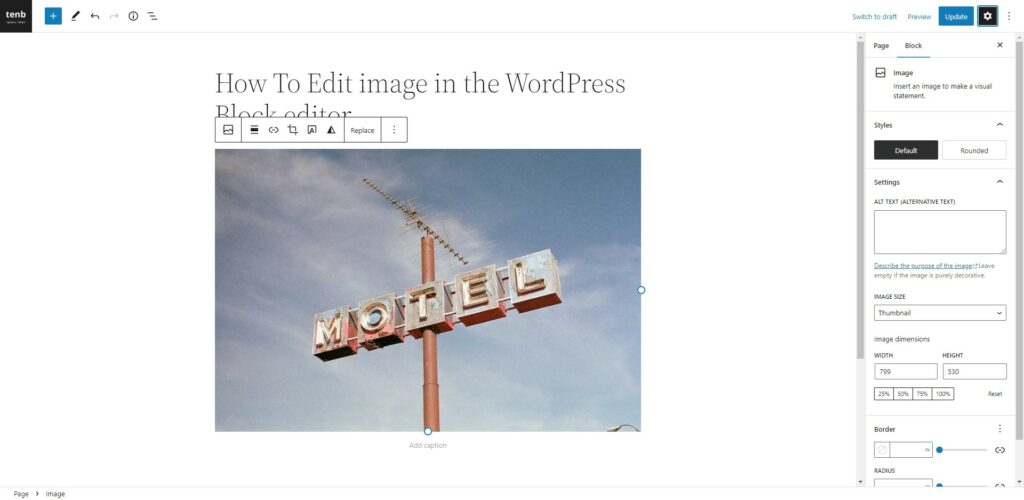
How To Set Image size
Tip
In WordPress, the size of an image refers to the dimensions of the image file, measured in pixels. When you upload an image to WordPress, the platform automatically generates several versions of the image at different sizes, which you can then choose from the sidebar setting panel of the image block.
15
Select the image and click on the sidebar option. This looks like the setting icon on the top right side. Scroll down to the “Image Size” section.

16
Under the “Image Size” heading, you’ll see a dropdown menu with various size options for the image. Select the desired size for the image from the dropdown menu. The available options will depend on the sizes defined in your WordPress theme or by a plugin.

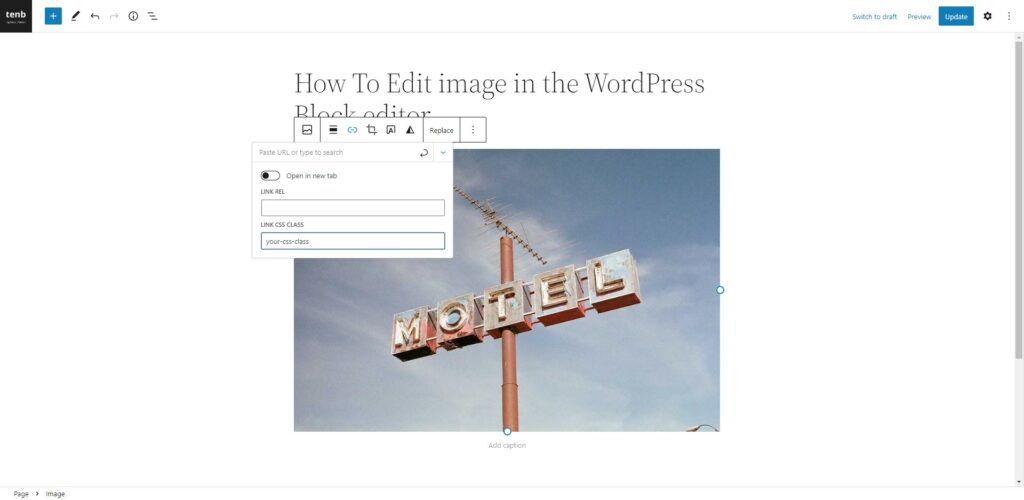
How To Link an Image
17
In the toolbar, click on the link icon (it looks like a chain link). This will open a pop-up window where you can enter the URL of the link you want to add to the image. Enter the URL and click the “Apply” button. The image will now be linked to the specified URL.

How To Open Link In New Tab
18
Click the “Link settings” section of the pop-up window (denoted by the “down-arrow” icon) will enable link settings.

19
you’ll see a checkbox labeled “Open in new tab.” Check this box to have the link open in a new tab when clicked.

How To Add Link Rel Attribute on an Image Block
Tip
The link rel attribute is used to specify the relationship between the current page and the linked page, and it is typically used to indicate whether search engines should follow the link. You should only use the link rel attribute if you have a specific reason, such as to indicate that a link should not be followed by search engines.
20
In the “Link settings” section of the pop-up window (denoted by the “down-arrow” icon), you will see a field labeled “LINK REL.” You can enter the desired link rel value in the “Link Rel” field.

How To Add Link CSS Class on an Image
21
In the “Link settings” section of the pop-up window (denoted by the “down-arrow” icon), you will see a field labeled “CSS Class.” You can enter a CSS class name in this field.
You can then use the CSS class in your theme’s stylesheet or anywhere you like to style the link.
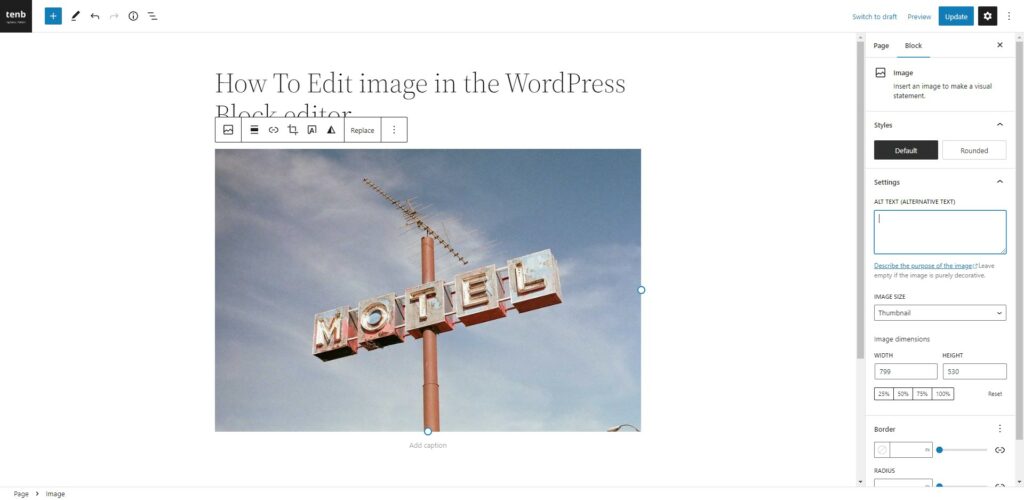
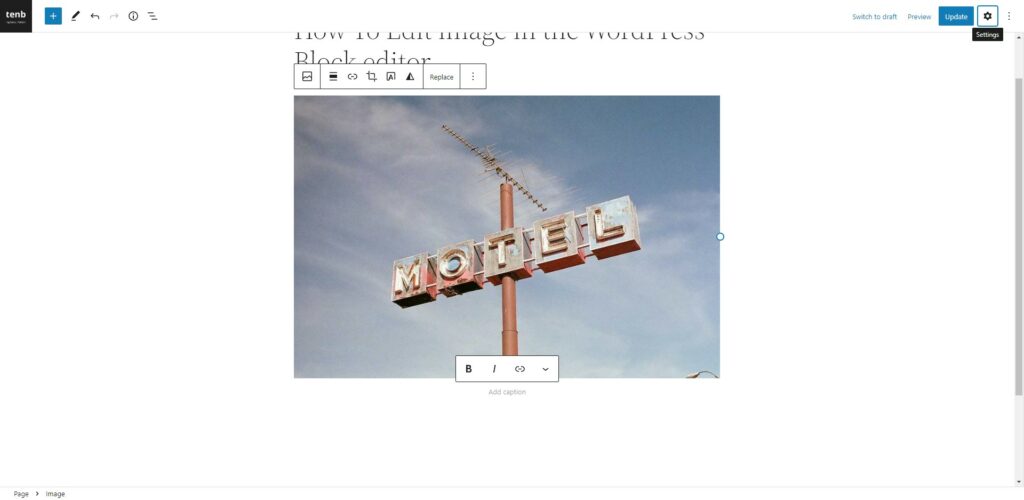
How To Add Alt Text on an Image
22
Click on the image to select it, and then click on the “Setting” button that appears in the top right corner of the image.
23
In the “Setting” panel that appears, scroll down to the “Alt Text” field.

24
Enter a short description of the image in the “Alt Text” field. This description should accurately describe the content and context of the image.
How To Add Caption on an Image
25
You can add a caption to an image by clicking on the image and then entering the caption in the “Caption” field that appears below the image.
26
If you want to change the appearance of the caption, you can use the formatting options above the “Caption” field, such as bold, italic, and text color.


Leave a Reply