If you search for a specific block in the block editor and it is not available in your blocks library, the editor will also search for the block in the WordPress block directory. If any relevant blocks are found in the directory, you can browse through the results and quickly install and activate the block plugin to make the block available on your page or post.
1
Find the page or post on your WordPress site where you want to add the block and go there.
2
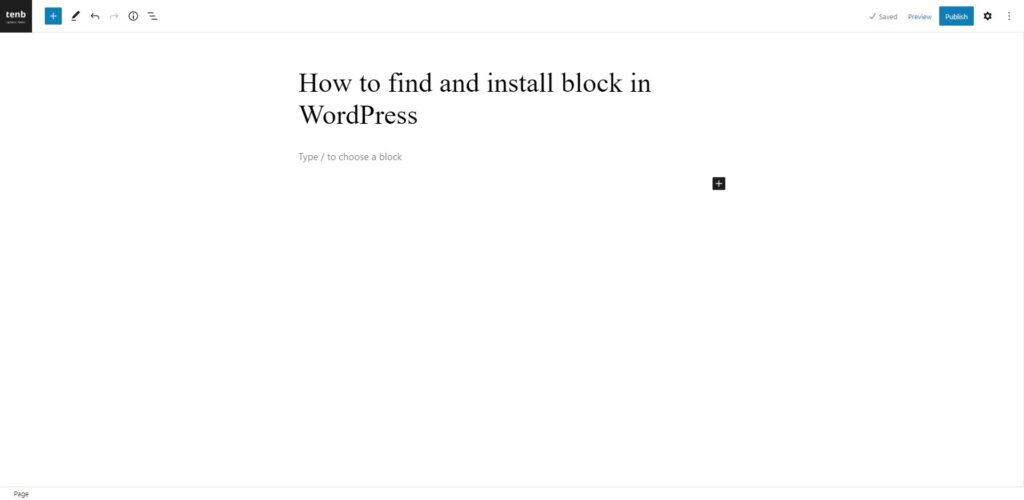
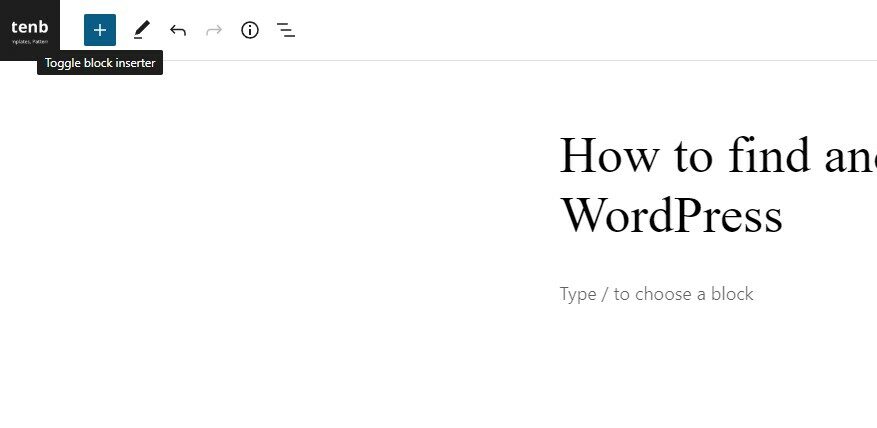
Click on the “Add Block” button in the top left corner of the block editor.
3
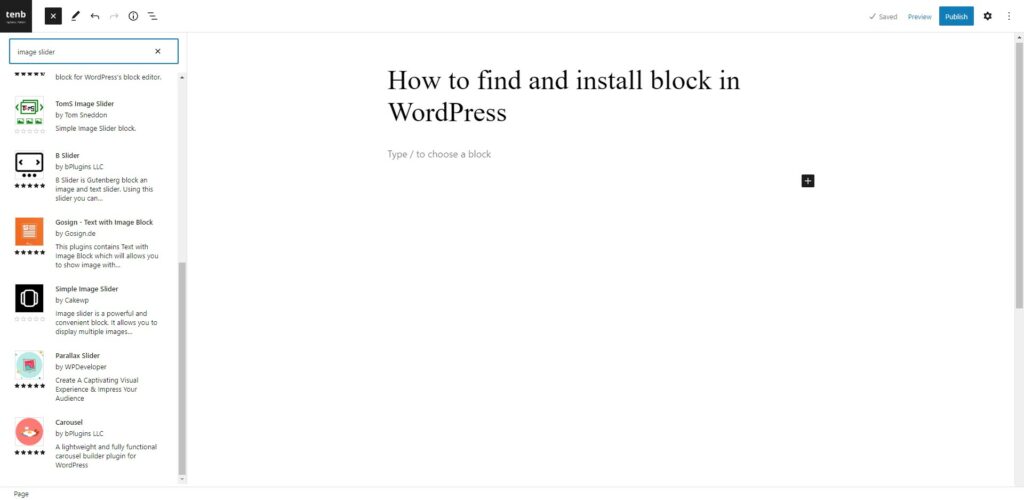
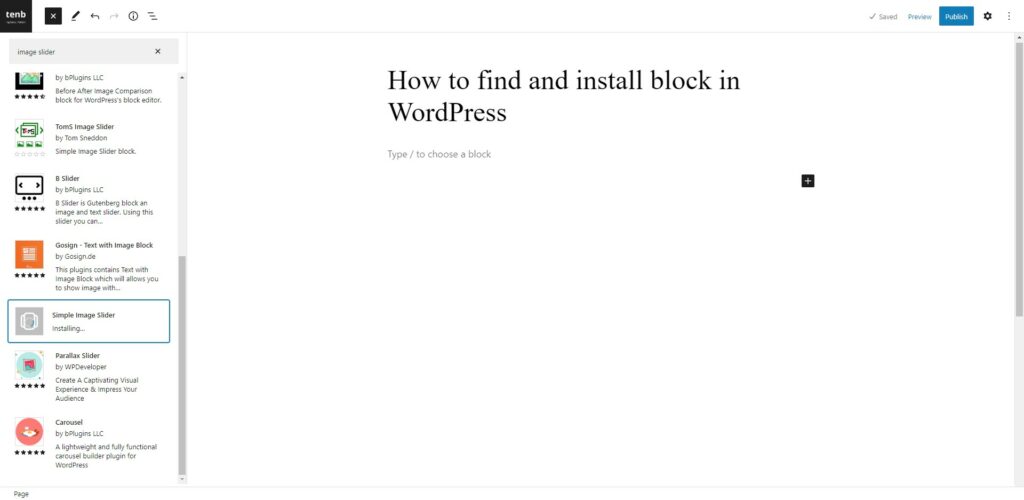
To locate the desired block in the block editor, enter its name in the search bar at the top of the block inserter. If the block is not already available in your blocks library, the block editor will search for it in the WordPress block directory.
4
Scroll through the search results to find the block you want to install.
5
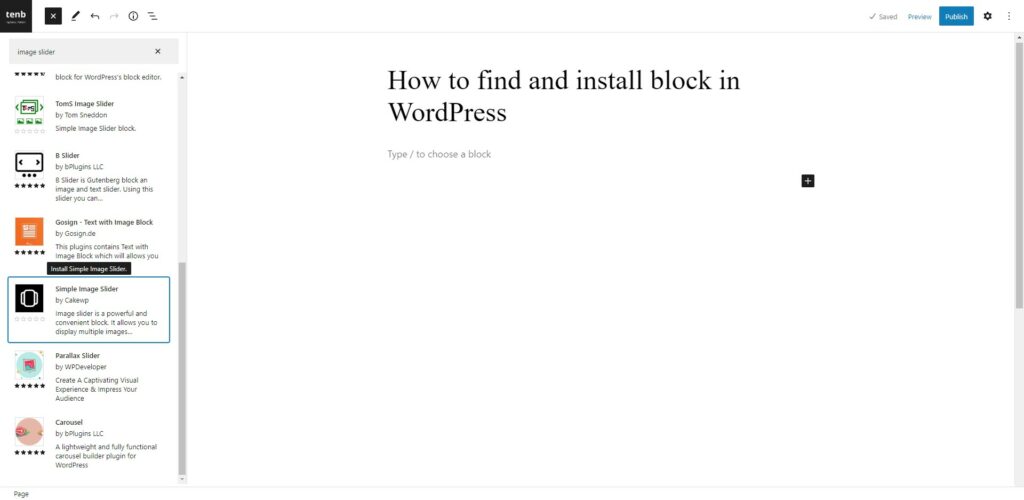
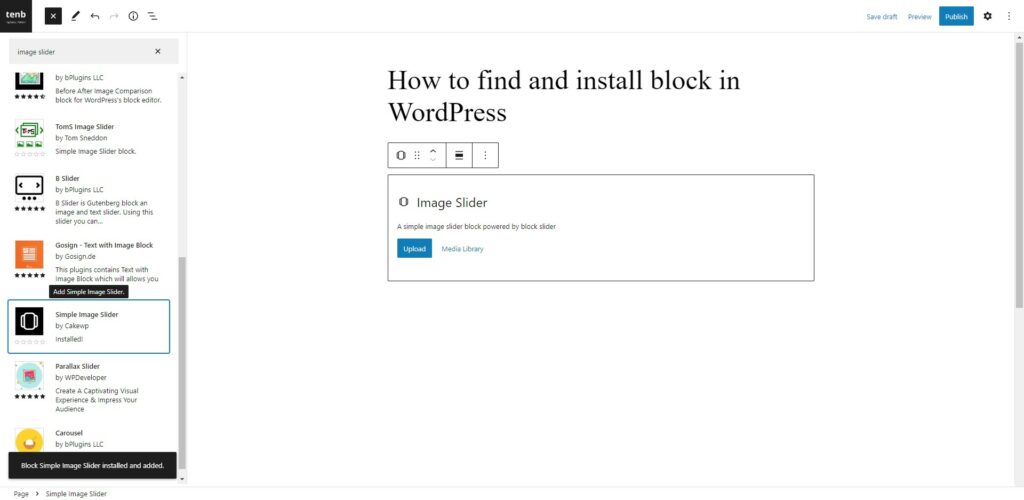
Click on the appropriate “block” you want to add. That block will be installed.
6
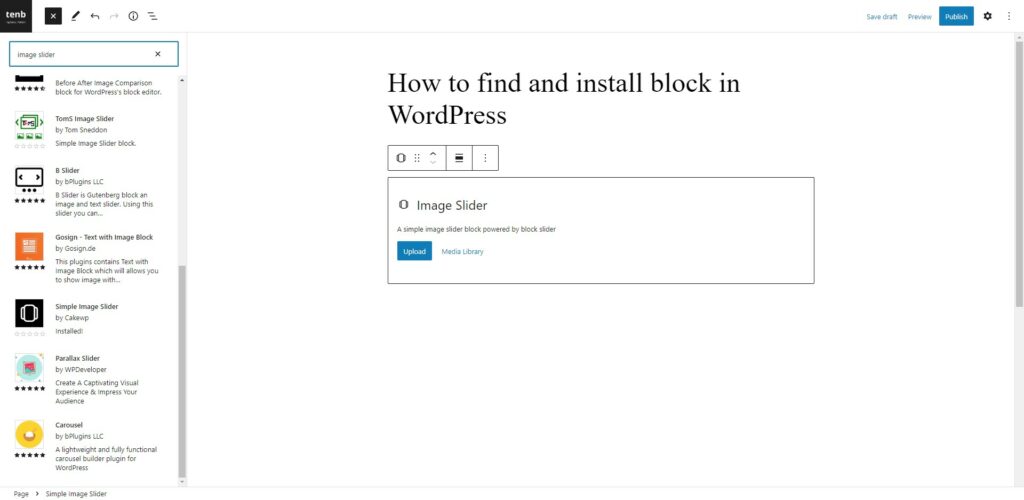
After the block plugin is installed, The block should now be available in the block directory. And will be added to your page or post.
7
Customize the block by adding content or adjusting the block’s settings.

Tip
It is important to know that some blocks will require additional setup before they can be used. Check the block’s documentation or follow any on-screen prompts to complete the configuration.


Leave a Reply