To insert a new block either before or after an existing block in the WordPress Gutenberg editor, you can follow these steps:
1
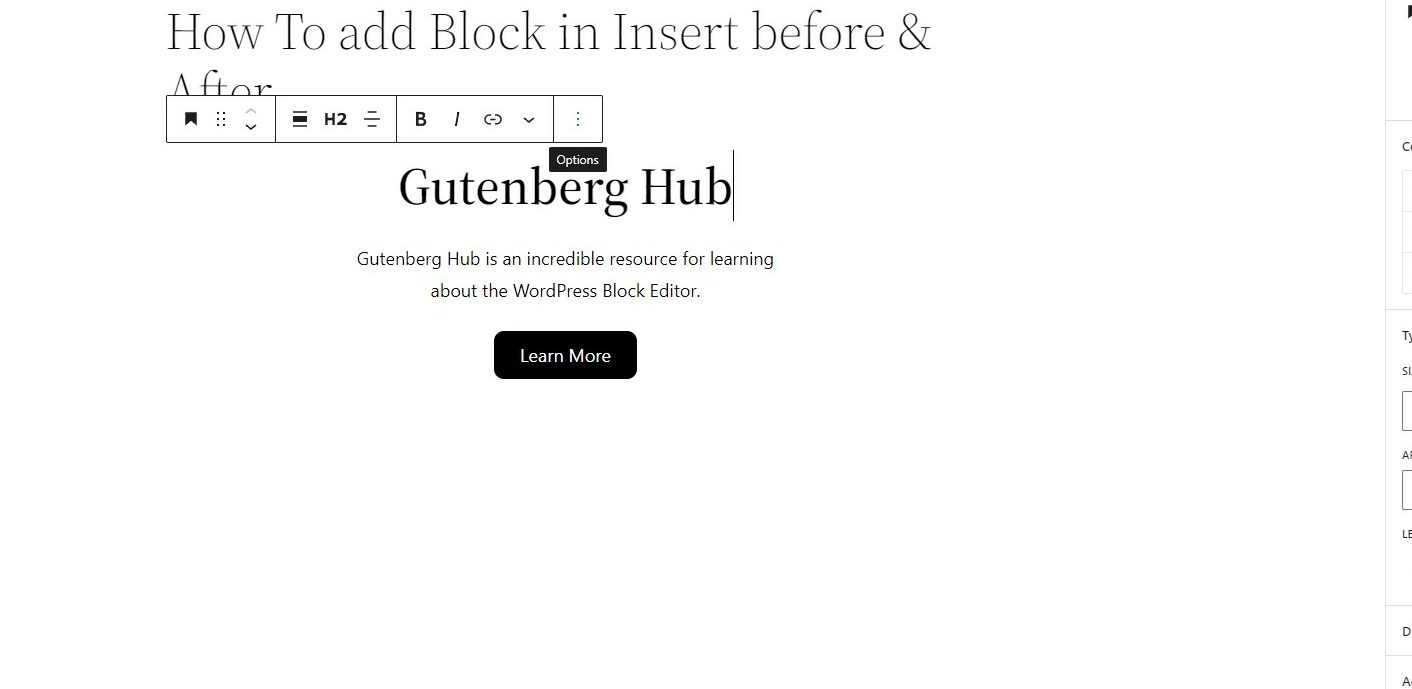
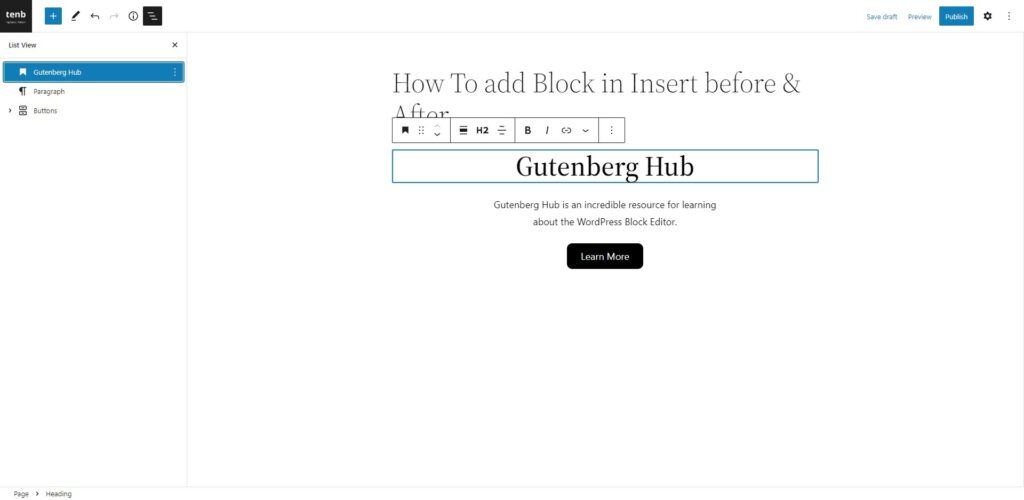
Click on the block where you want to insert the new block before or after.
2
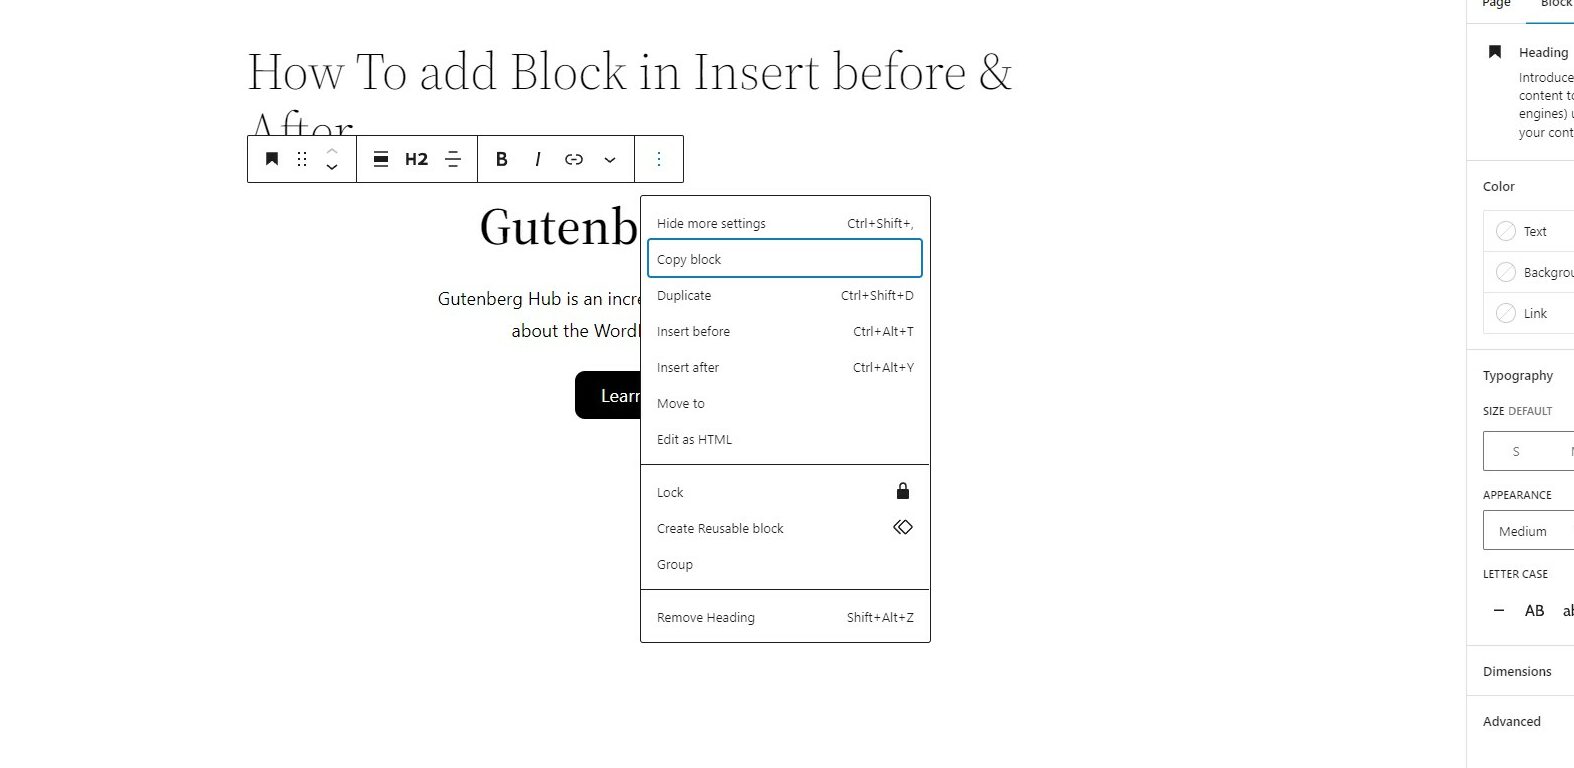
In the top toolbar, find the block icon that looks like three vertical dot lines.
3
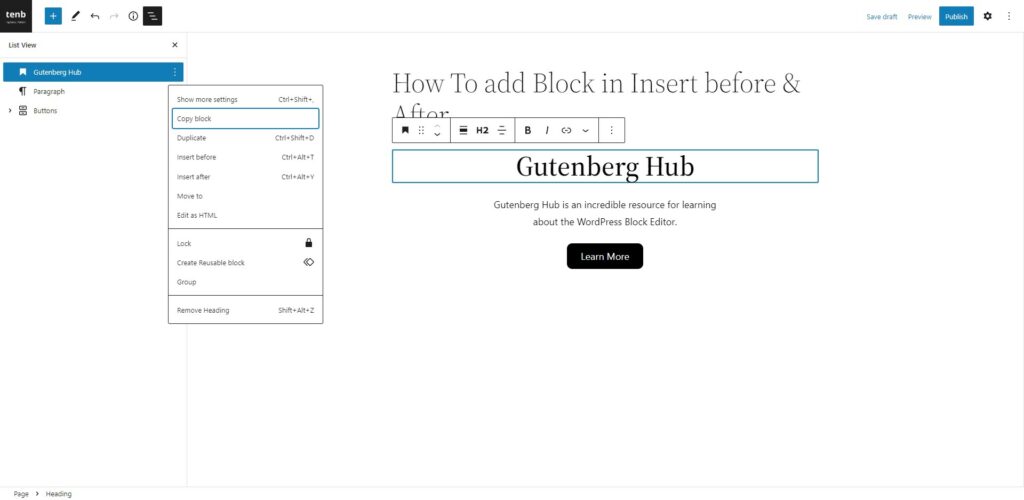
From the drop-down menu, click on the insert before or after option.
An alternative way to add a new block before or after a selected block
4
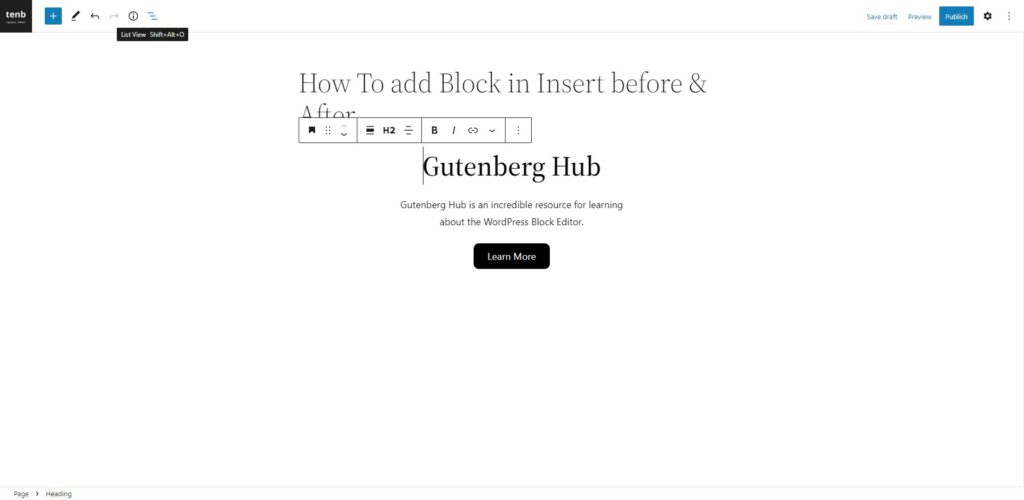
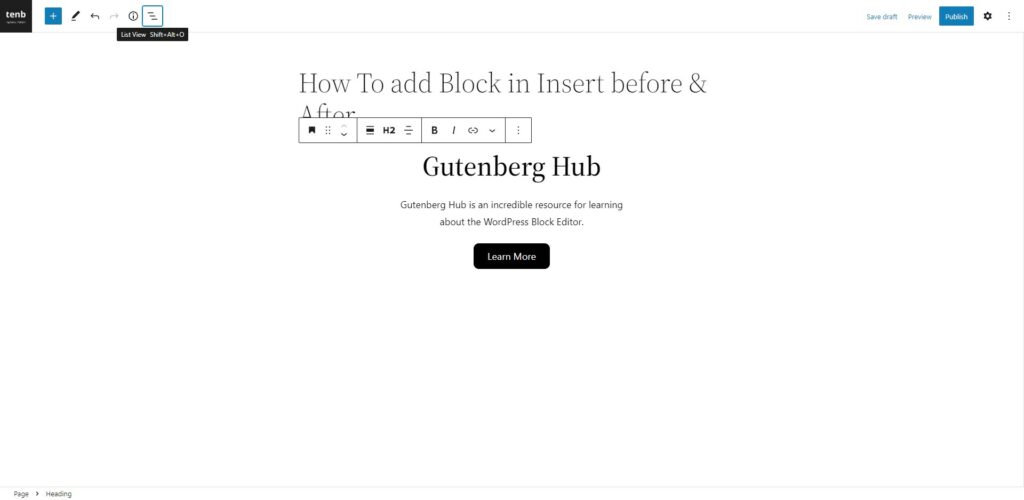
Using the list view sidebar, you can also add a block before or after a block.
5
Click on the list view icon from the top toolbar, which enables the list view sidebar.
6
Click on the right-side three-dot icon.
7
Now you can add a block to the before or after of the selected block. First, select the block and then click on the insert before or after option from the three-dot drop-down menu.
8
In addition to the above method, you can also utilize the following keyboard shortcuts to insert a new block before or after the selected block:
● To add a new block before the selected block, press “Shift” + “Alt” + “T” for Windows and macOS.
● To add a new block after the selected block, press “Shift” + “Alt” + “Y” for Windows and macOS.


Leave a Reply