Adding blocks in WordPress is a simple and flexible way to enhance your posts and pages with various types of content, such as text, images, videos, buttons, and more. By using blocks, you can create a wide range of layouts and styles, and easily customize the design and functionality of your content. In this guide, we will show you how to add blocks in WordPress.
1
There are three ways you can add a block
2
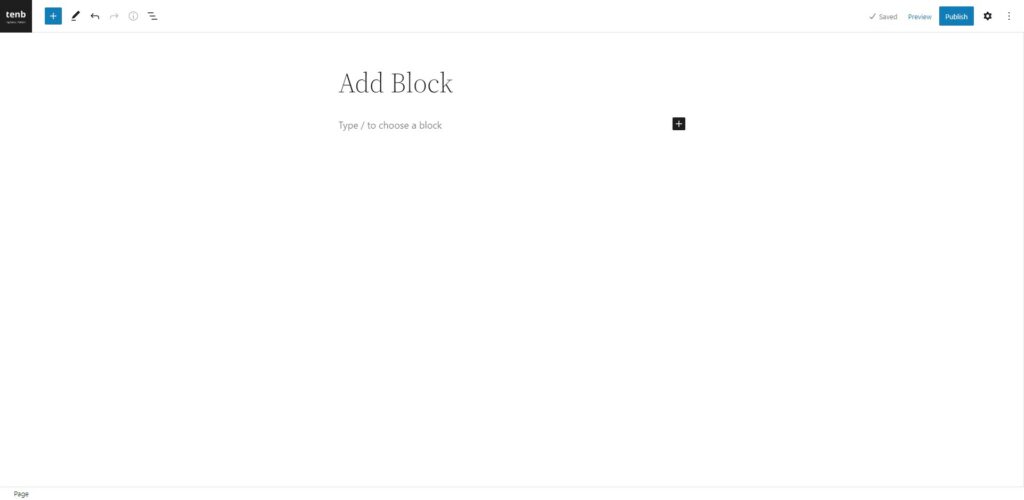
Option one: Click on the + icon to add a block.
3
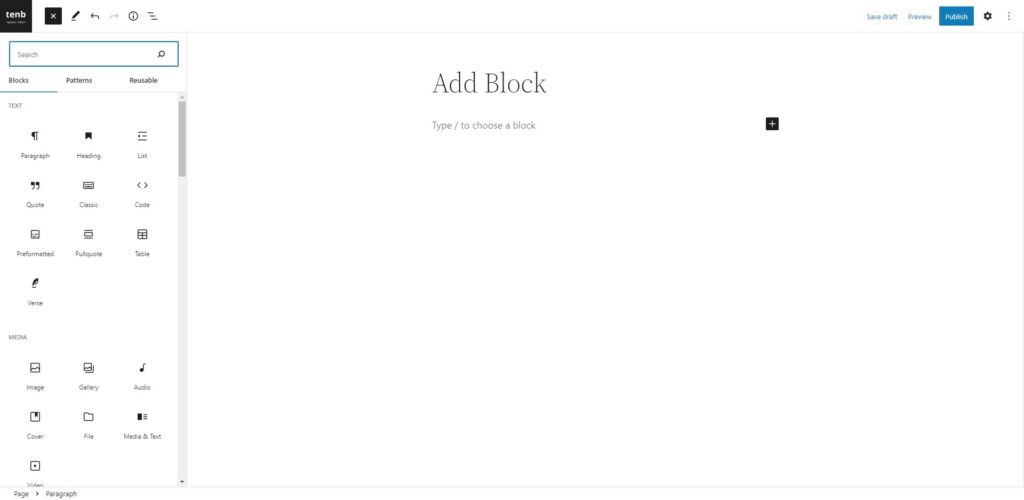
Option Two: Click on the Toggle Block Inserter + icon to add a block.
4
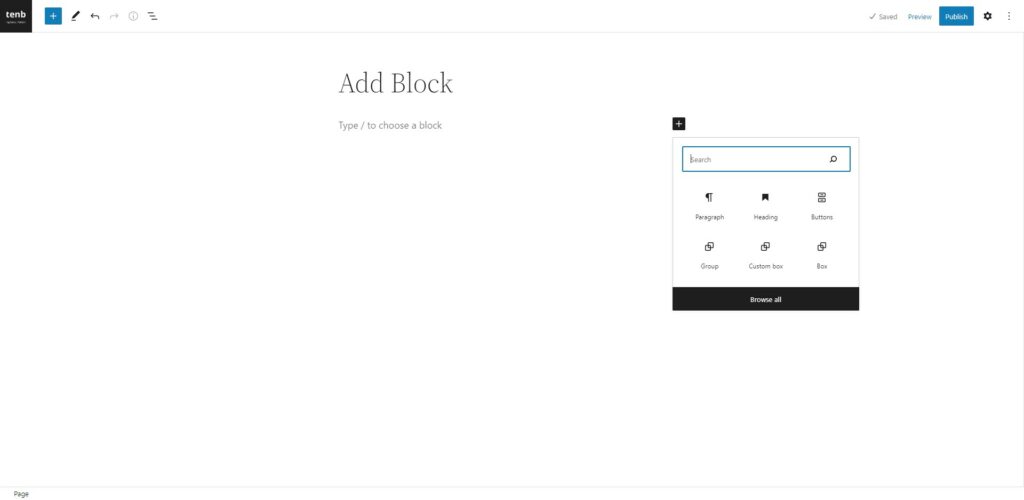
Option Three: You can quickly add a block to your post or page using the slash command.

5
You can also insert a block before or after an existing block. To do this, click on the three-dot icon next to the block you want to add a new block before or after

6
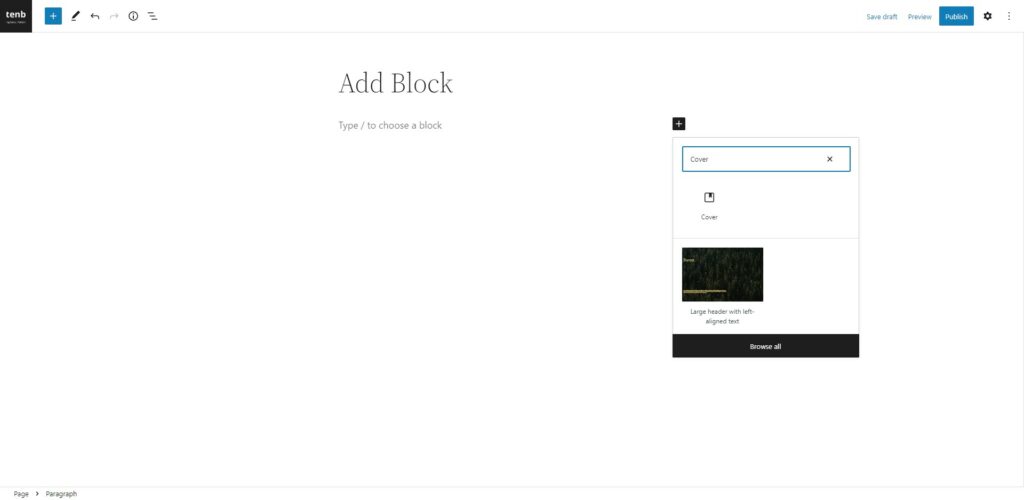
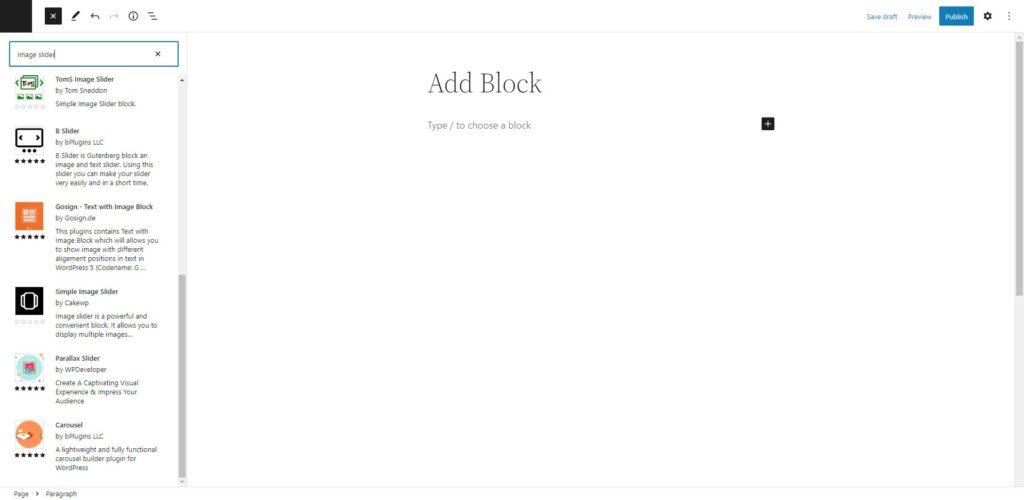
If you want to add a new block, click the + icon at the left side of the Blocks menu. A search box will appear at the top. Use this box to search for blocks quickly.
How To Install & Add 3rd Party Blocks From The Editor
7
When you find a new block in a page or post, the platform will first search for any blocks that come with the WordPress software. If it doesn’t find a match for what you’re looking for, it will then search the block directory, which includes blocks created by third-party developers. From there, you can choose a block from the list and install it on your site by clicking on it.
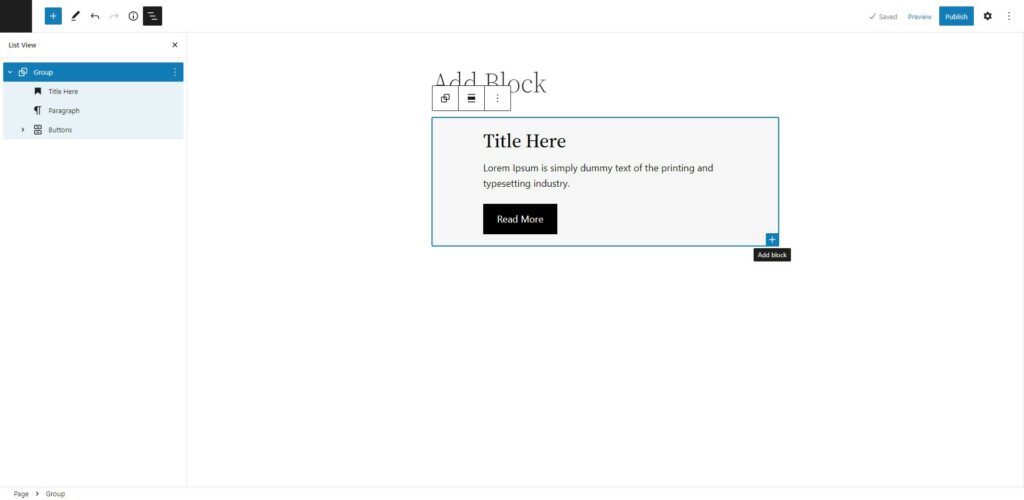
How To Add Nested Blocks
8
You can easily add blocks within blocks that allow nesting such as Group block, Row block, or Stack block.


Leave a Reply