Google Web Stories is a new format for visual storytelling on the web that is designed to be fast-loading and easy to view on any device. They are similar to Instagram or Snapchat stories, but they can be discovered and consumed on the open web. You can learn more about it from here.
In this post, we will walk you through the process of creating a Google Web Story using the Web Stories plugin by Google.
Step 1: Install the Web Stories plugin by Google
The first step in creating a Google Web Story is to install the Web Stories plugin. This plugin is available for free on the WordPress repository. It can be easily installed by going to the “Plugins” section of your WordPress dashboard and searching for “Web Stories by Google.” Once you’ve located the plugin, click the “Install” button and activate it.
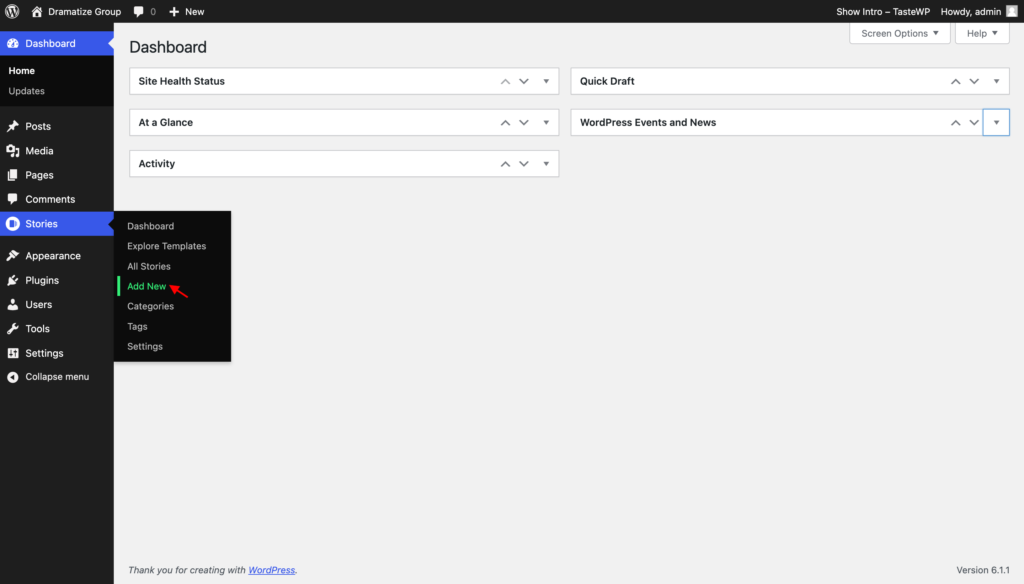
Step 2: Create a new story
Once the plugin is installed and activated, you can create a new story by going to “Stories” in the WordPress dashboard and then clicking on “Add New.”
Step 3: Add content to your story
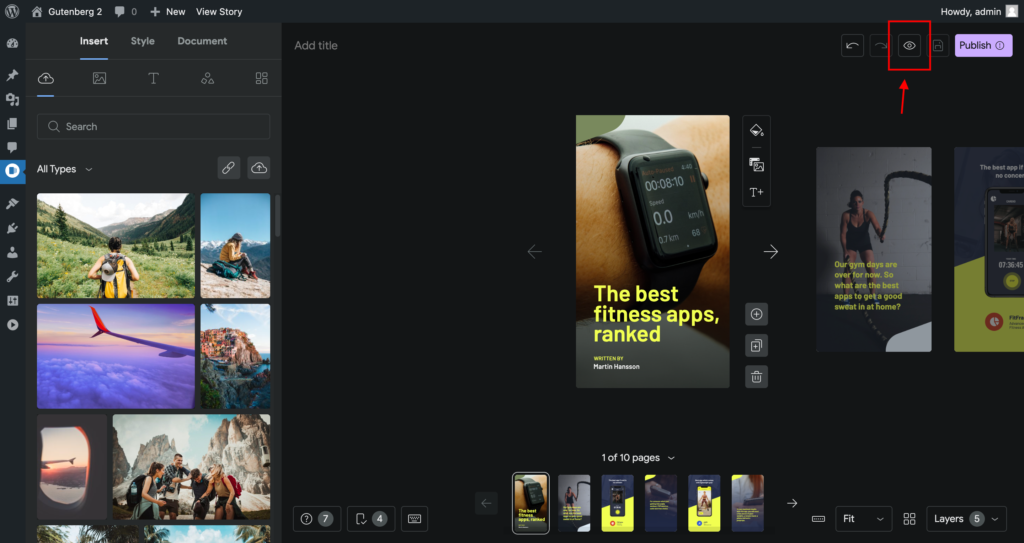
With the new story created, you can now add content to it. You can add text, images, videos, and other media to your story using the built-in editor.
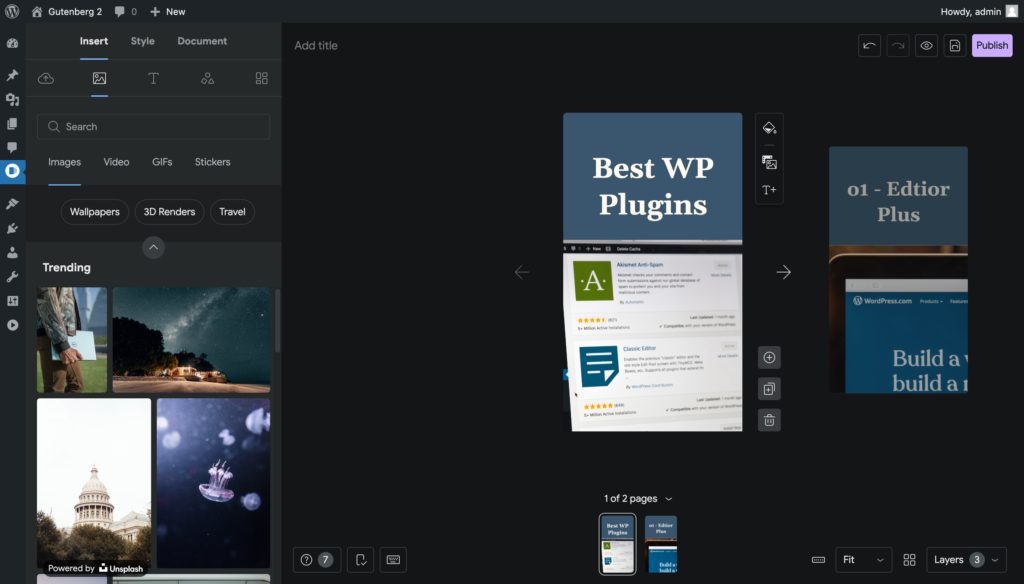
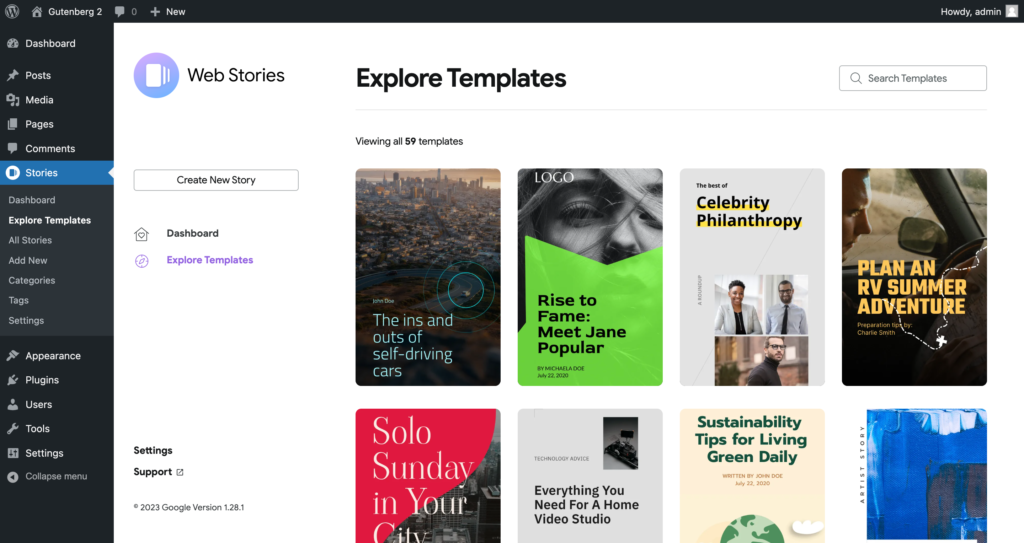
The plugin also provides several pre-built templates to help you create professional-looking stories quickly.
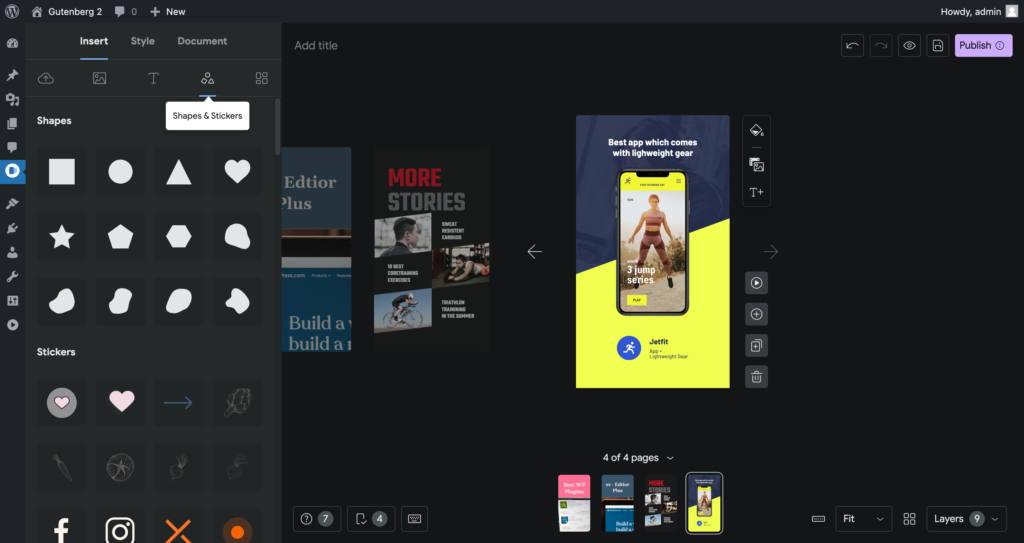
Step 4: Customize the design of your story
The Web Stories plugin by Google provides a wide range of customization options to help you create a unique and engaging story. You can change the background color, add a cover image, and even add animations to your story.
Step 5: Preview and publish your story
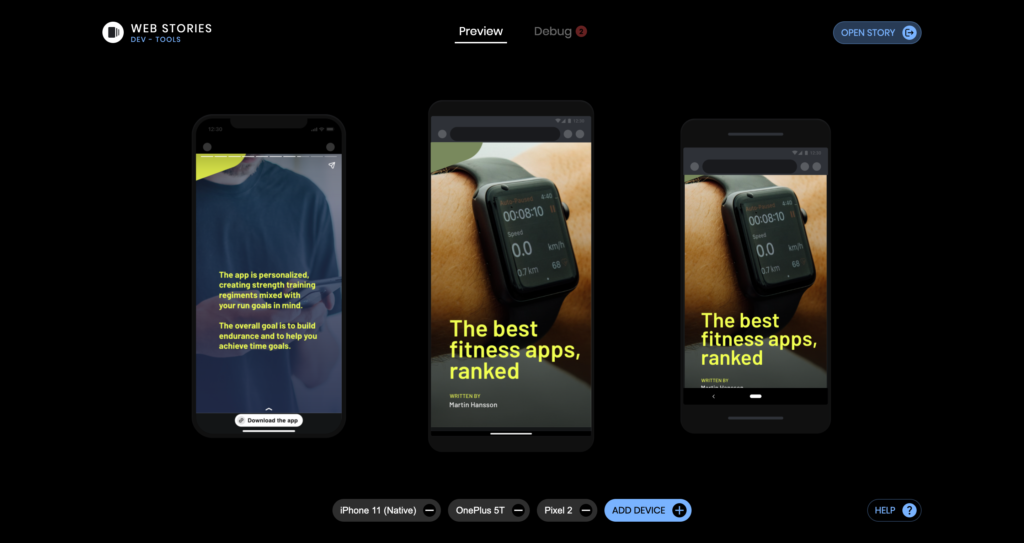
Once you’ve finished creating and customizing your story, you can preview it by clicking on the eye button to ensure it looks how you want it to.
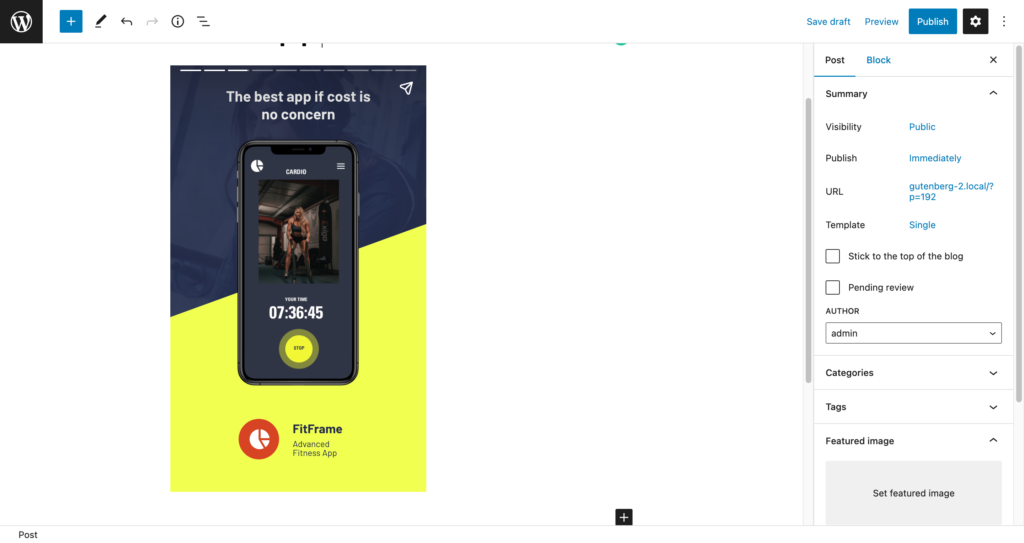
Once you’re satisfied with how it looks, you can publish it to your website by clicking on the “Publish” button located at the top right corner of the editing screen.
When you click on the “Publish” button, a pop-up window will appear where you can add a cover image, story title, and description set the permalink, and choose to either publish the story immediately or schedule it for a later date.

The cover image is the first thing that your audience will see when they come across your story, so it’s important to choose an image that is visually appealing and represents your story well. The title and description are also important as they help to give a brief overview of what the story is about and entice the audience to click and read.
The permalink is the link that directs users to your story, and you can customize it to your liking. It is advisable to keep it simple and easy to remember for your audience.
Once you’ve added the cover image, title, and description, and set the permalink, you can choose to either publish the story immediately or schedule it for a later date. If you choose to schedule it, you can set the date and time you would like the story to be published.
Once you’ve finished making your final adjustments, click on the “Publish” button to add the story to your website.
Congratulations, you’ve successfully created a Web Story.
Share your story
Once your story is published, you can share it on social media and other platforms to drive traffic to your website. You can also use Google’s Web Stories platform to submit your story to be featured in Google Search results.
Conclusion
In conclusion, creating a Google Web Story using the Web Stories plugin by Google is a simple process. With this plugin, you can easily create professional-looking stories that are optimized for fast loading and easy viewing on any device. Additionally, the plugin provides a range of customization options to help you create a unique and engaging story that stands out from the crowd.


Leave a Reply