Video Version
Recently, the WordPress theme team released a new block theme called Stacks for building slide decks, which has caught the attention of many WordPress enthusiasts. This theme allows users to create visually appealing slide decks. However, not everyone wants to switch to a theme just for the sake of creating slide decks. Additionally, not always we need the whole page to have this stacking effect.
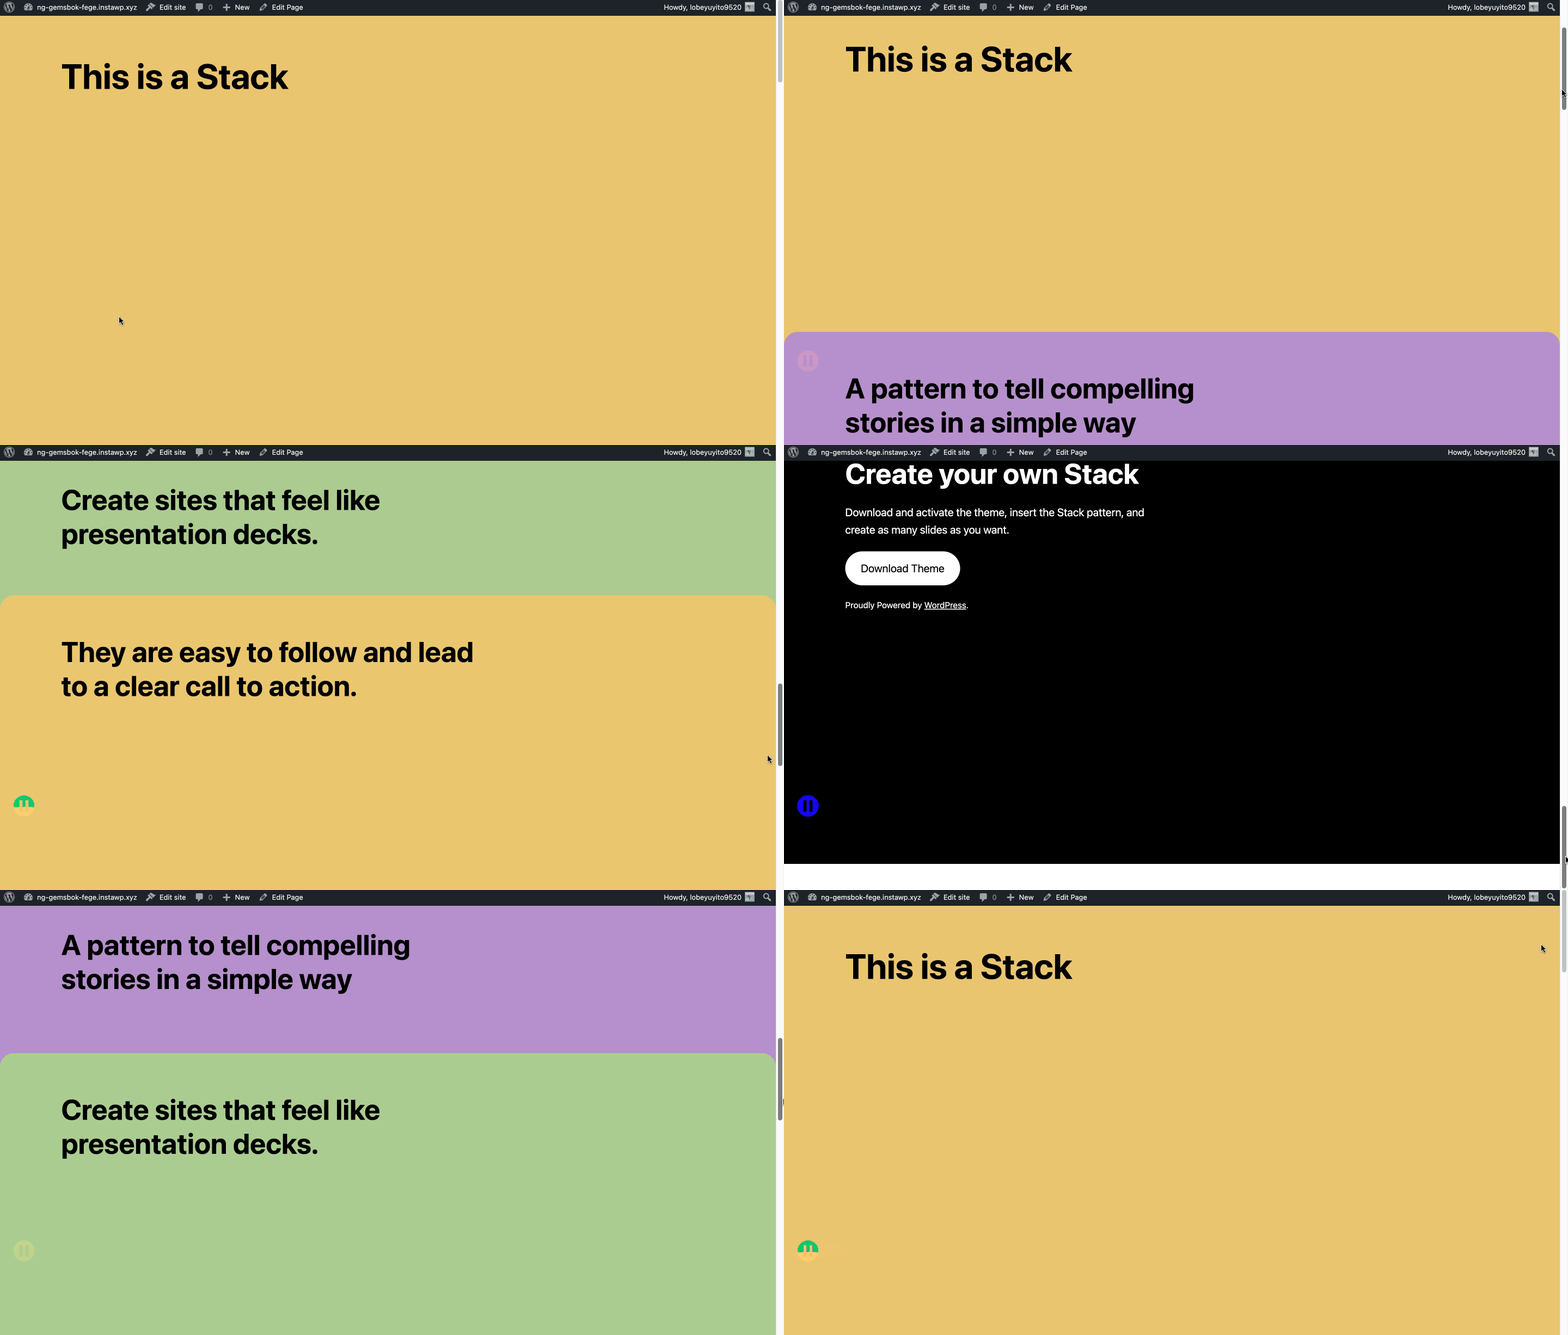
In this tutorial, I’ll show you how to create stack sections in WordPress Gutenberg without switching a block theme. With this effect, you can create stunning, full-height sections that stack on top of each other, perfect for creating slide decks or stacking sections.
Create the Layout
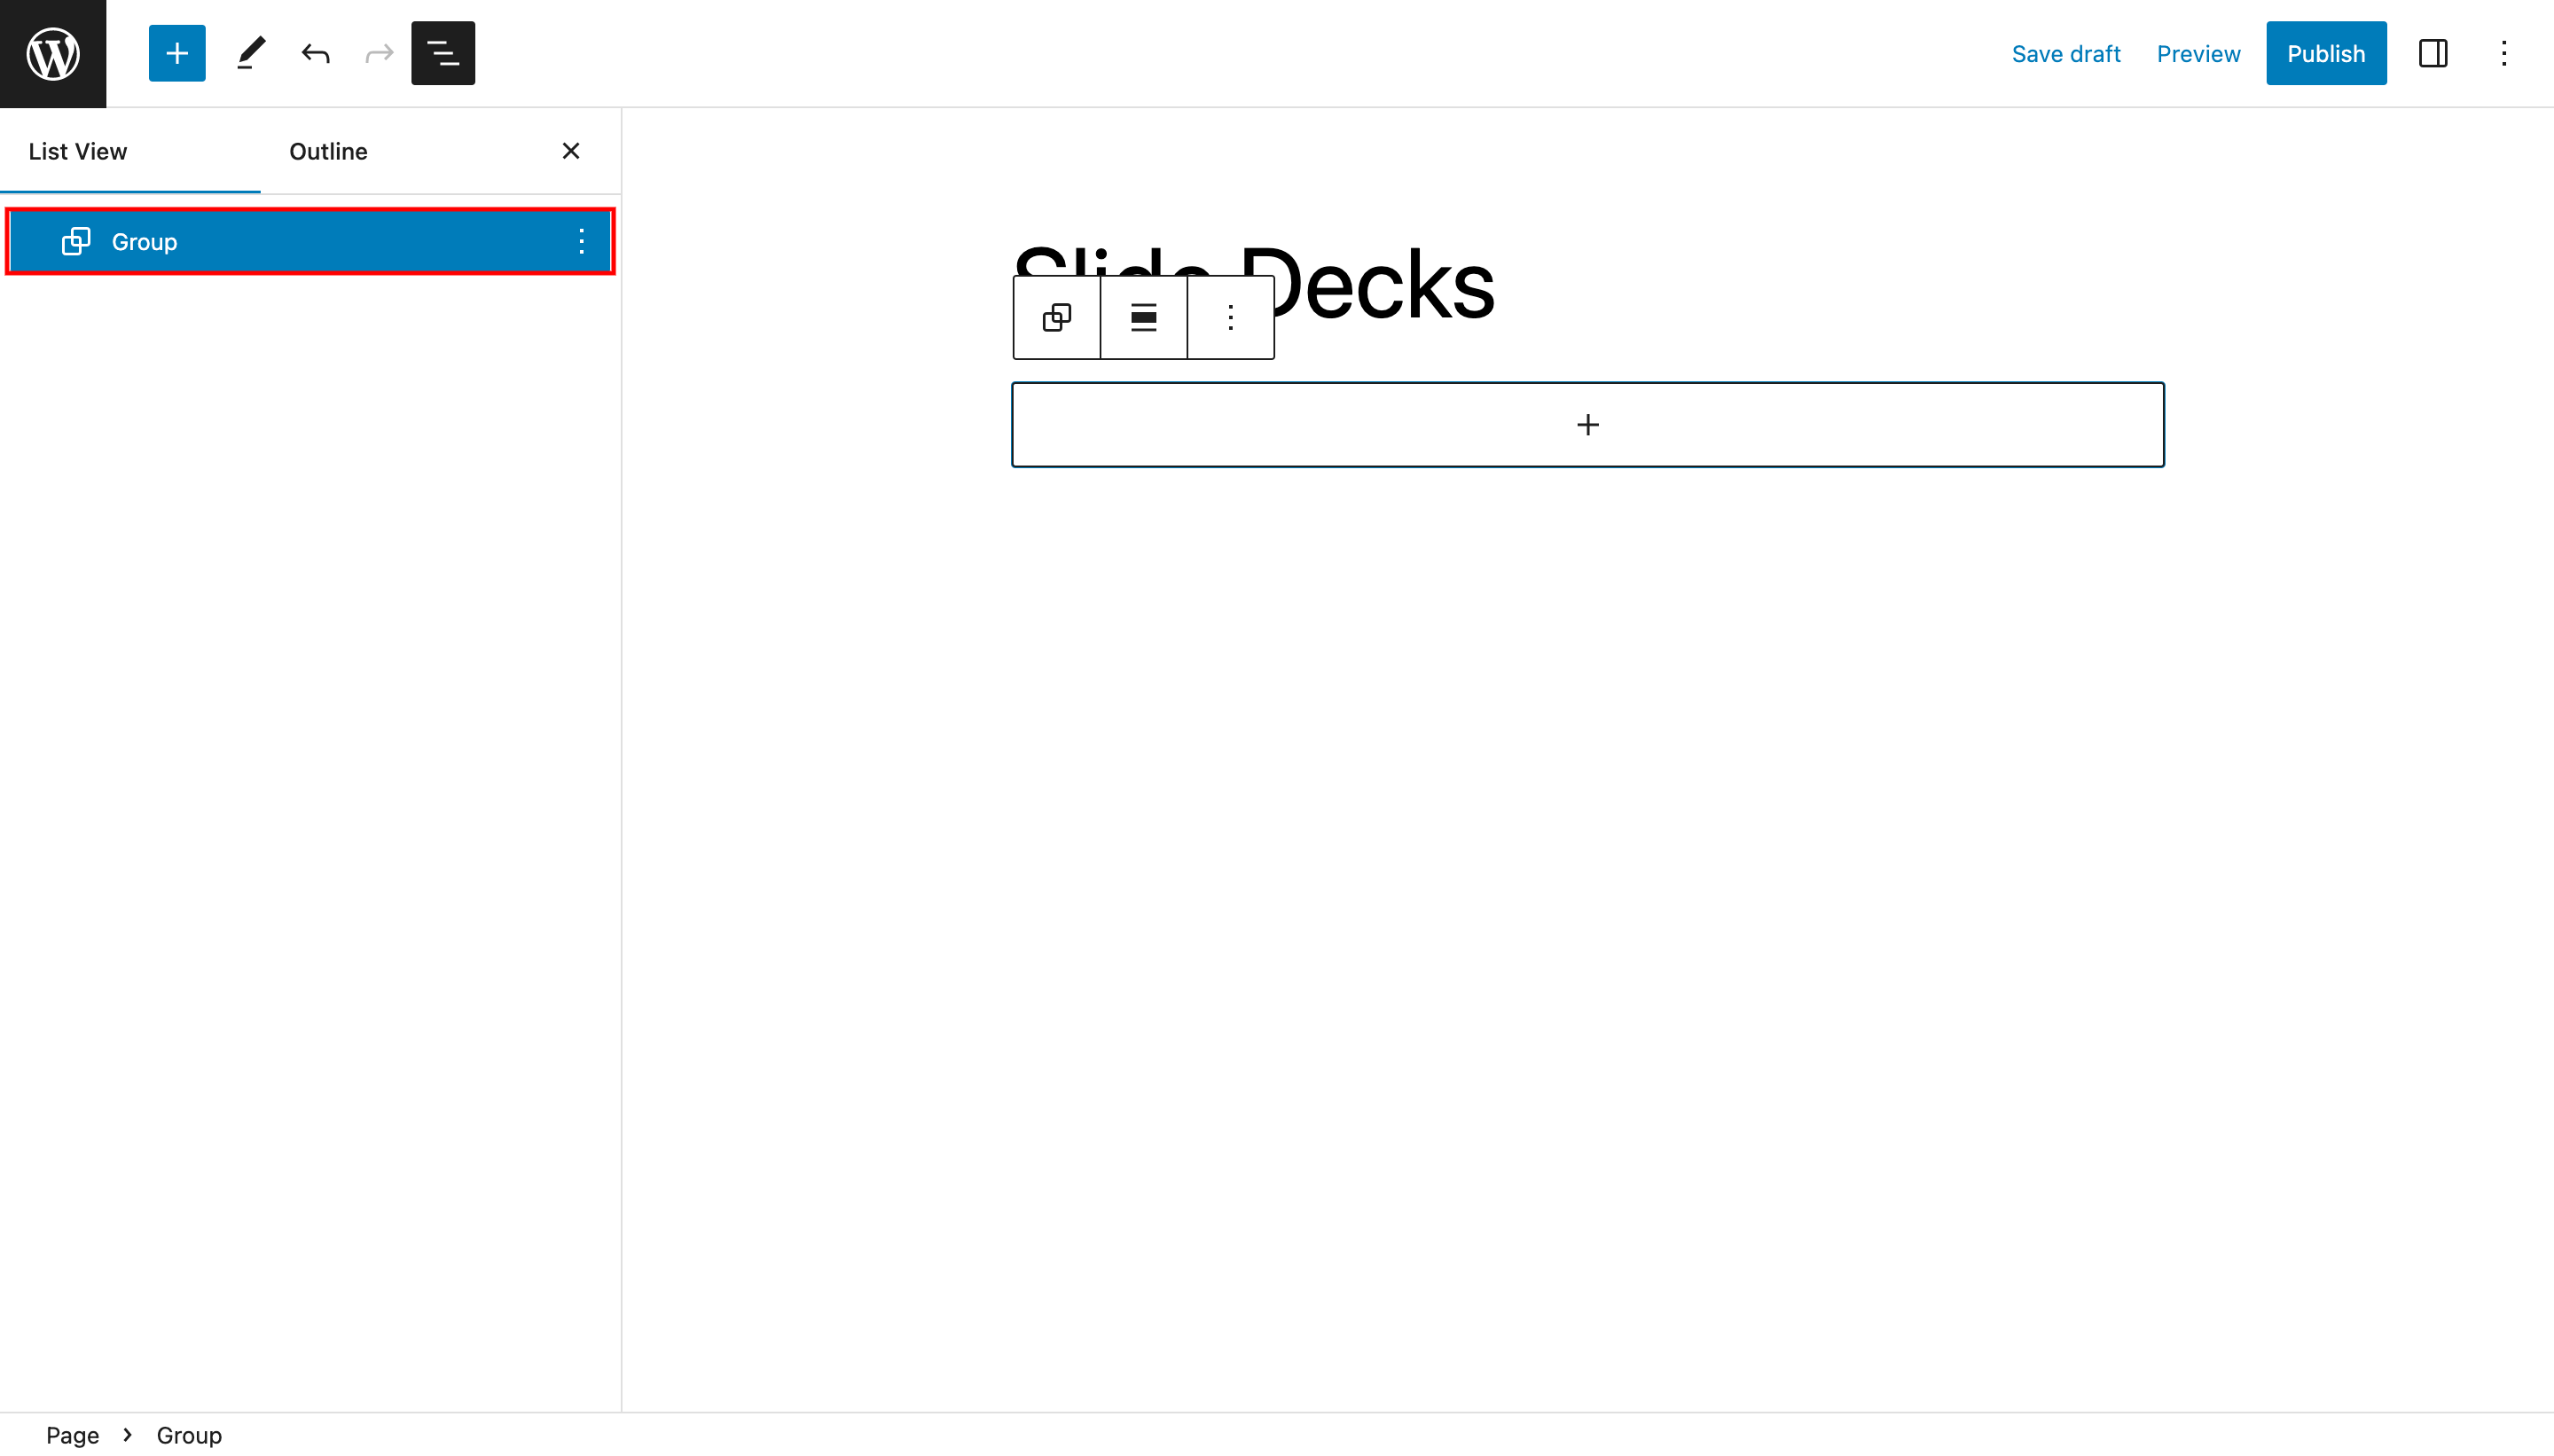
Let’s get started with a blank page in Gutenberg. The first thing we’ll do is add a Group block, which will act as the parent container for our stacked sections.
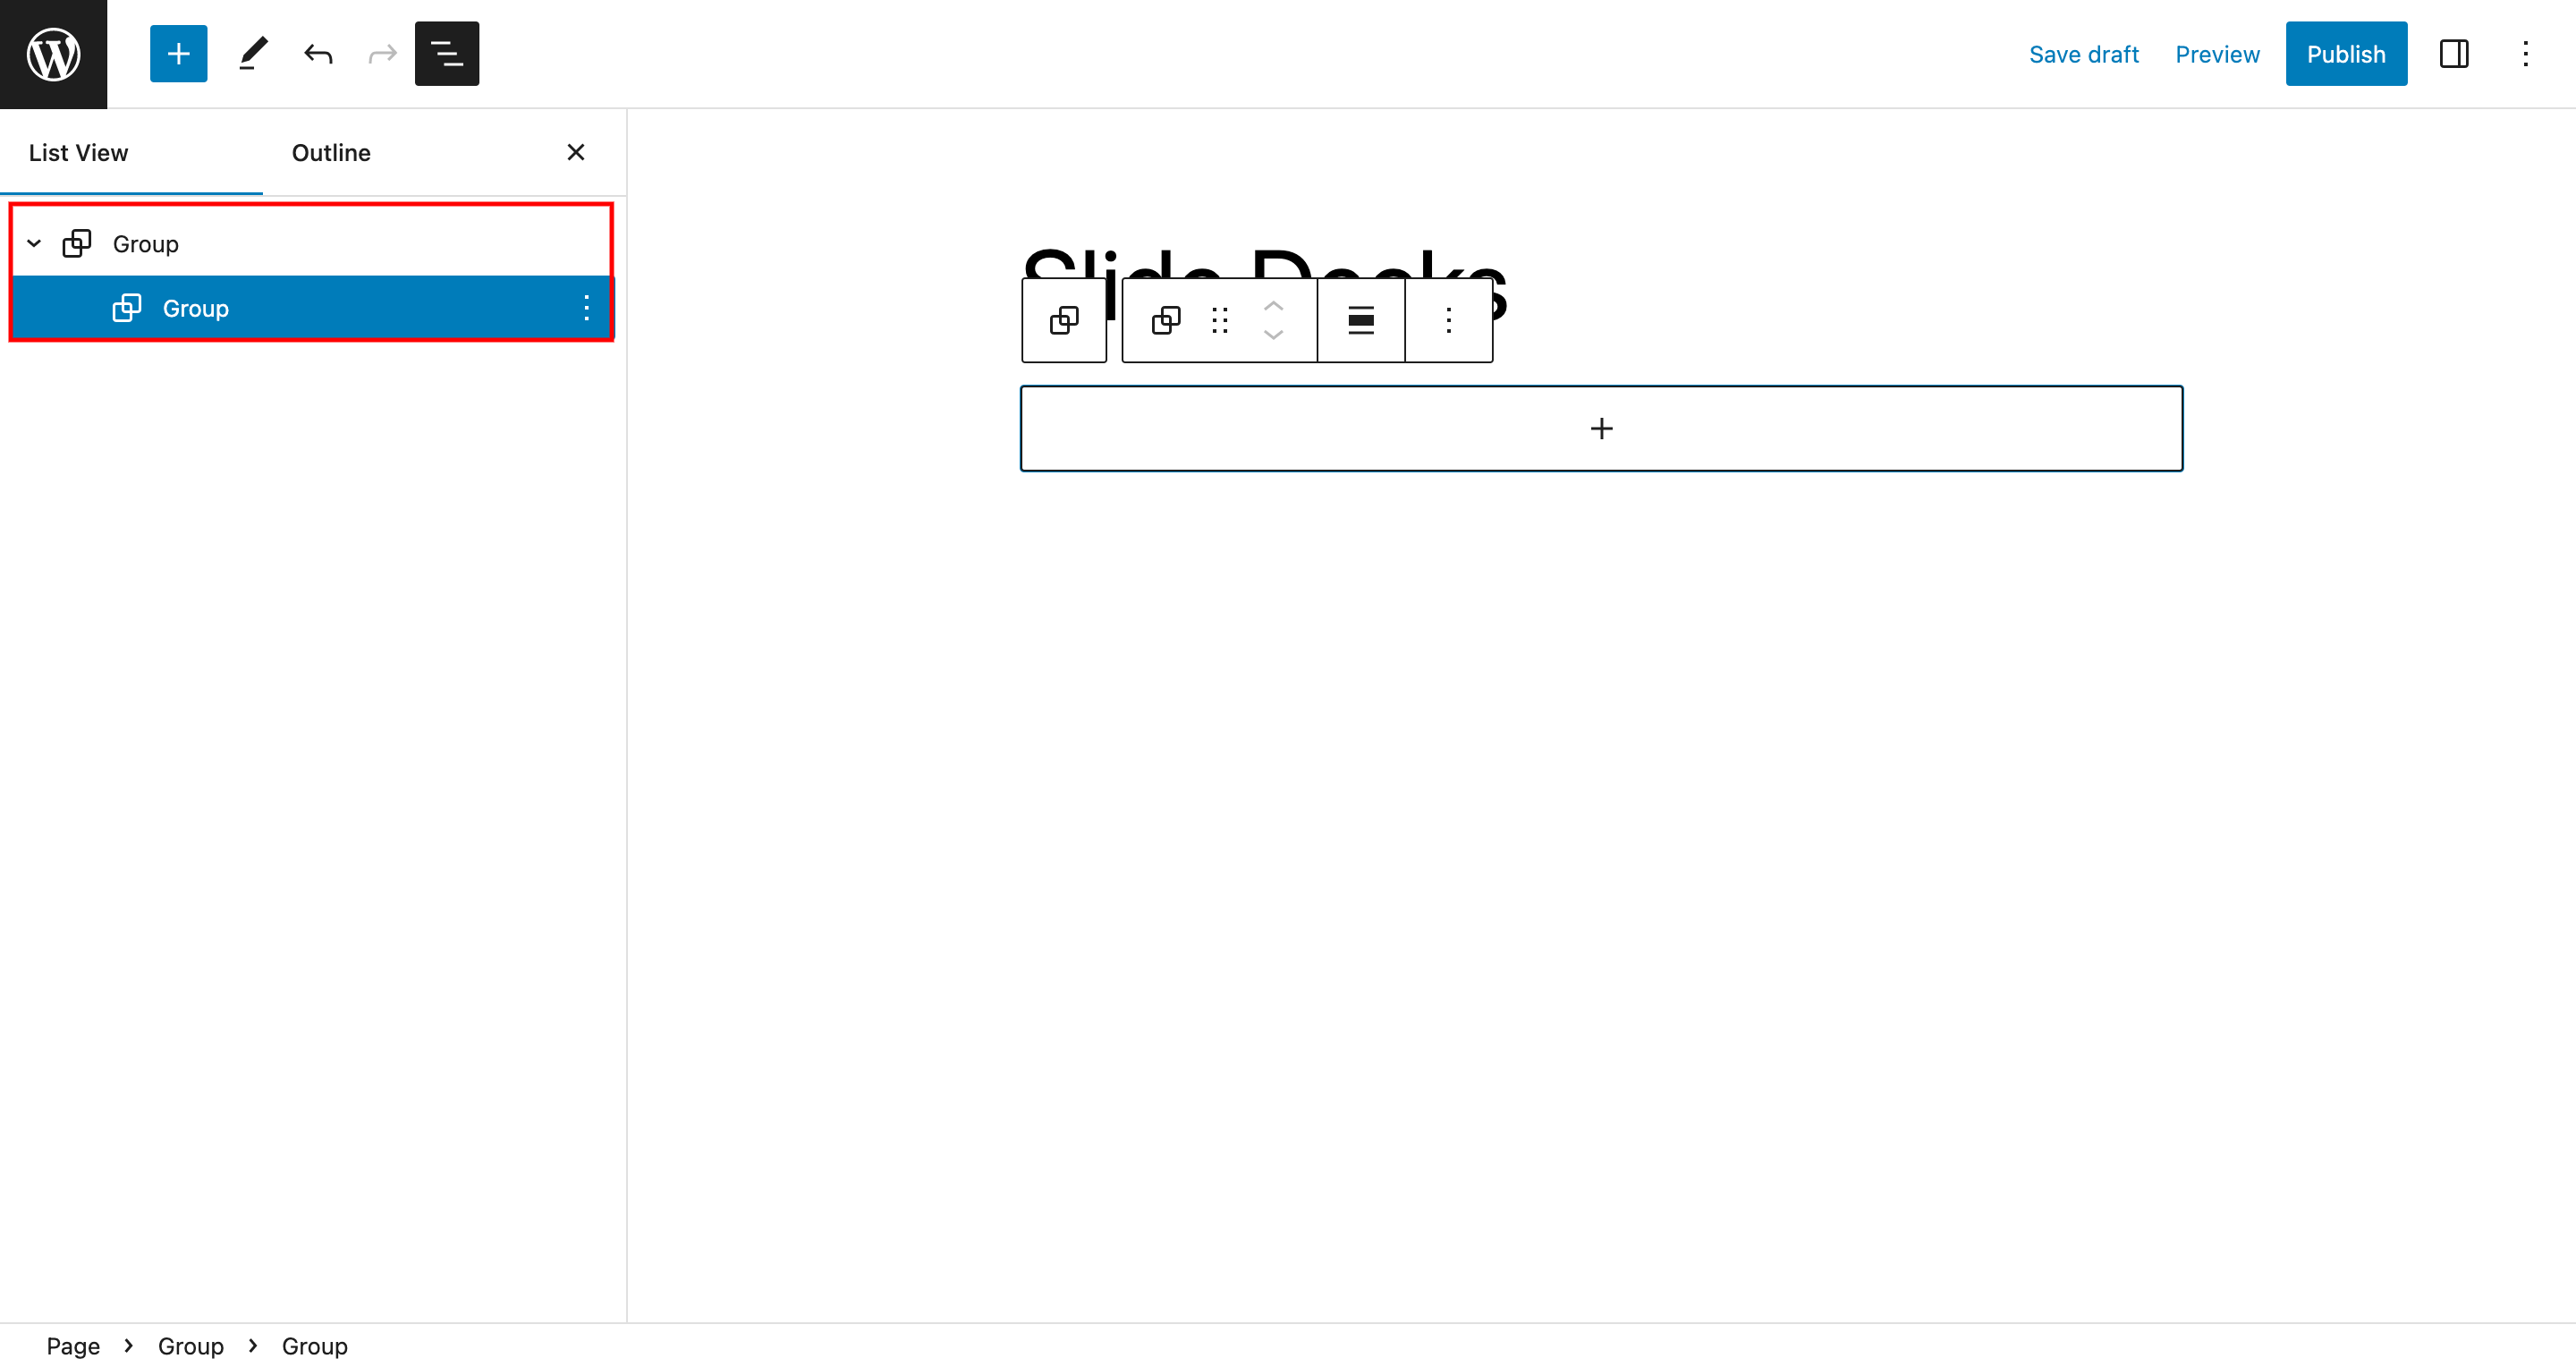
Inside this group, we’ll add another Group block for each section we want to stack.
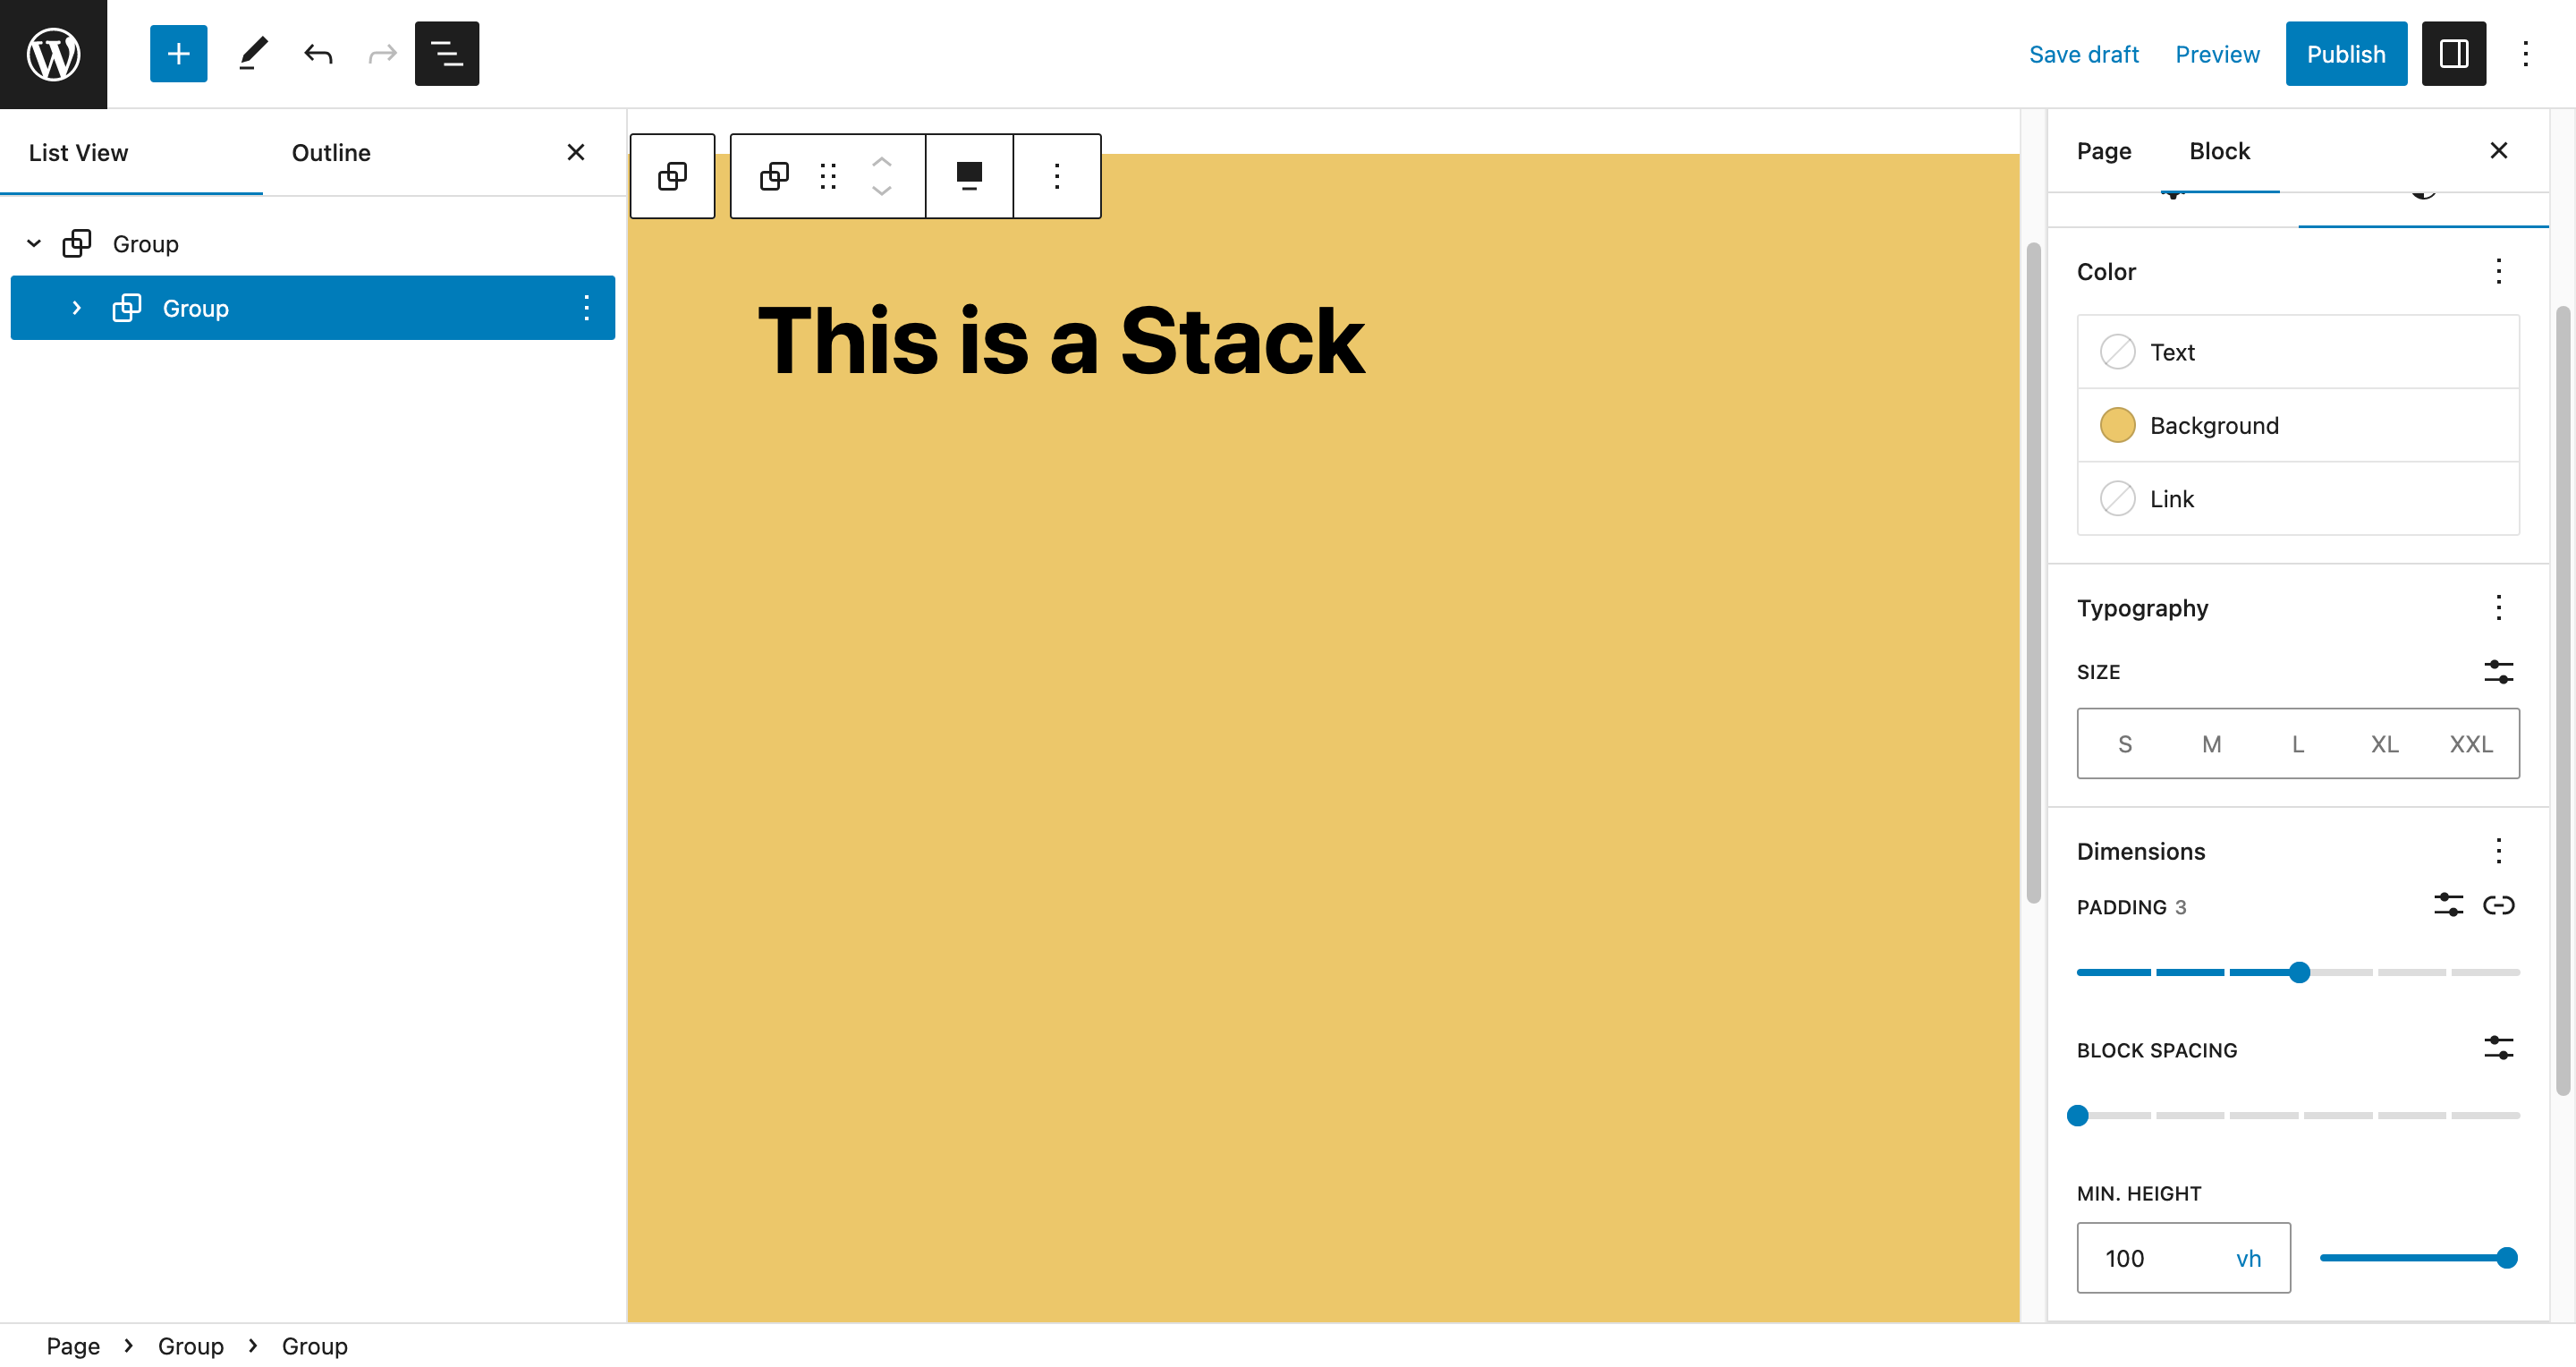
Add your content inside each child group. Then, customize the child groups by setting their minimum height to 100vh, which fills the viewport height. You can also add styles such as background color, padding, and border-radius to further customize the design.
Create the Stacking Effect
Now that we have our layout and content in place, it’s time to add the stacking effect.
Add a CSS Class
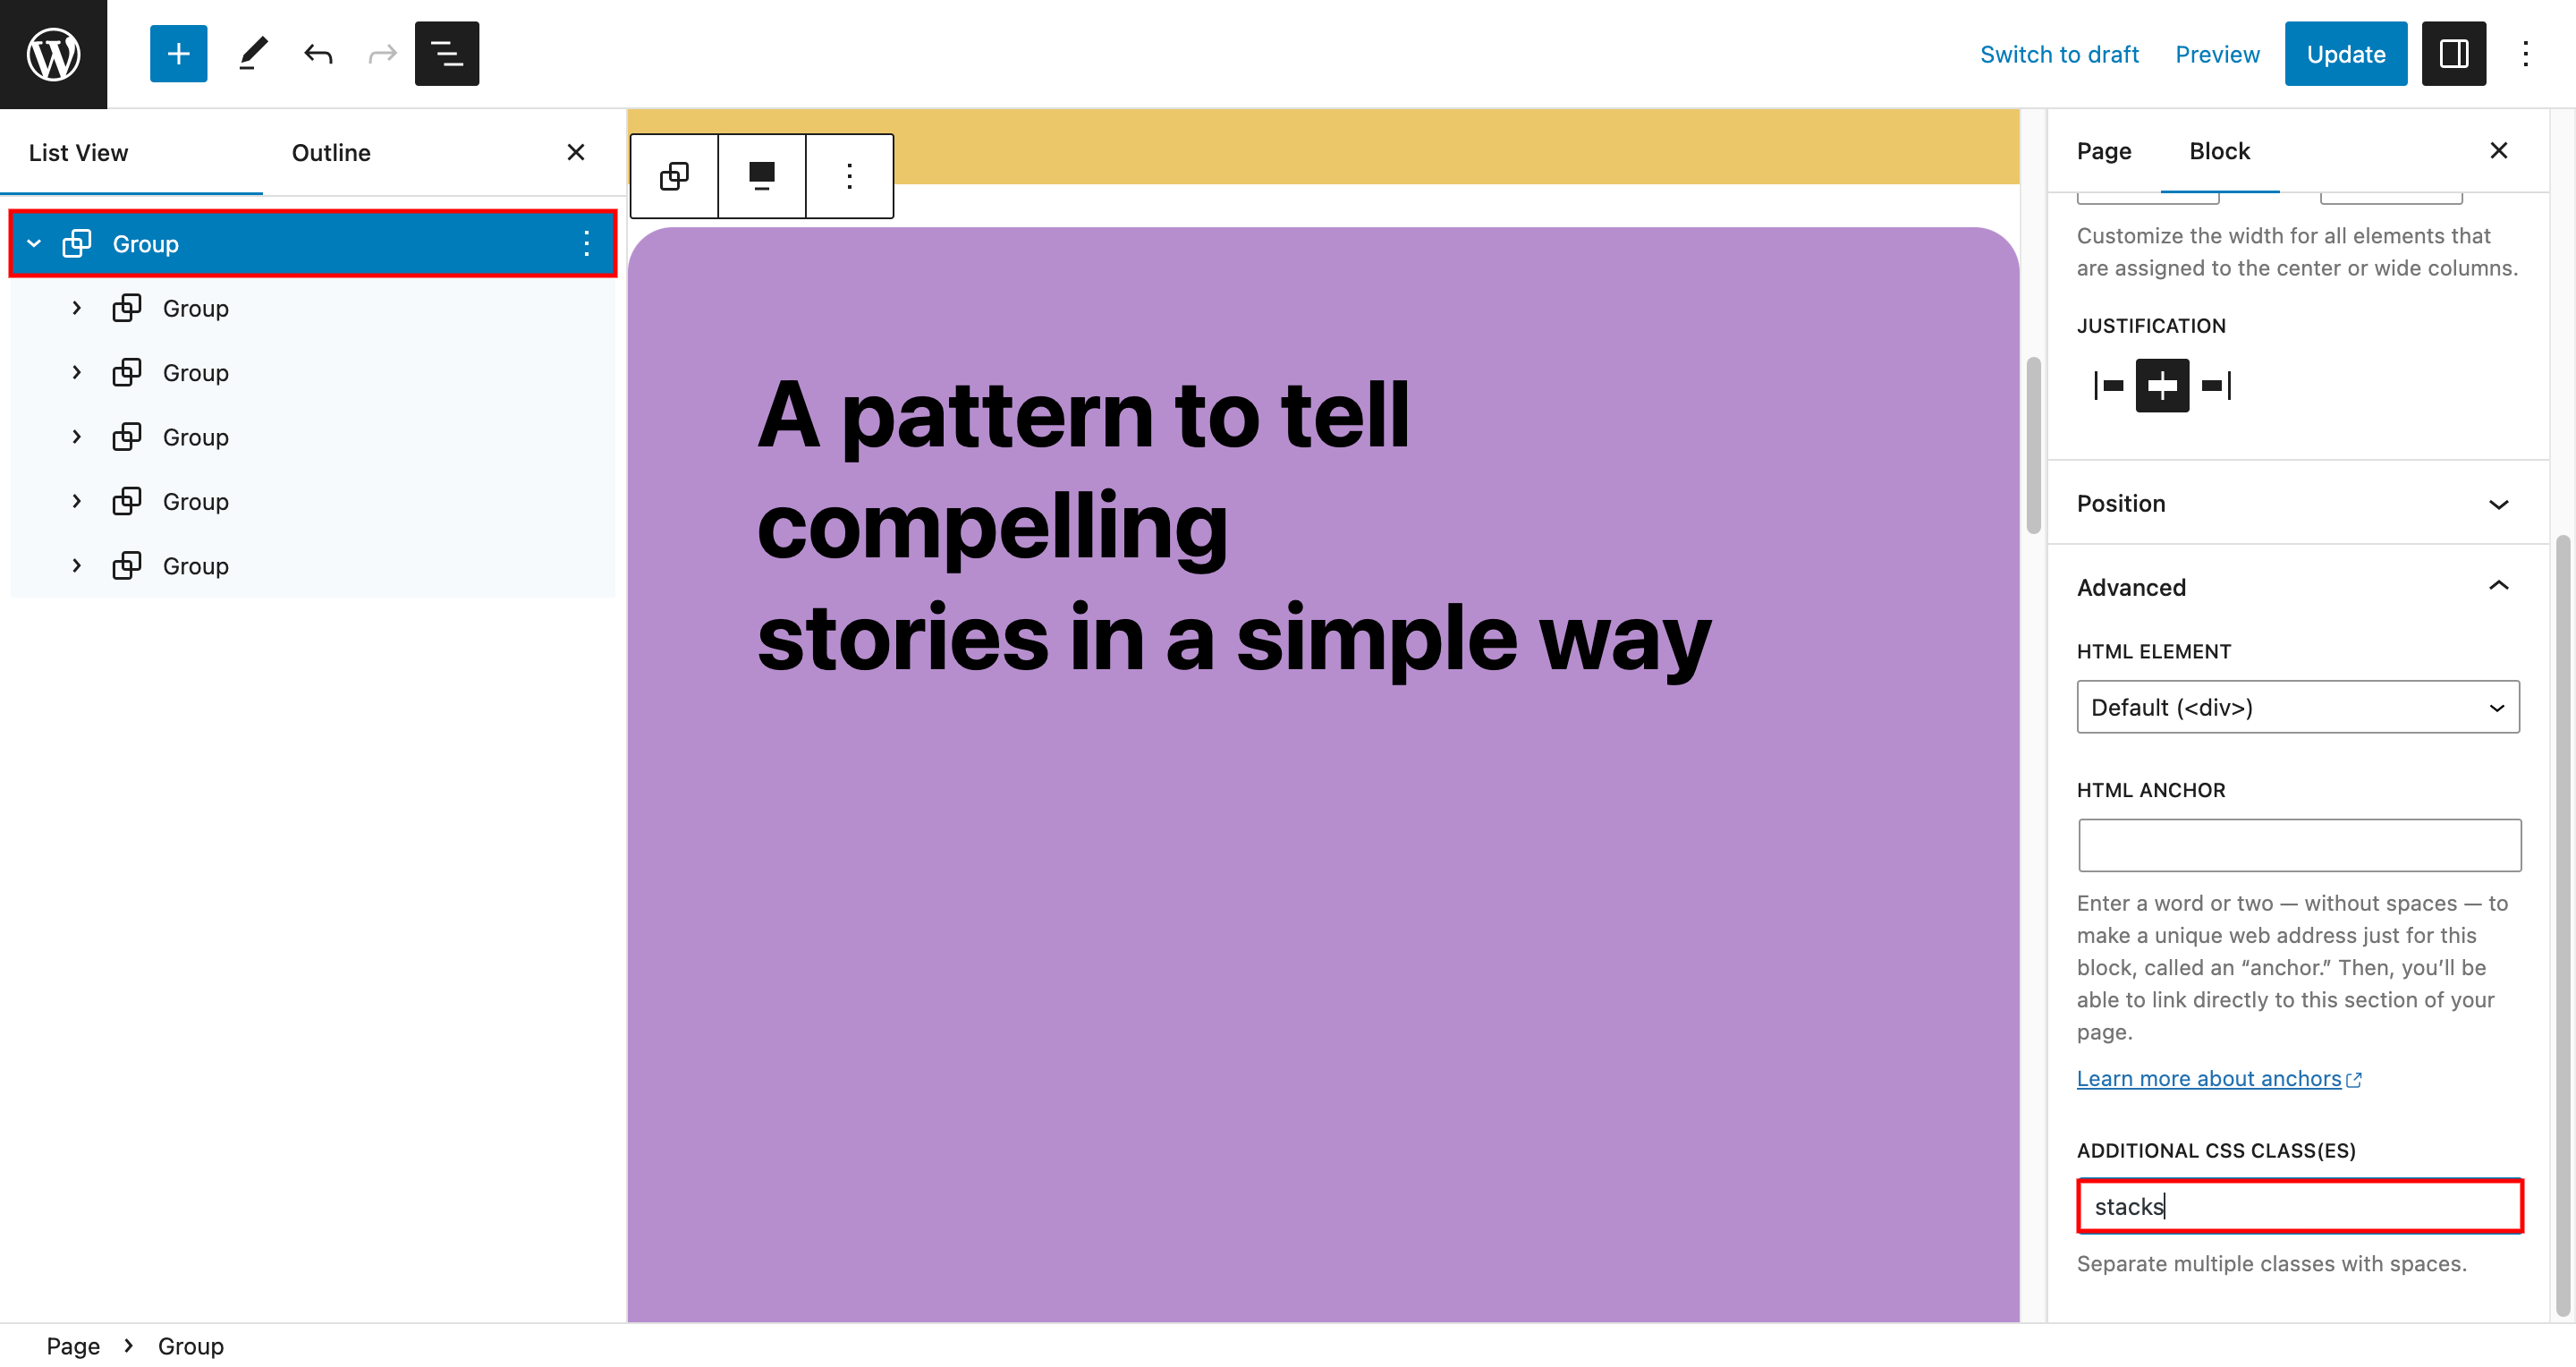
We need to add a CSS Class to the parent group called “stacking” which we’ll use in our CSS to target this specific group.
The Magic CSS Code
.stacking .wp-block-group{
    position: sticky;
    top: 0;
    z-index: 10;
}
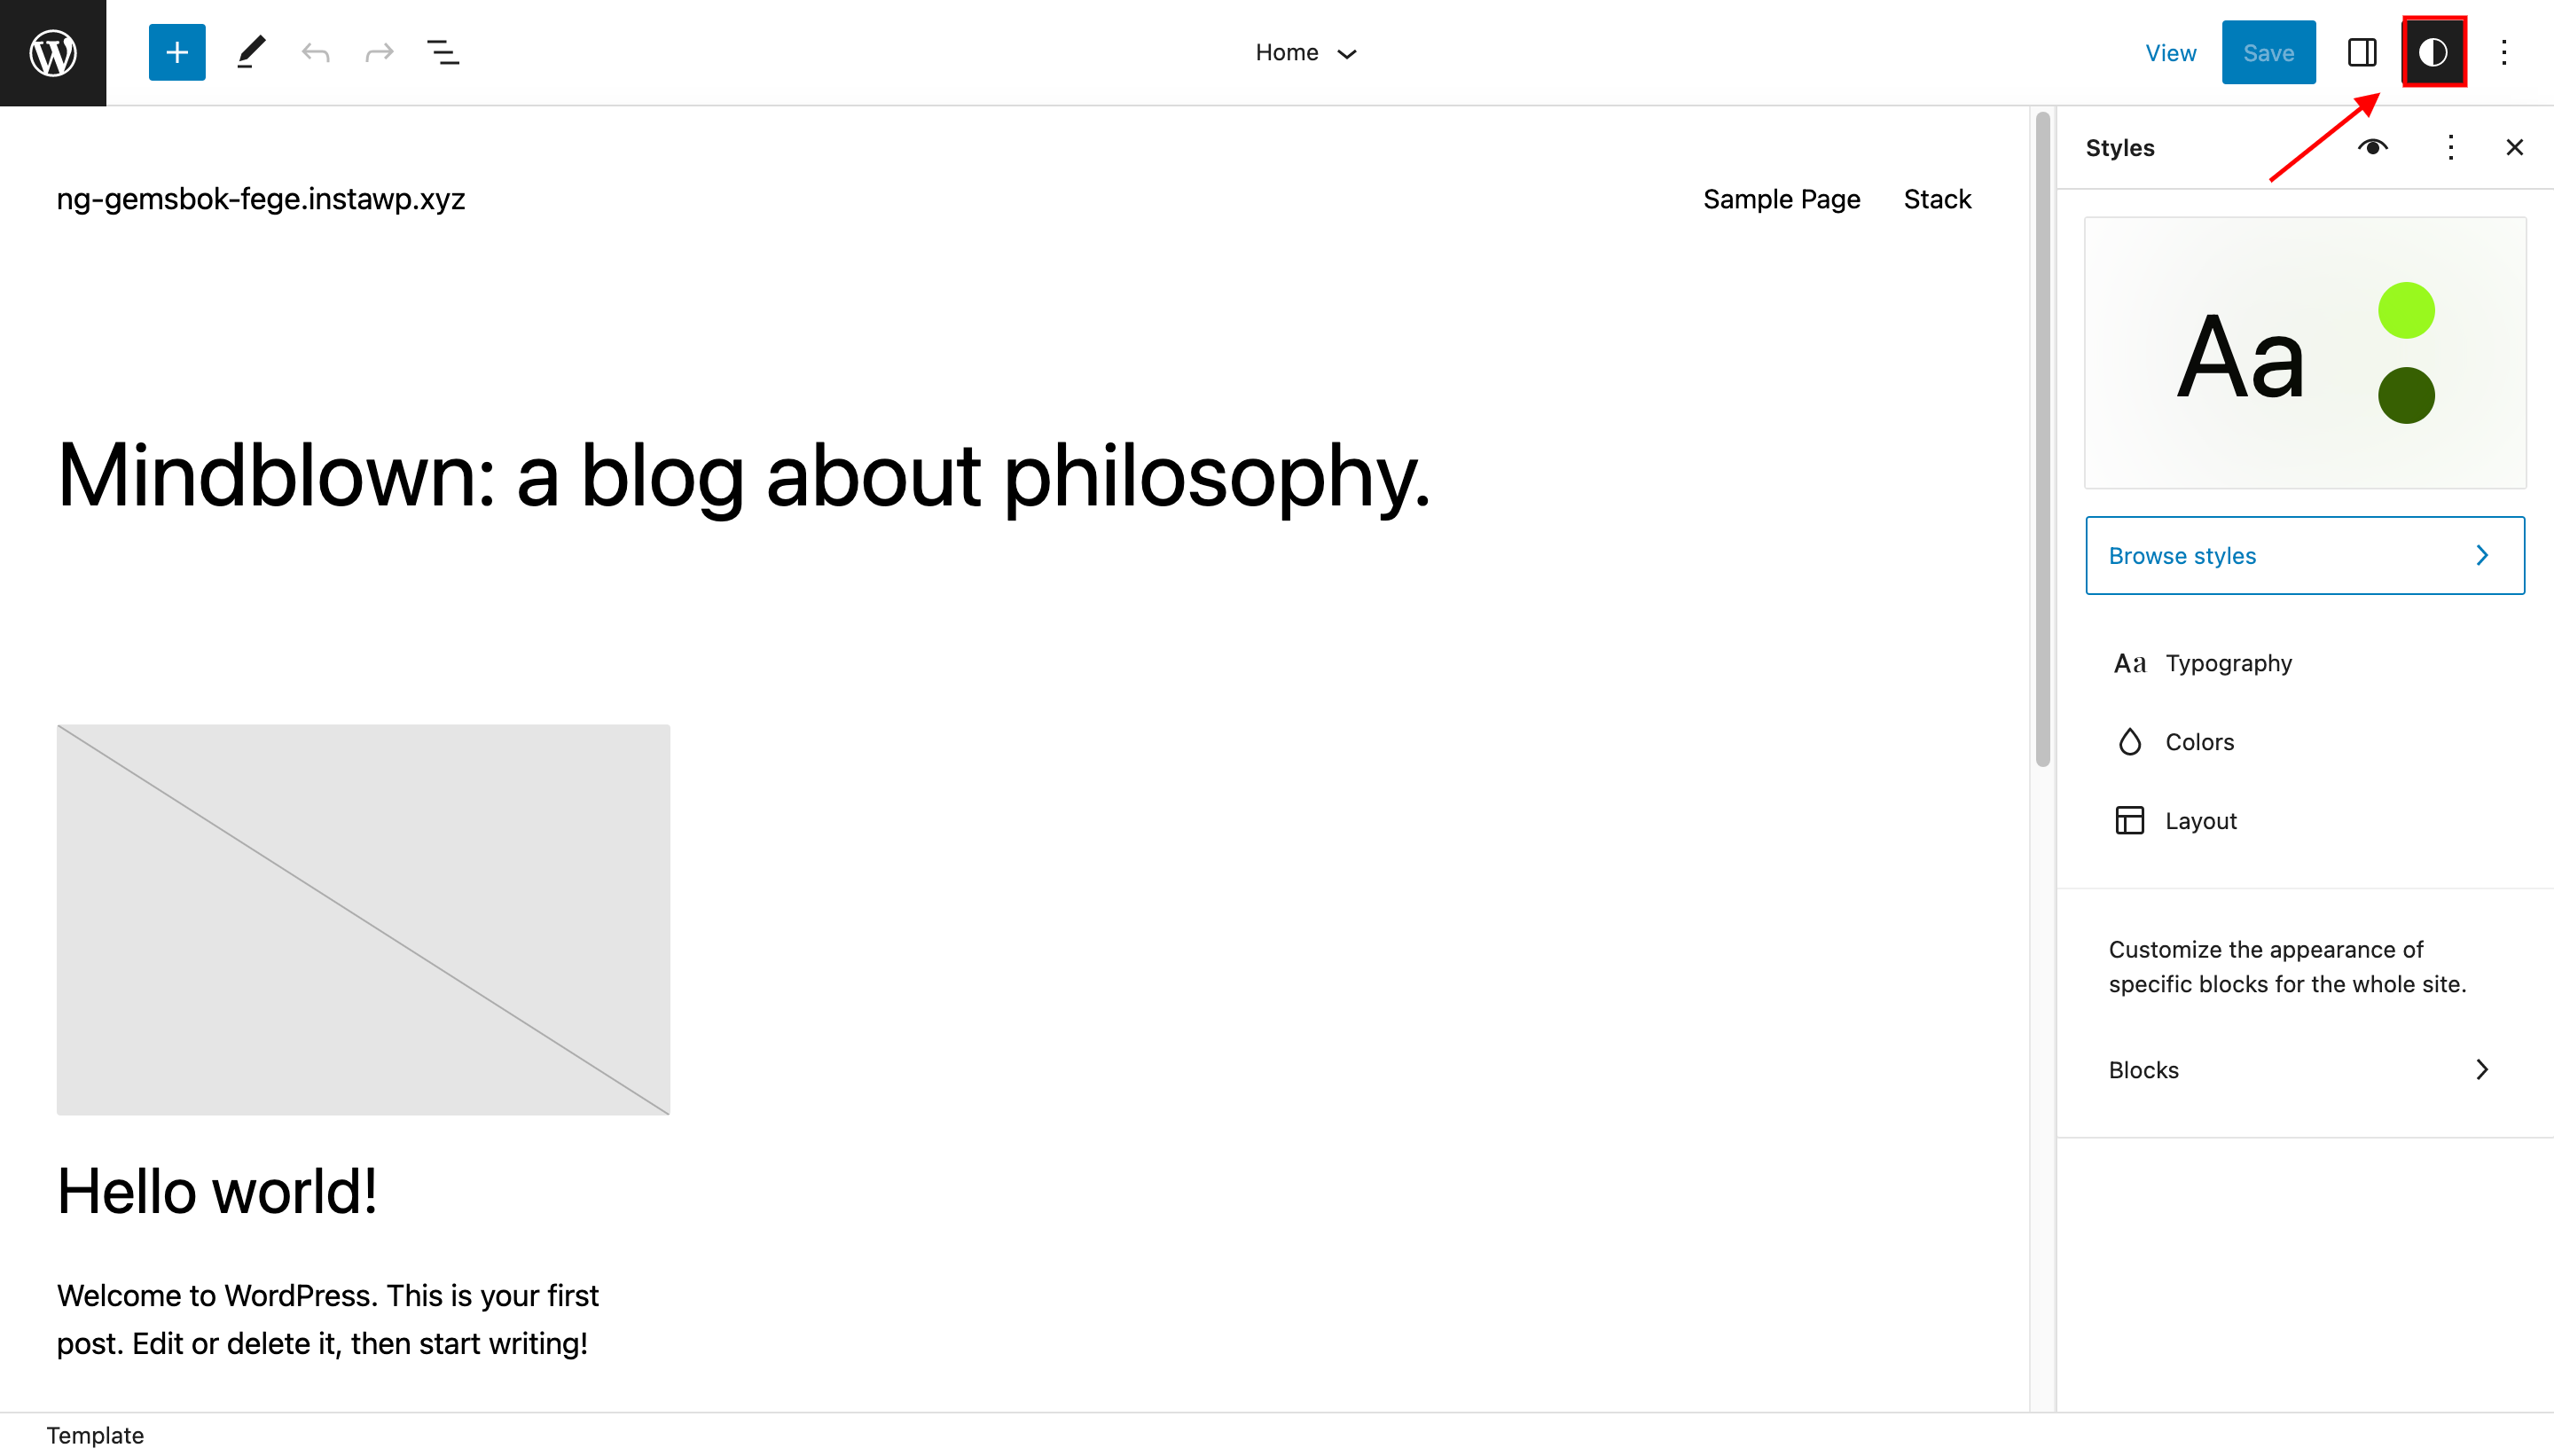
Now, we’ll need to add some simple CSS code to make it all work. To do this, go to Full Site Editing (FSE) and click on “Styles Icon in the top toolbar”.
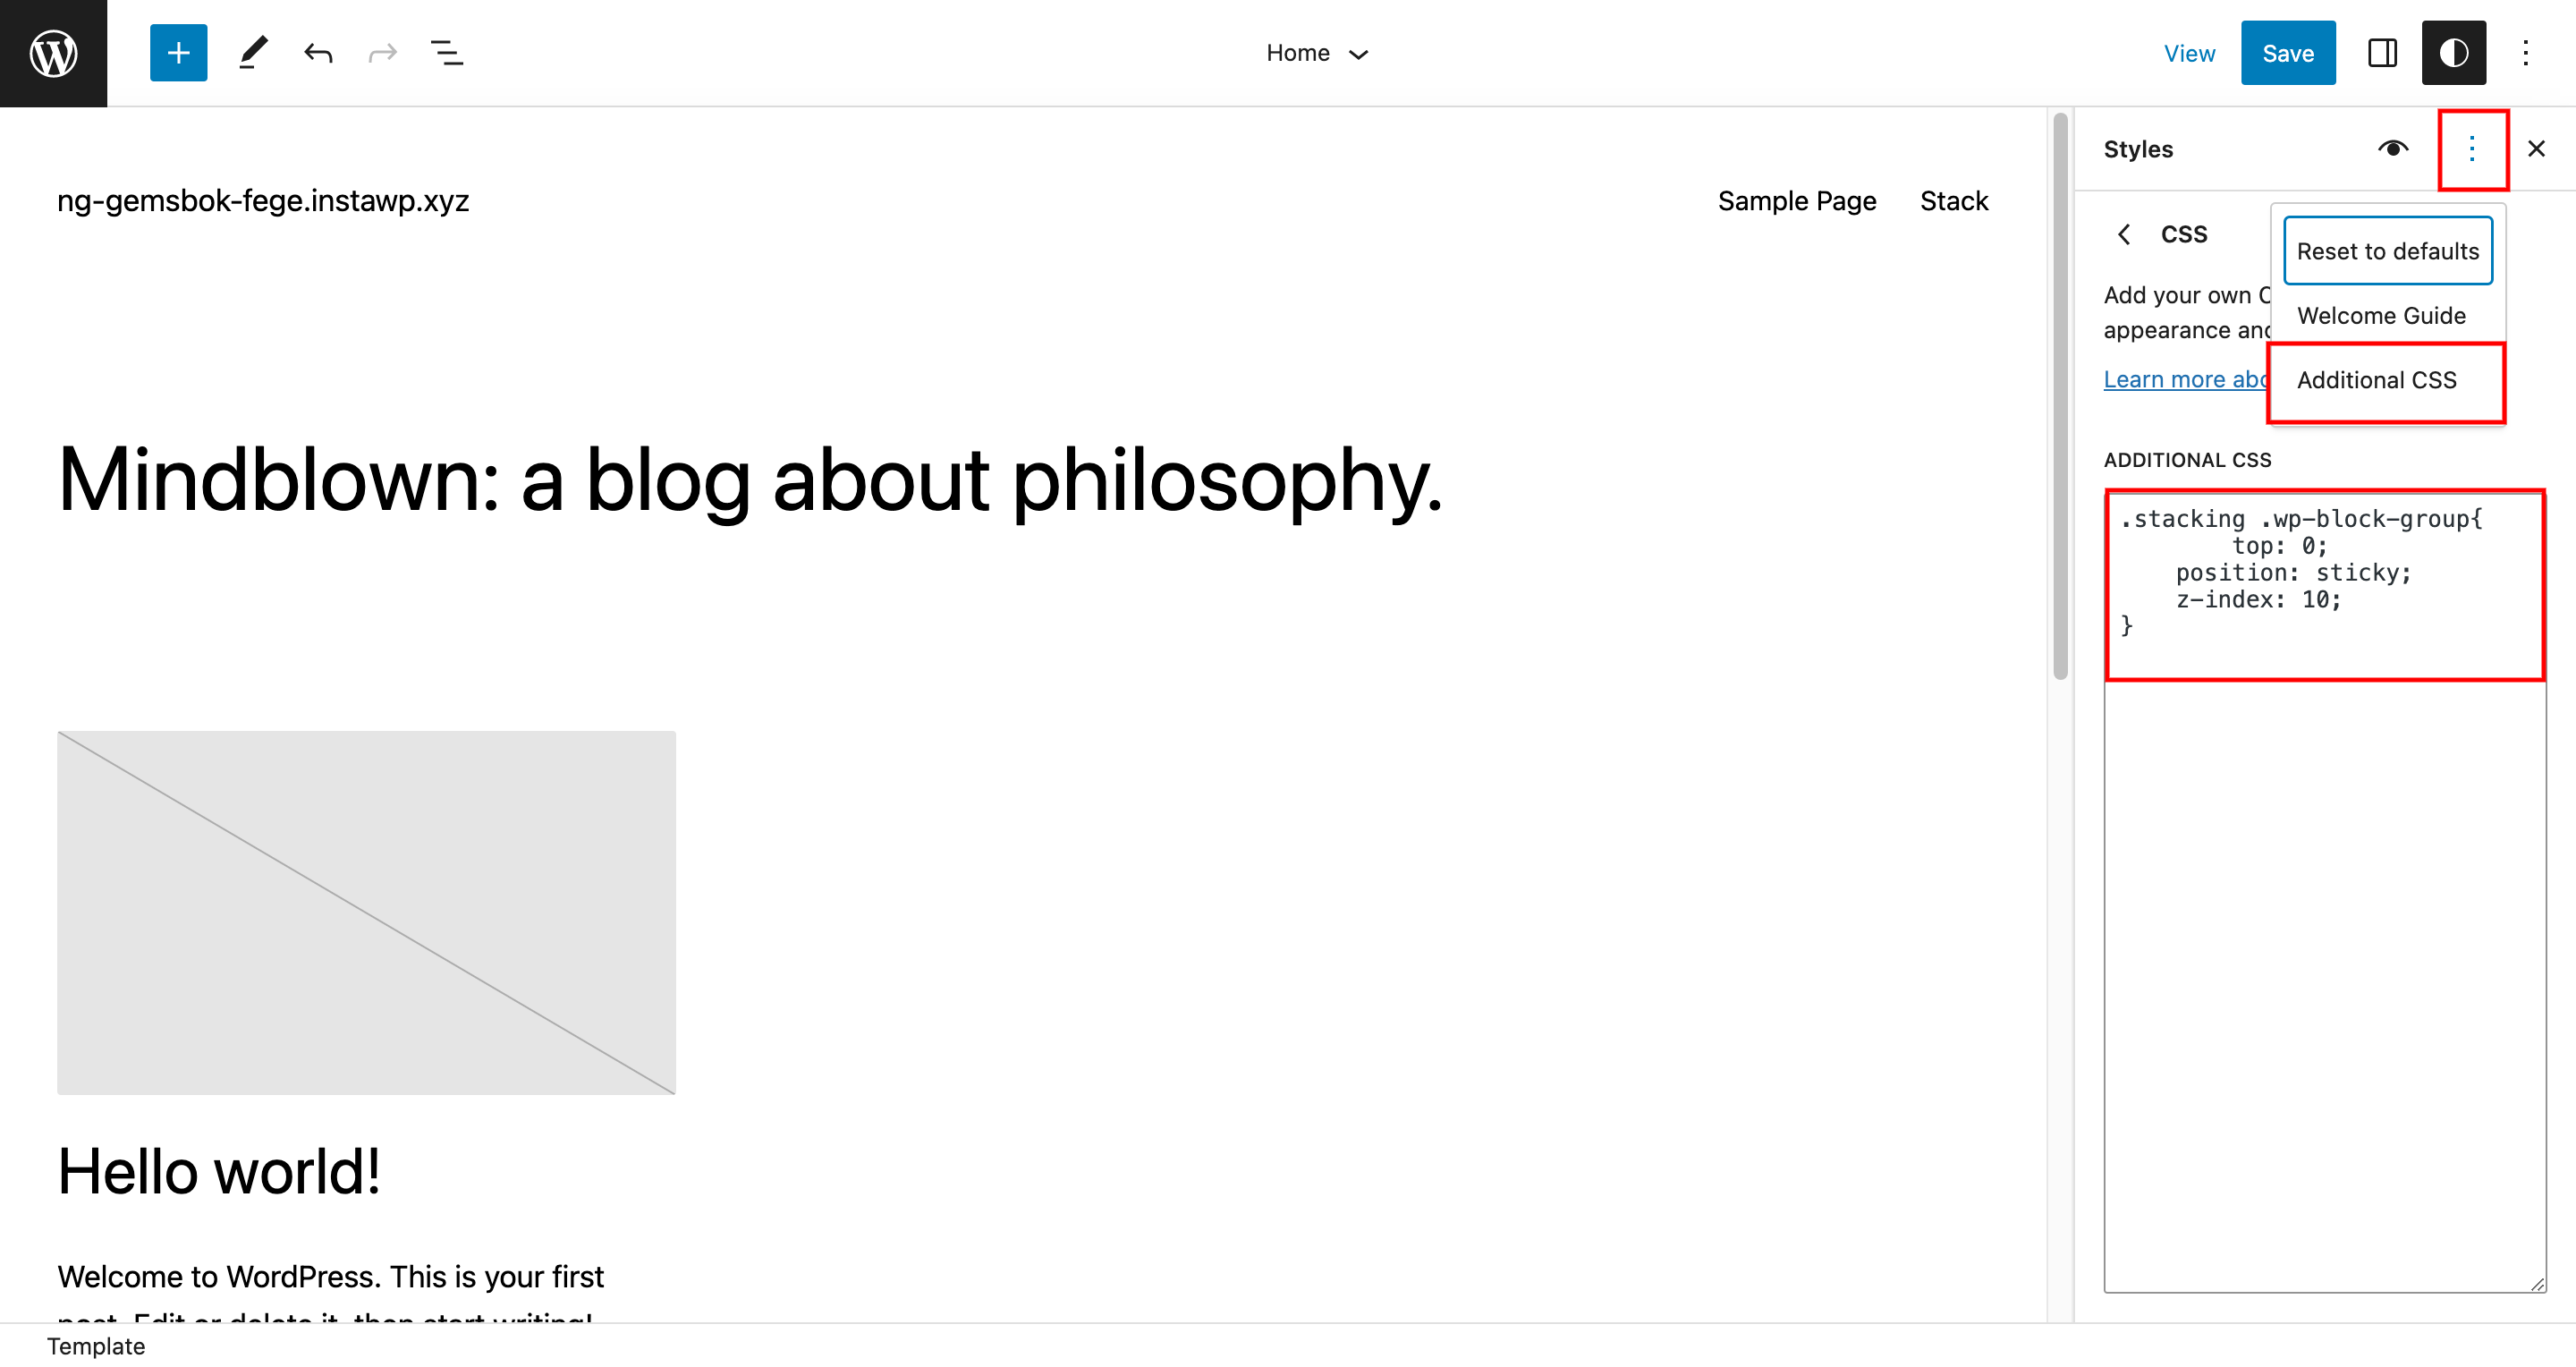
Then, click on the three dots on the top right corner and select “Additional CSS”. Paste the given CSS code inside it and click “Save”. Your stack sections should now be working properly.
CSS Explanation
This code targets the .wp-block-group element within the .stacking container. Here’s what each of the CSS properties do:
position: sticky;: This property makes the.wp-block-groupelement stick to the top of the viewport once it reaches that point while scrolling.top: 0;: This property positions the sticky element at the top of the viewport.z-index: 10;: This property sets the stacking order of the.wp-block-groupelement above other elements on the page. By default, the z-index value of elements is set to 1, so increasing it to 10 ensures that the sticky element will always be on top.
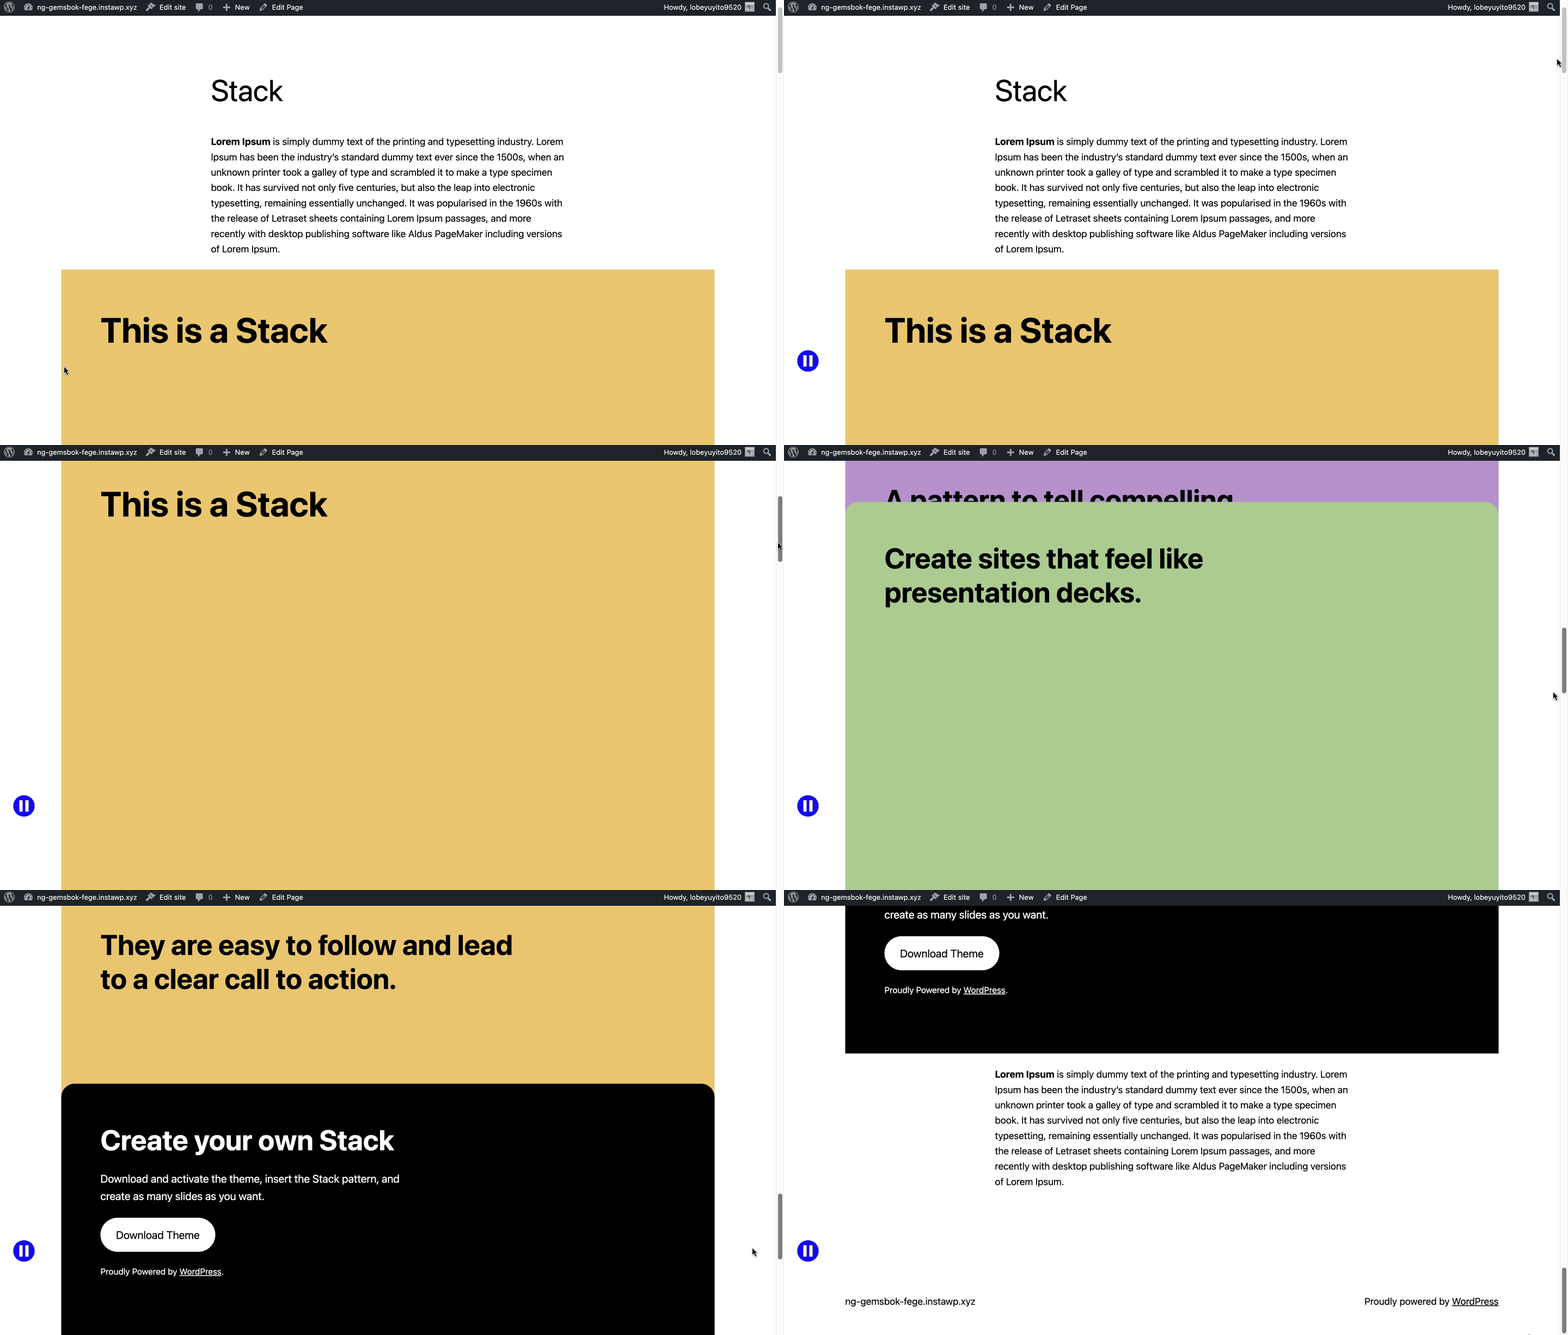
Now, you can preview the page to see the effect. The child groups should be stacked on top of each other, creating a visually appealing full-height section.

You can also stack sections between the content using the same technique. Simply insert a “Group” block between the content where you want to stack the sections. Then, add child “Group” blocks inside the parent “Group” block and style them as desired.
Conclusion
In conclusion, with this tutorial, you can achieve the same effect as the new block theme for building slide decks without switching to a new theme. By using Group blocks, setting the minimum height, and adding some simple CSS code, you can create stunning, full-height sections in WordPress Gutenberg.


Leave a Reply