Are you looking to add a modern and professional look to your website? The blur hover effect is a popular design trend that can make your website stand out. In this tutorial, we will show you how to create a blur hover effect with GenerateBlocks, a powerful WordPress plugin.

Let’s get started with this tutorial on creating a blur hover effect with GenerateBlocks.
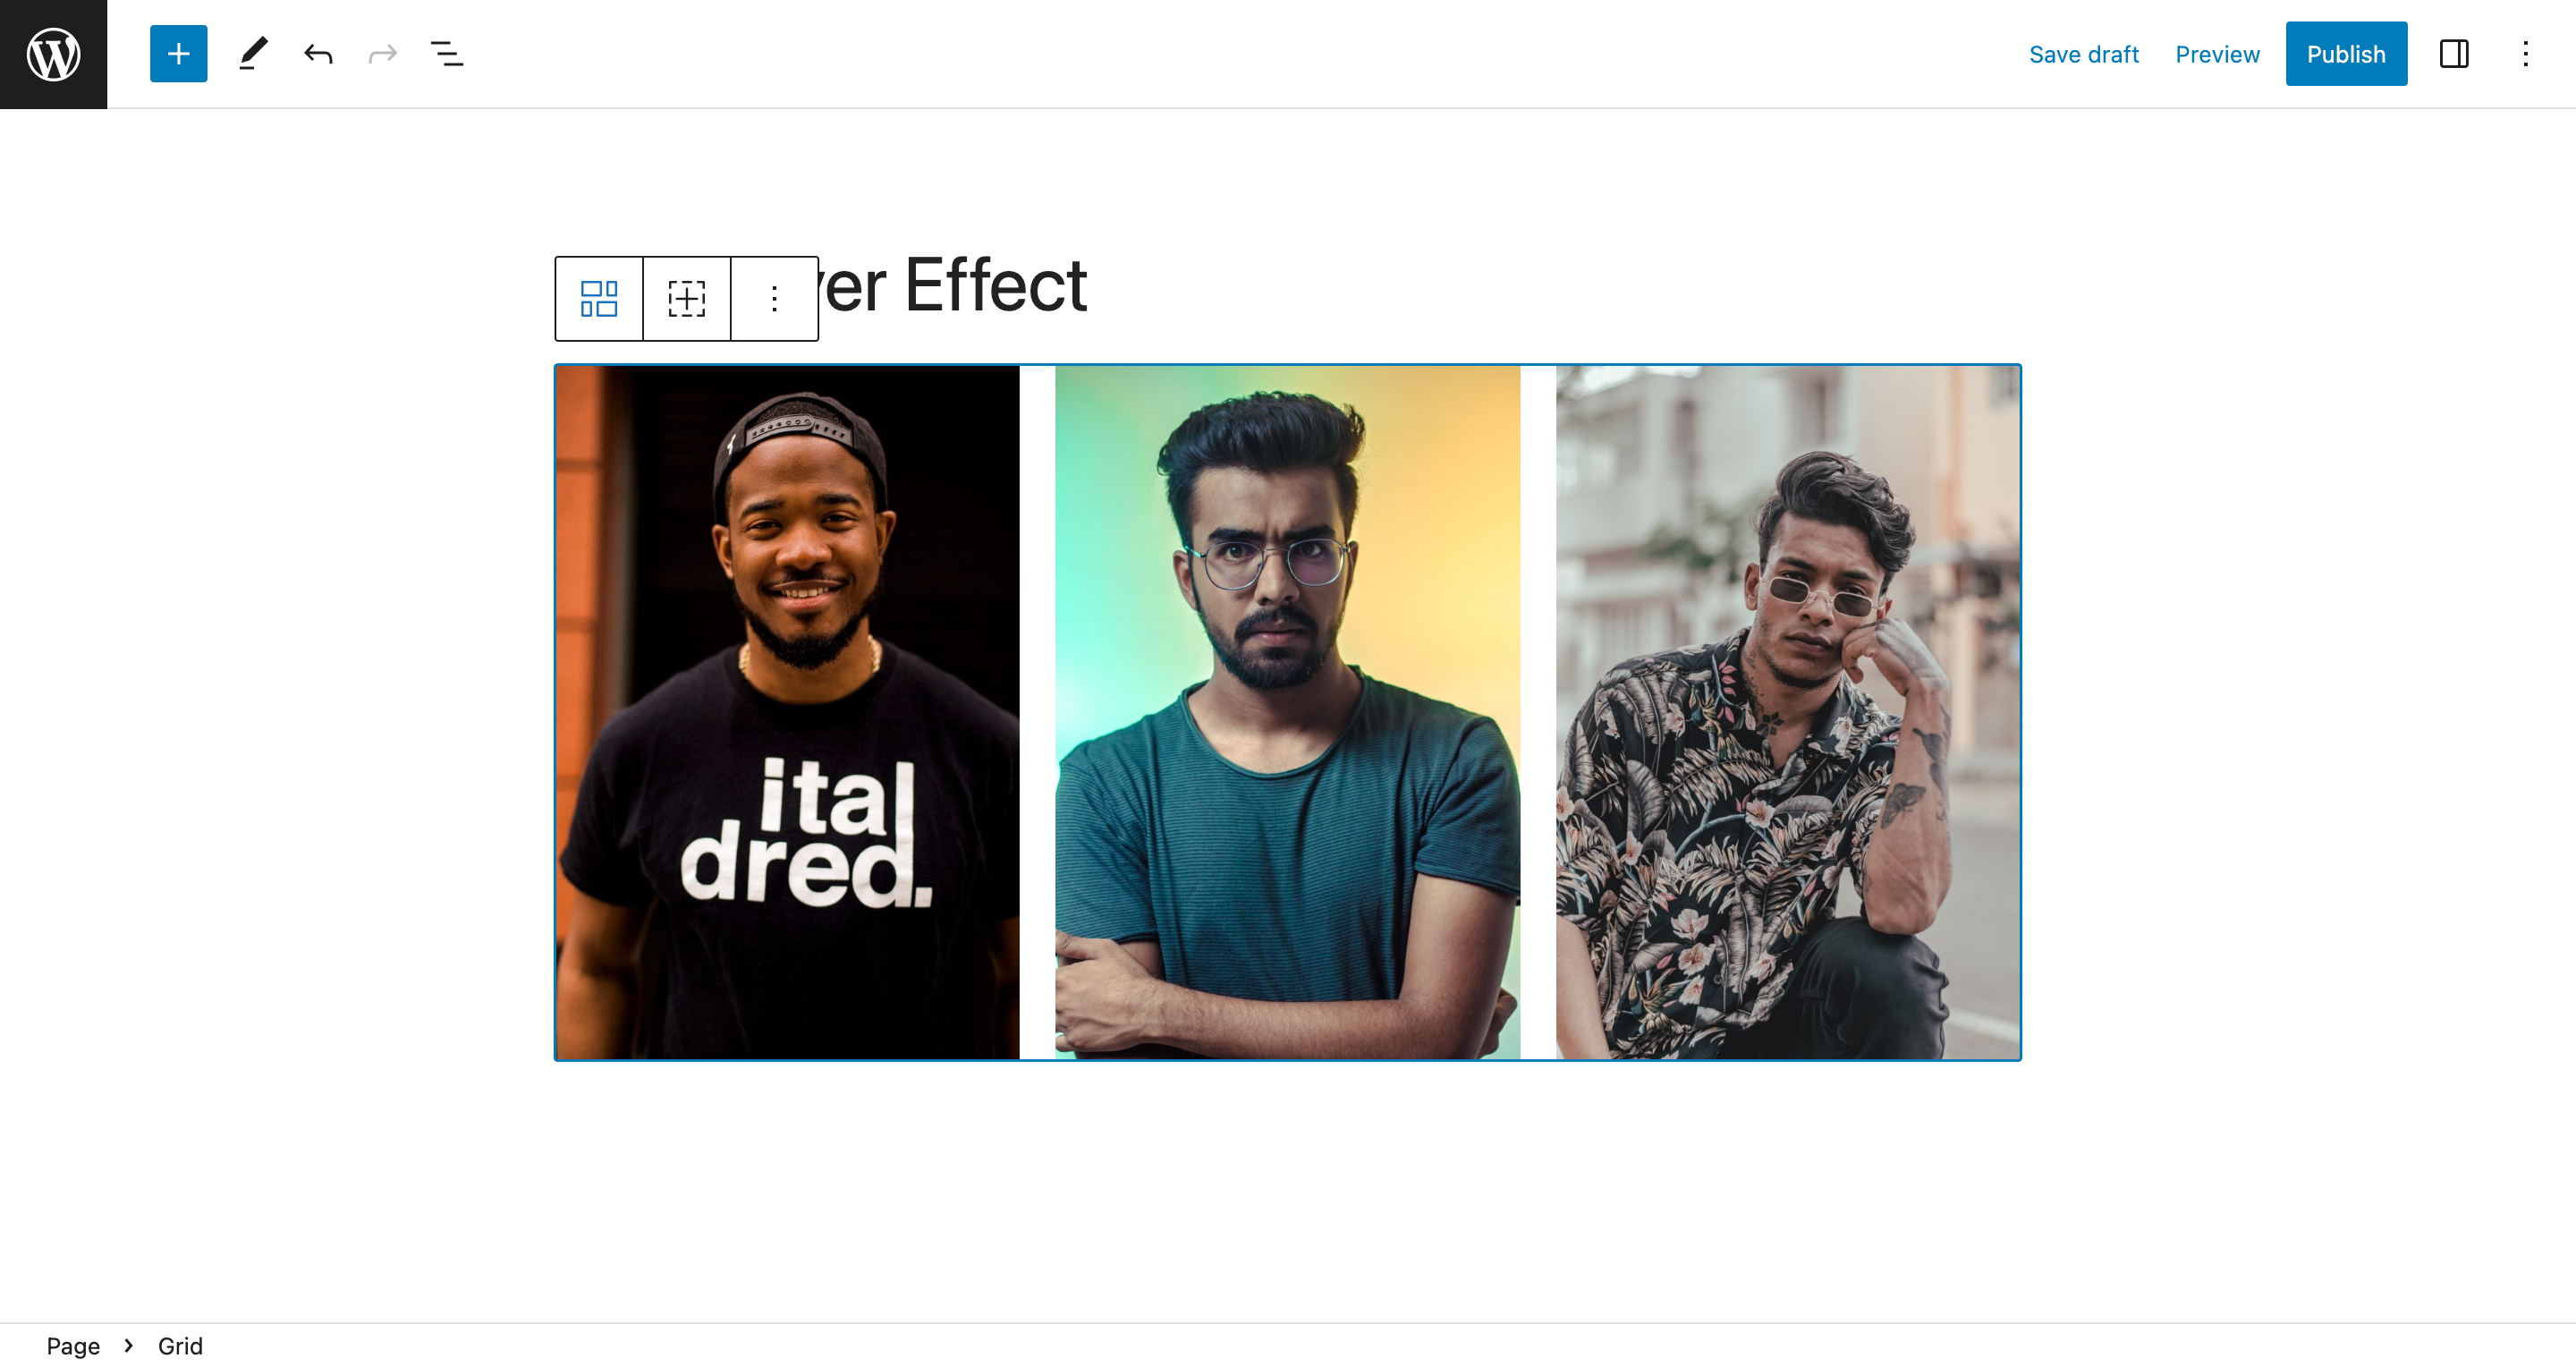
Creating a Grid Layout
Let’s start by creating a simple 3 image grid layout using GenerateBlocks.
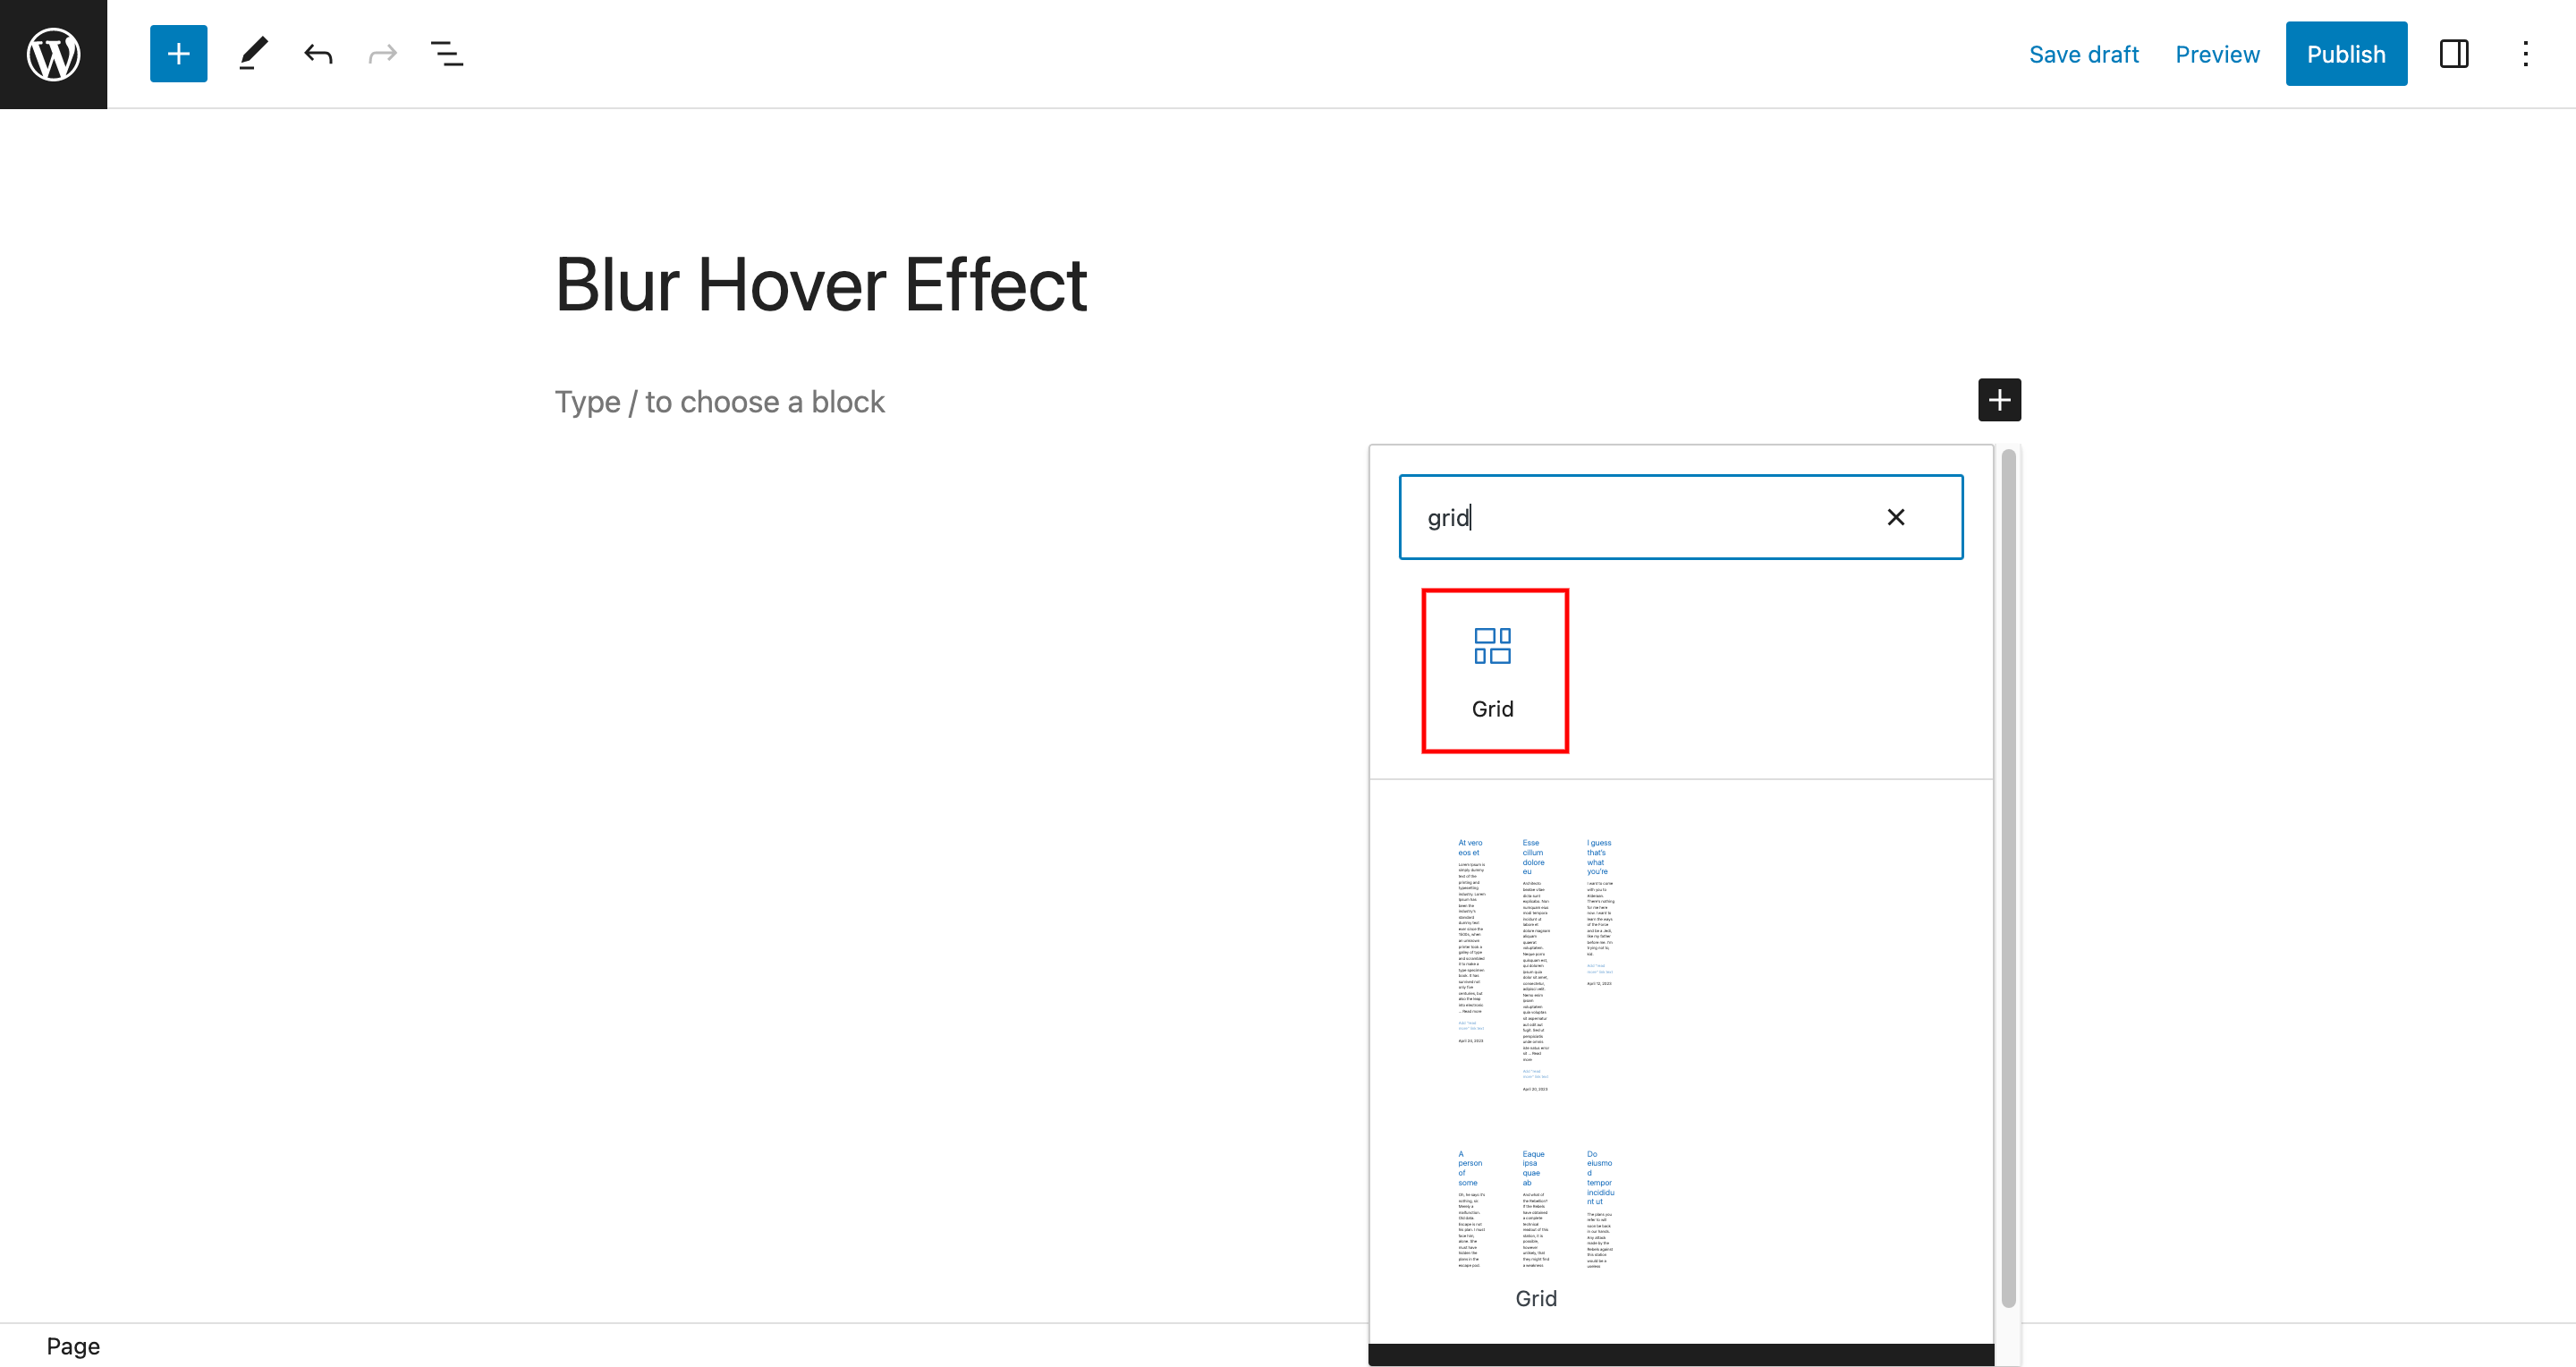
Add a grid block
The first step is to add a grid block to your page. You can do this by clicking on the “+” icon and selecting the grid block from the list of available blocks.
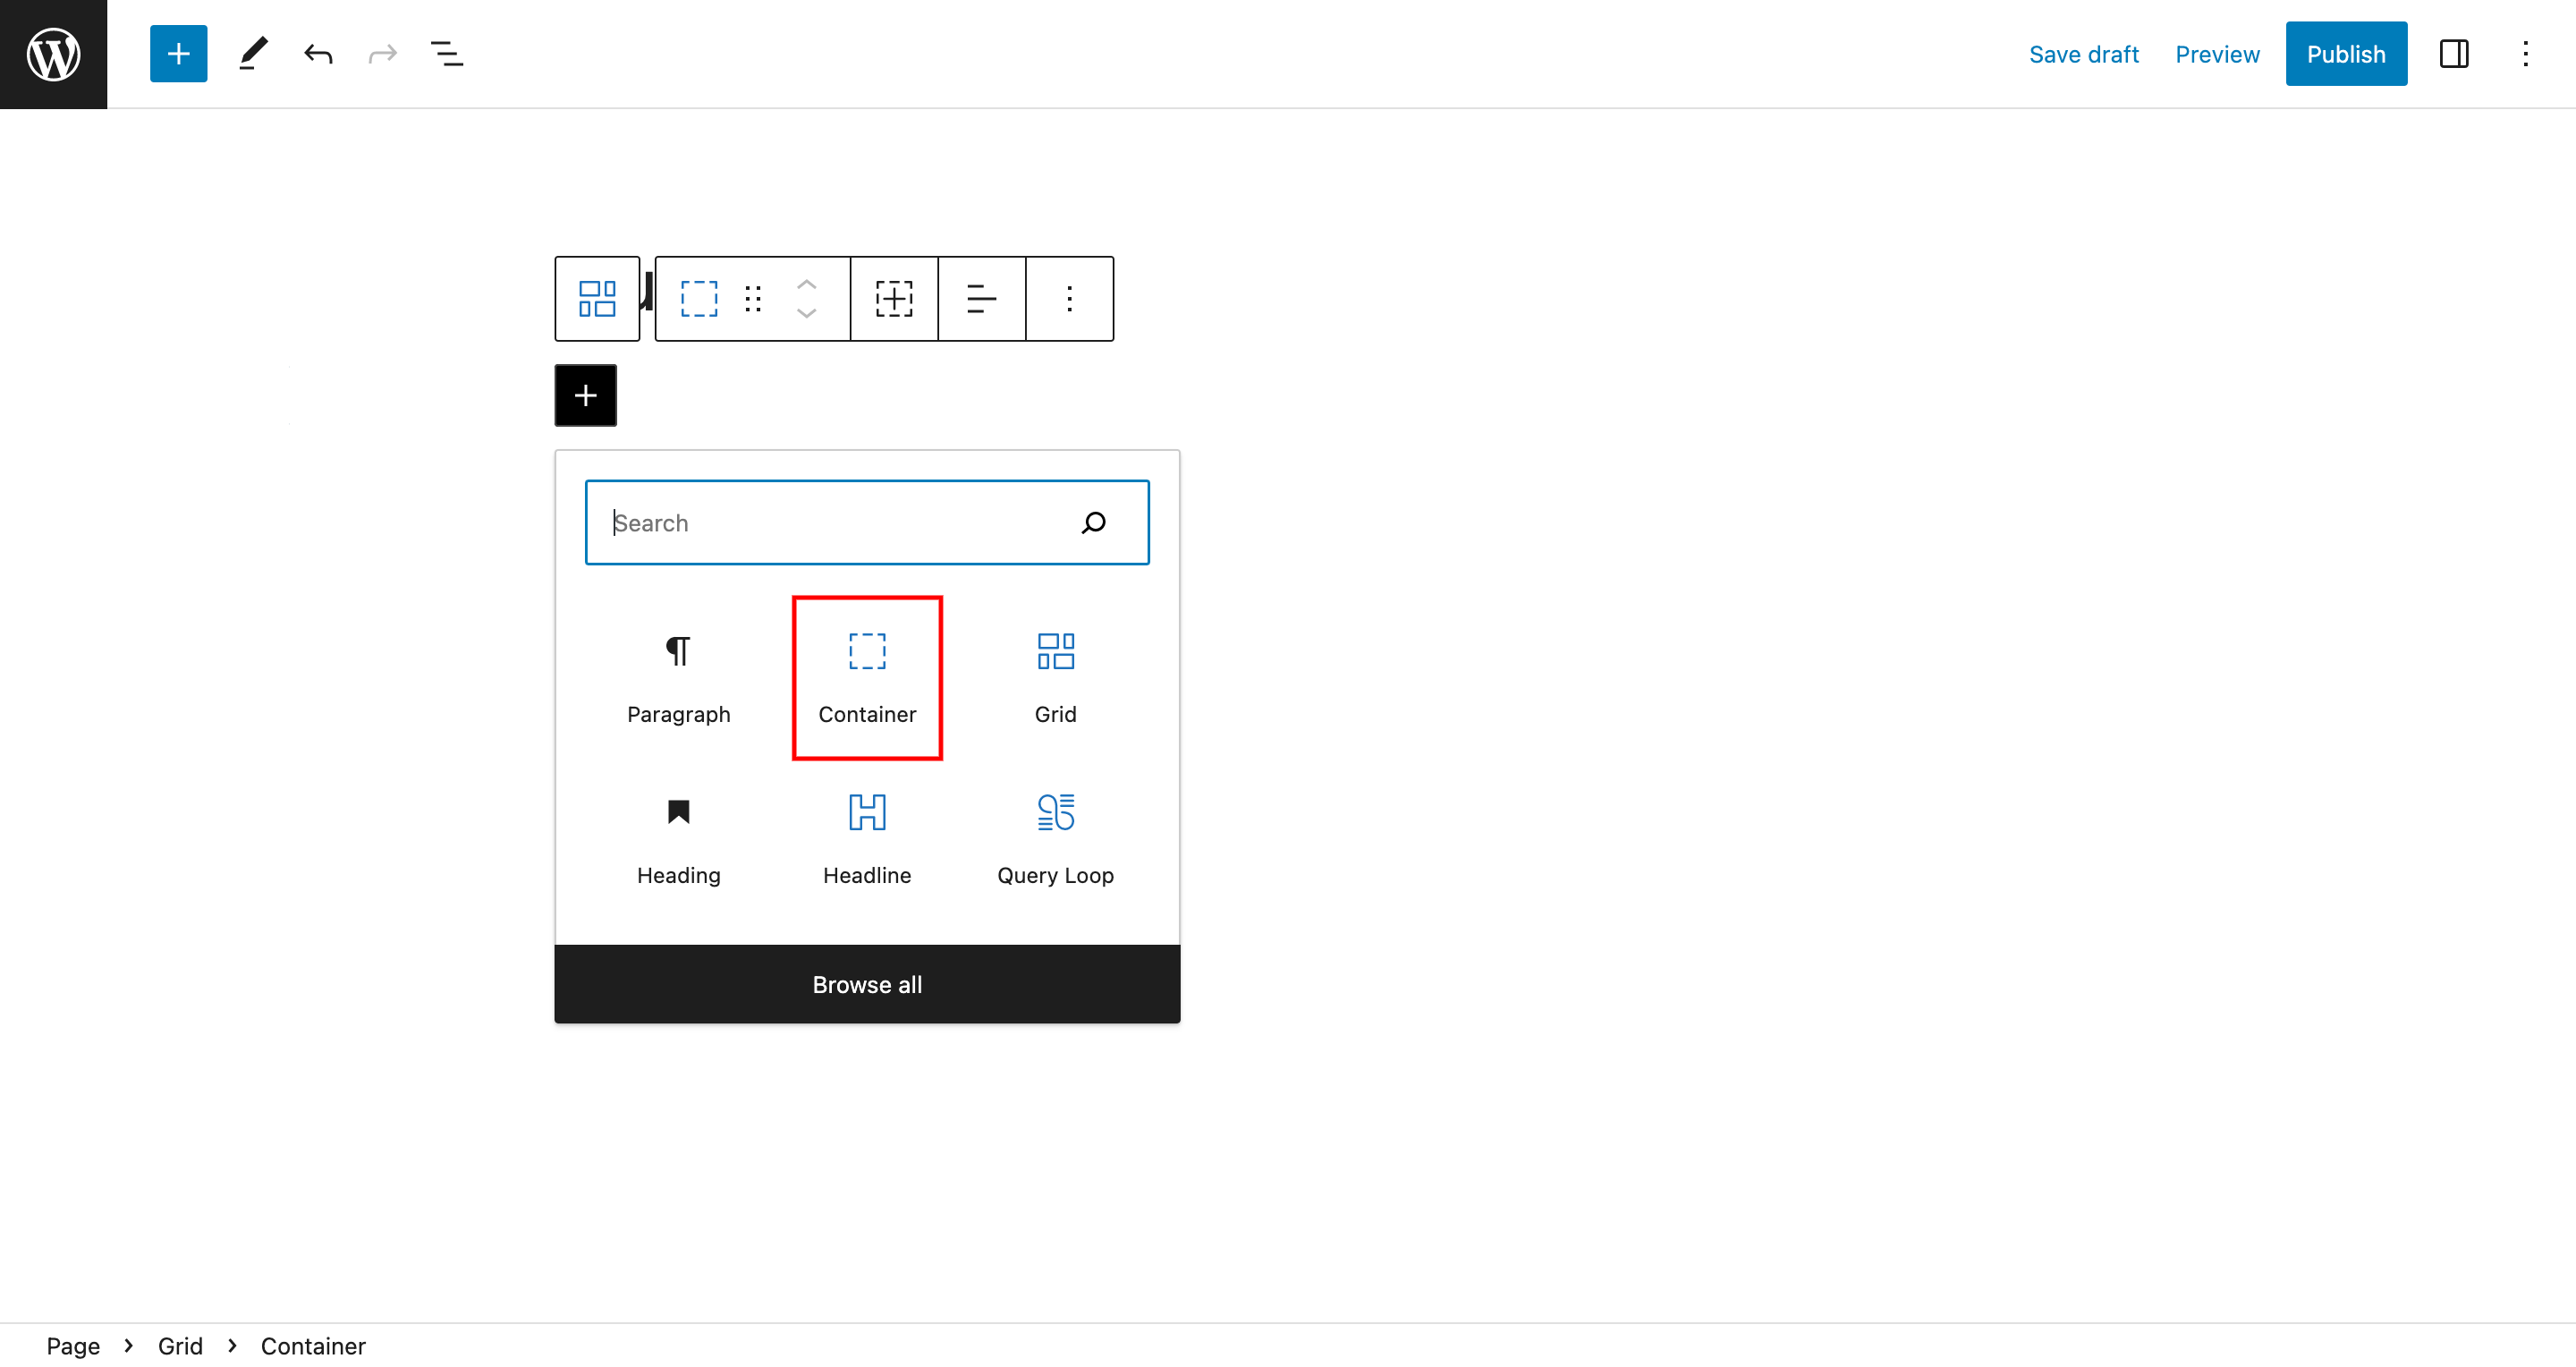
Add a container block
Inside the grid block, add a container block. You can do this by clicking on the “+” icon in the grid block and selecting the container block from the list of available blocks.
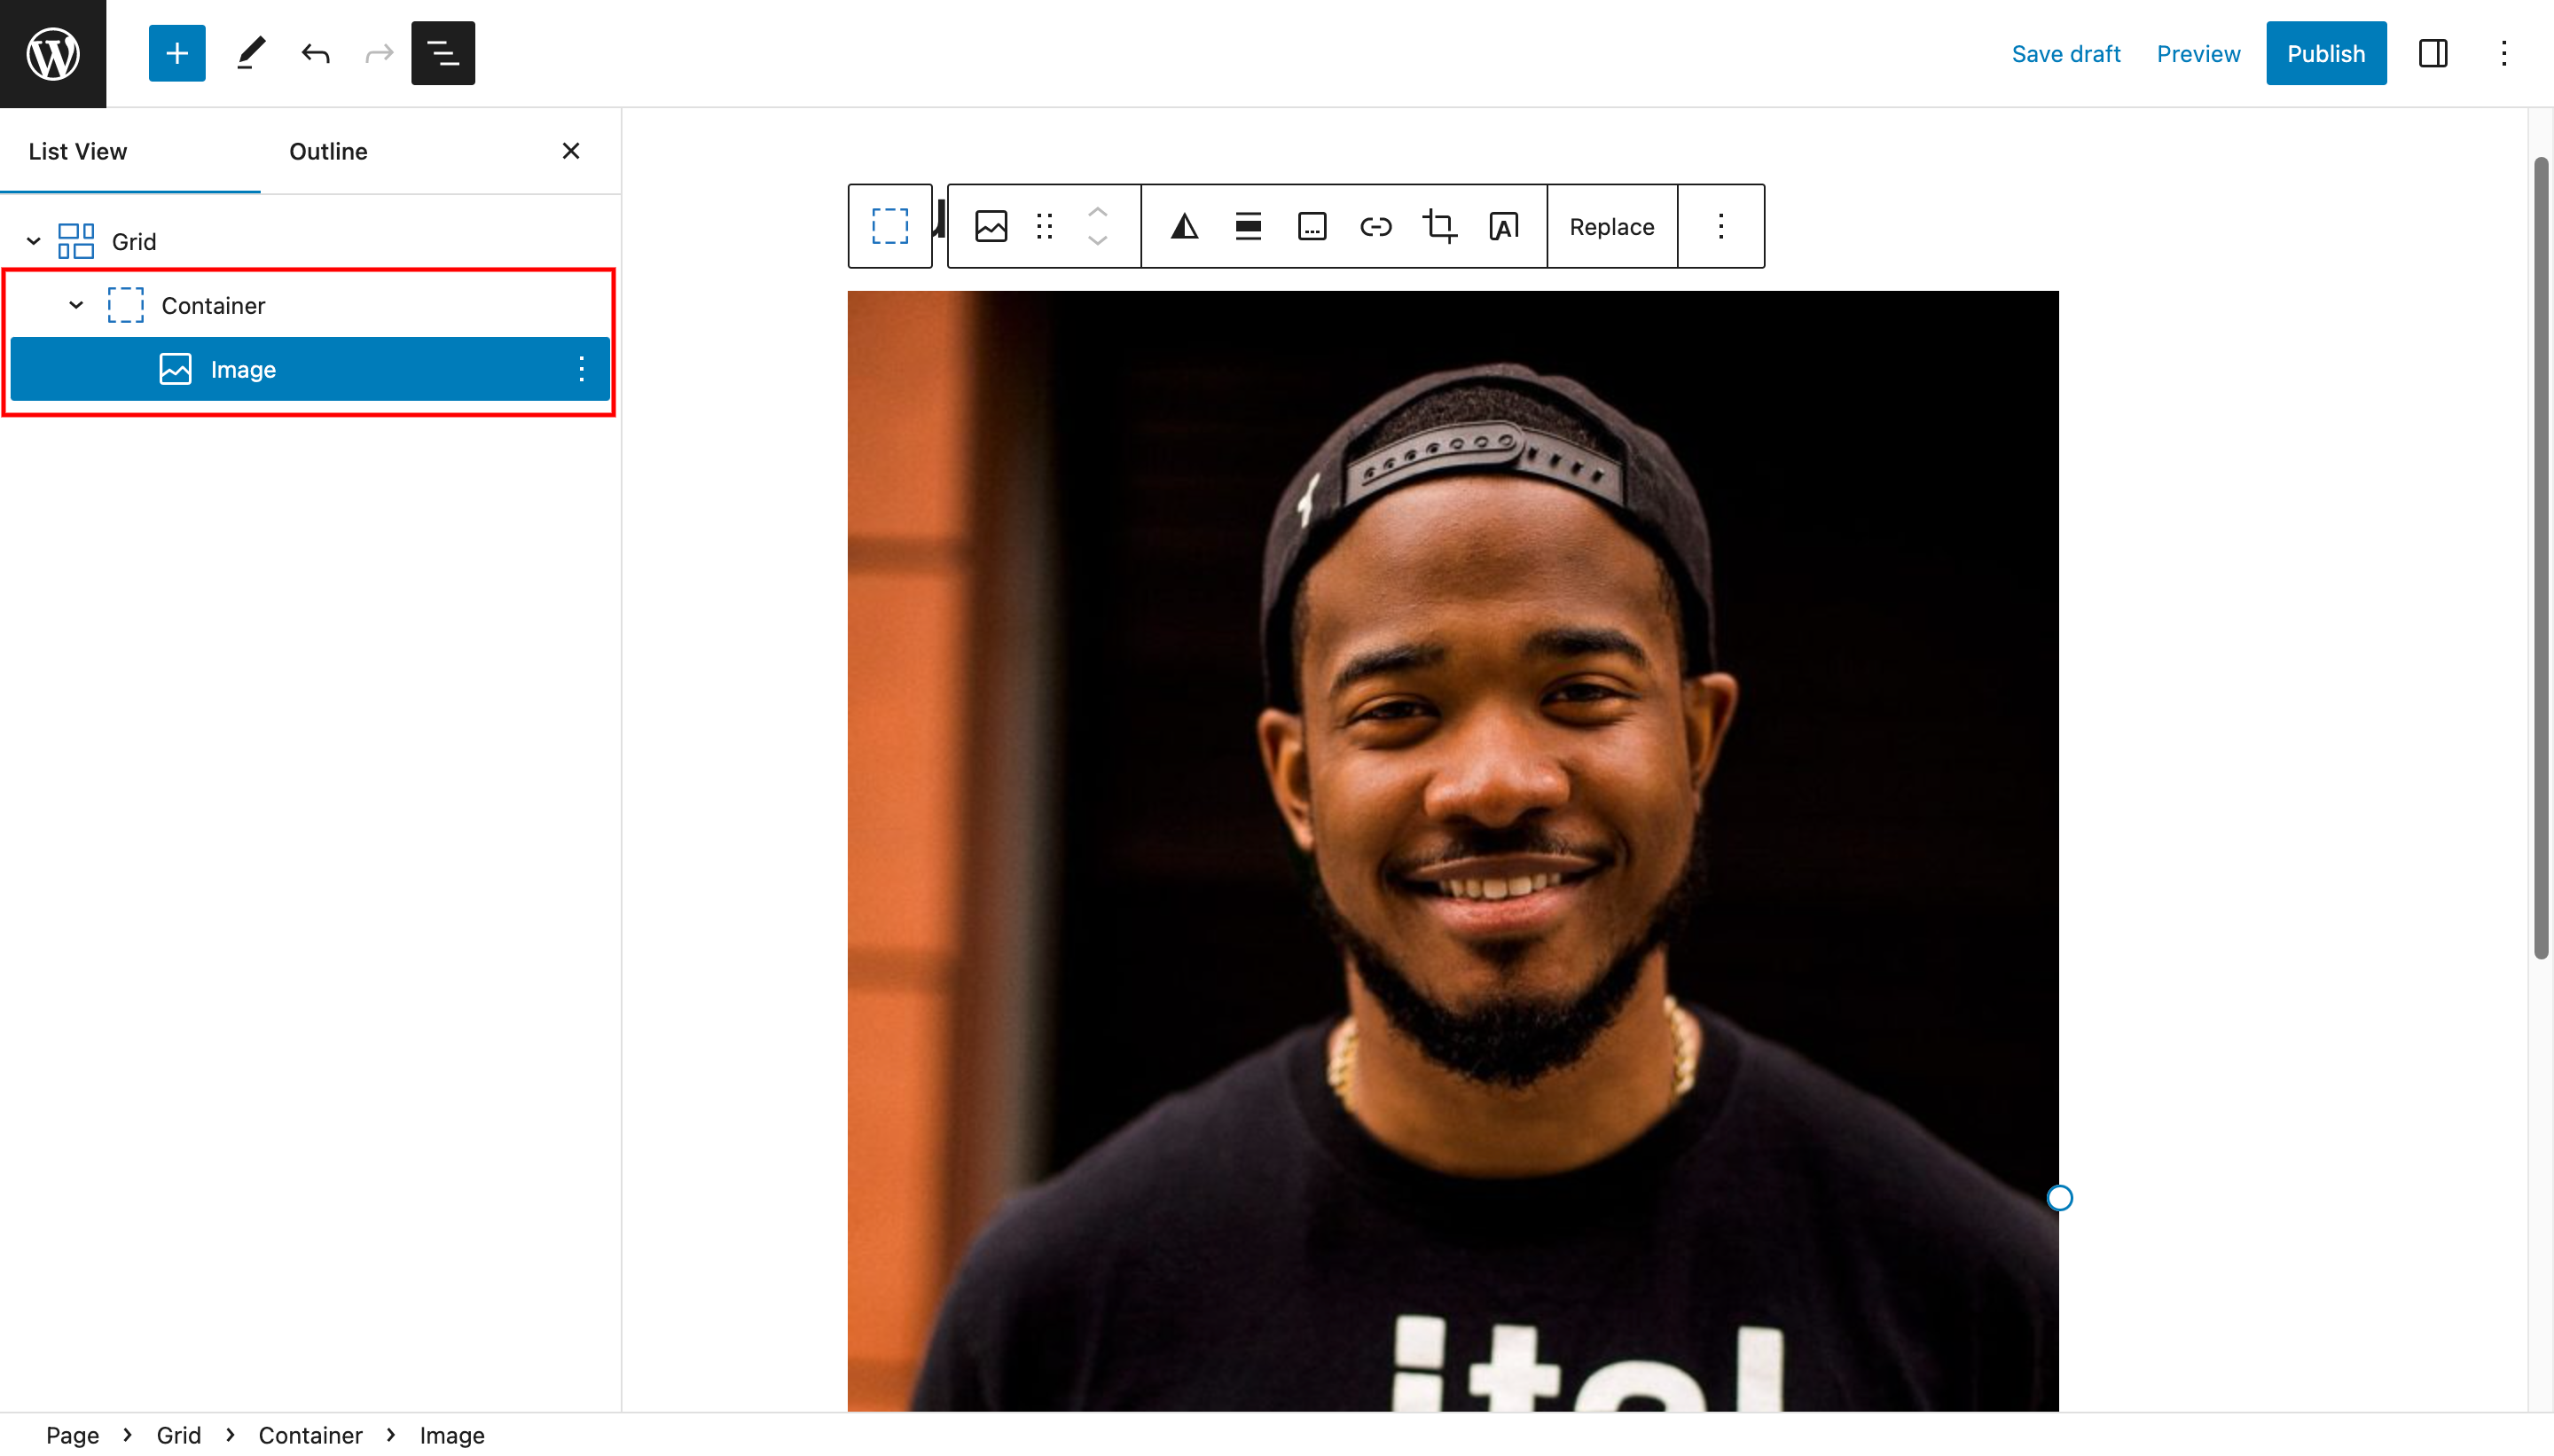
Add content
Add any content you want inside the container block. For this example, we will add an image.
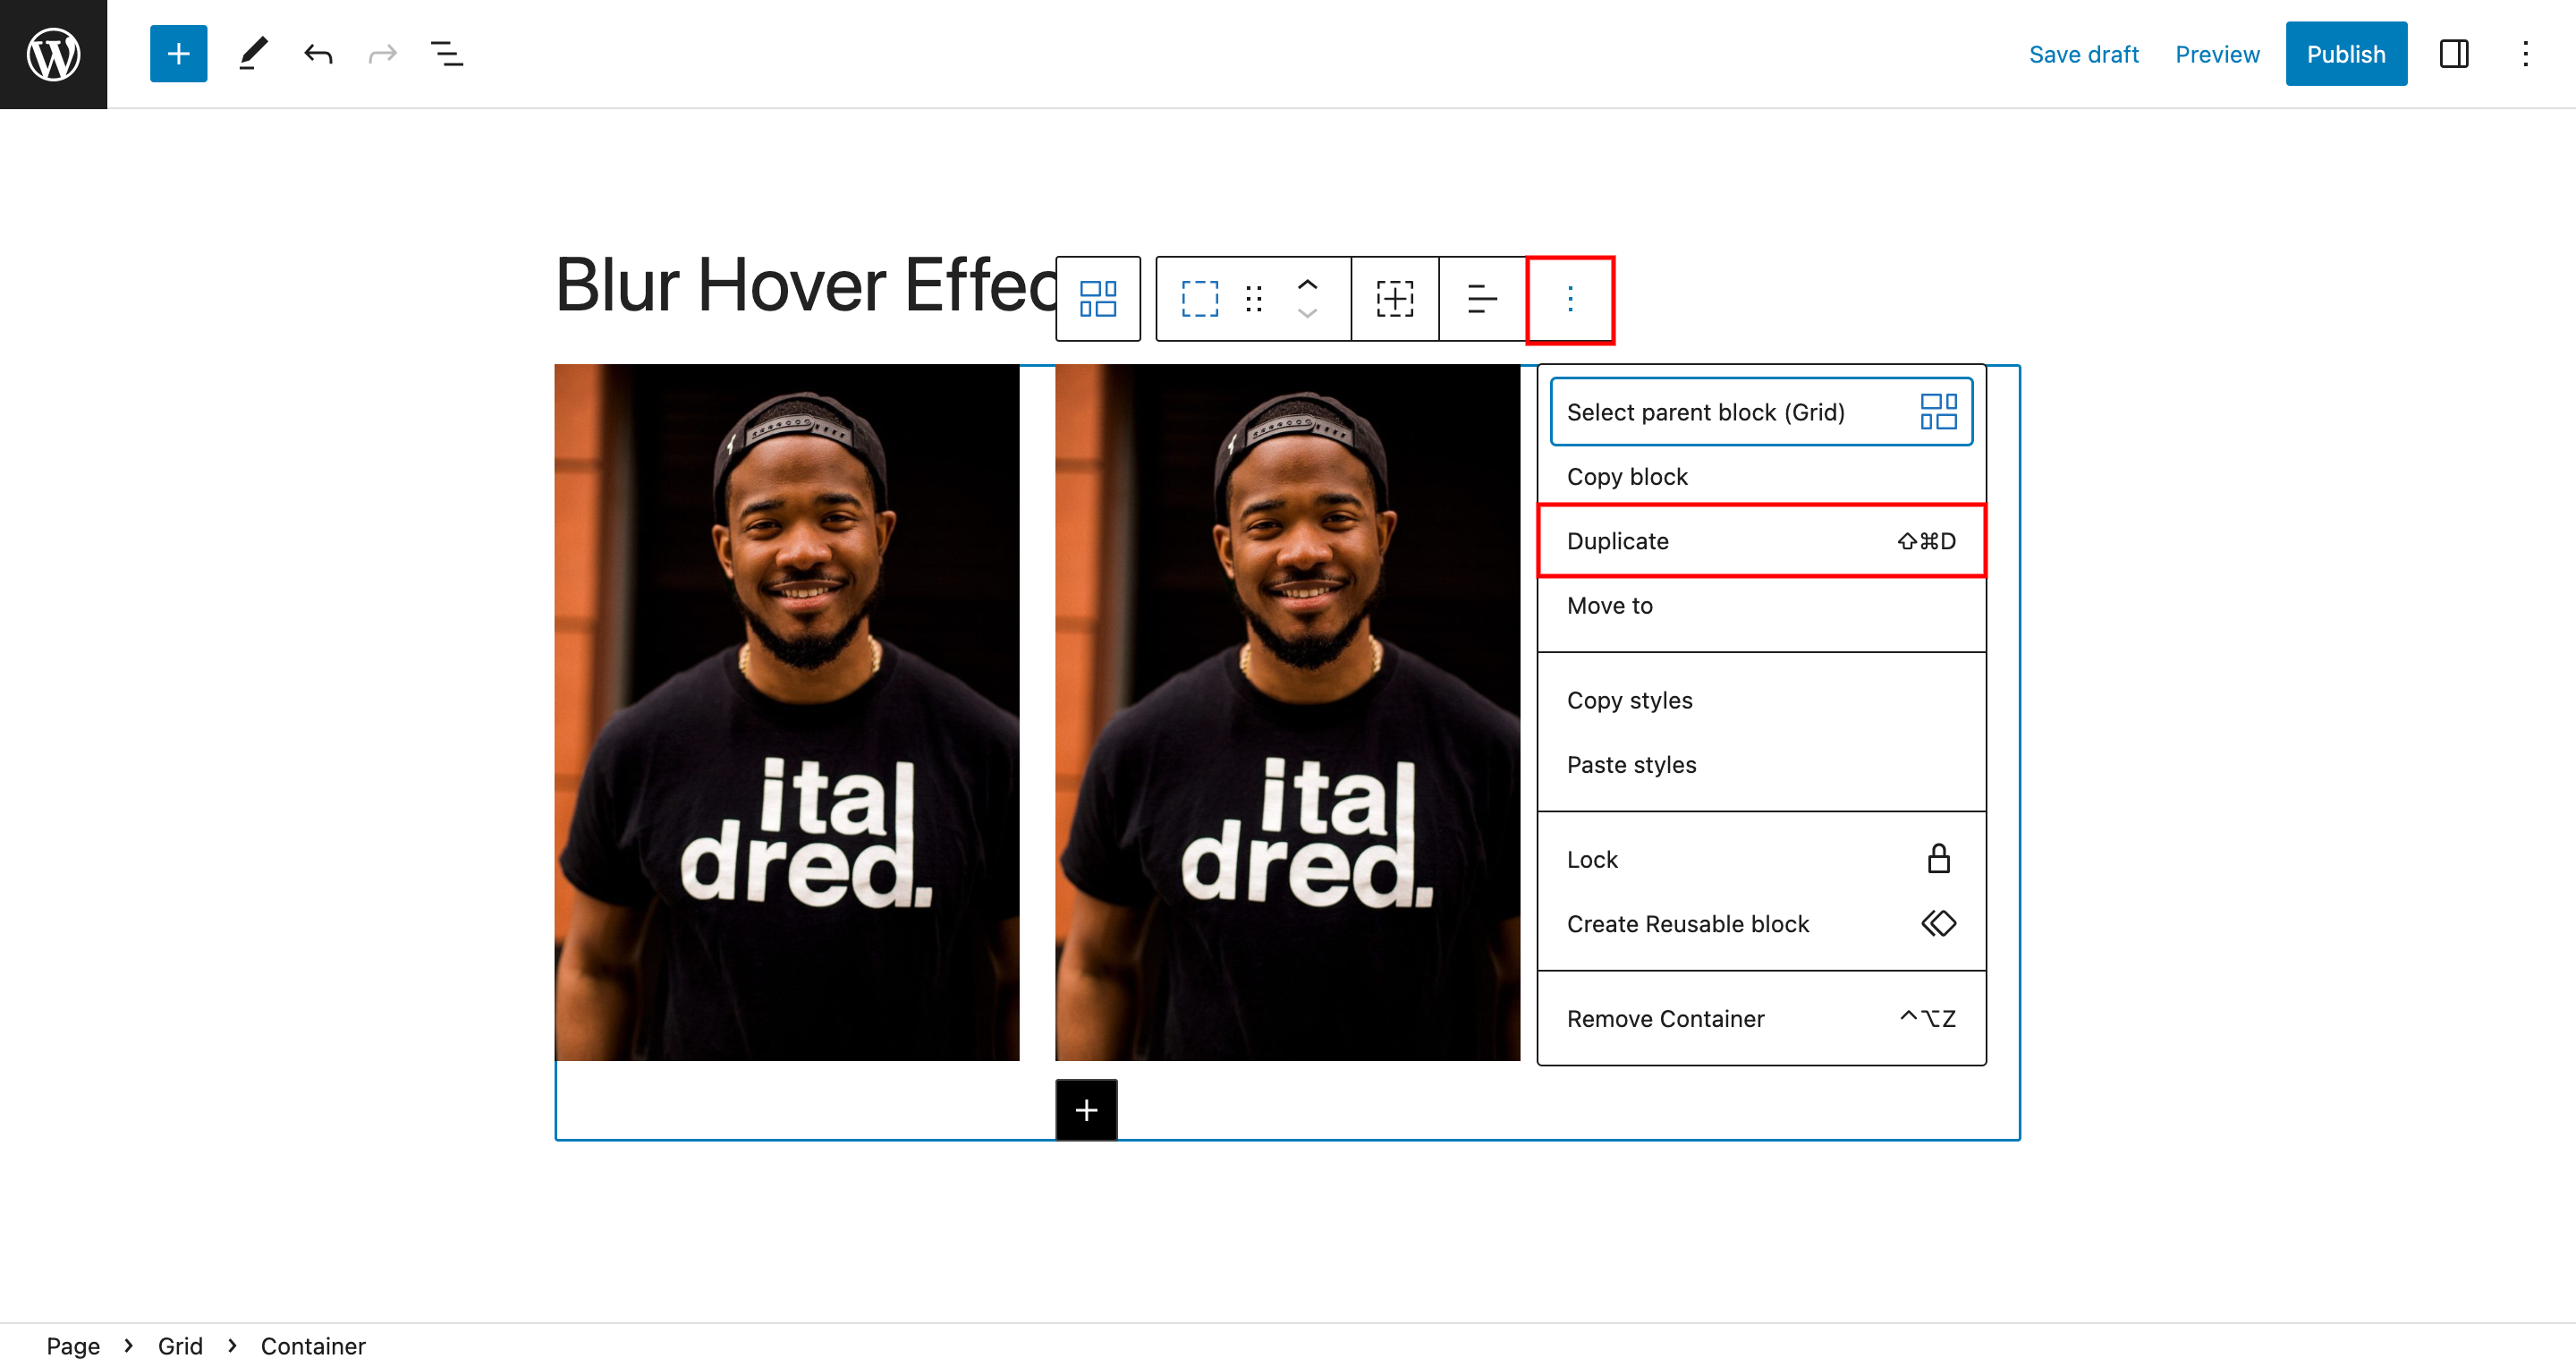
Duplicate the container block
Duplicate the container block by clicking on the the three dots in the top right corner of the container block then click on duplicate. This will create a copy of the container block with the same content.
Change the content
Change the content of the duplicated container block. For example, you can change the image to a different one or replace it with some text.
Add the Blur Hover Effect
Once we have our grid layout set up, we can proceed to add the necessary CSS code and class name to implement the blur effect.
The Magic CSS Code
To create the blur hover effect, you need to add some CSS code to your website. Go to the WordPress Customizer and open the “Additional CSS” panel. Add the following code to the panel:
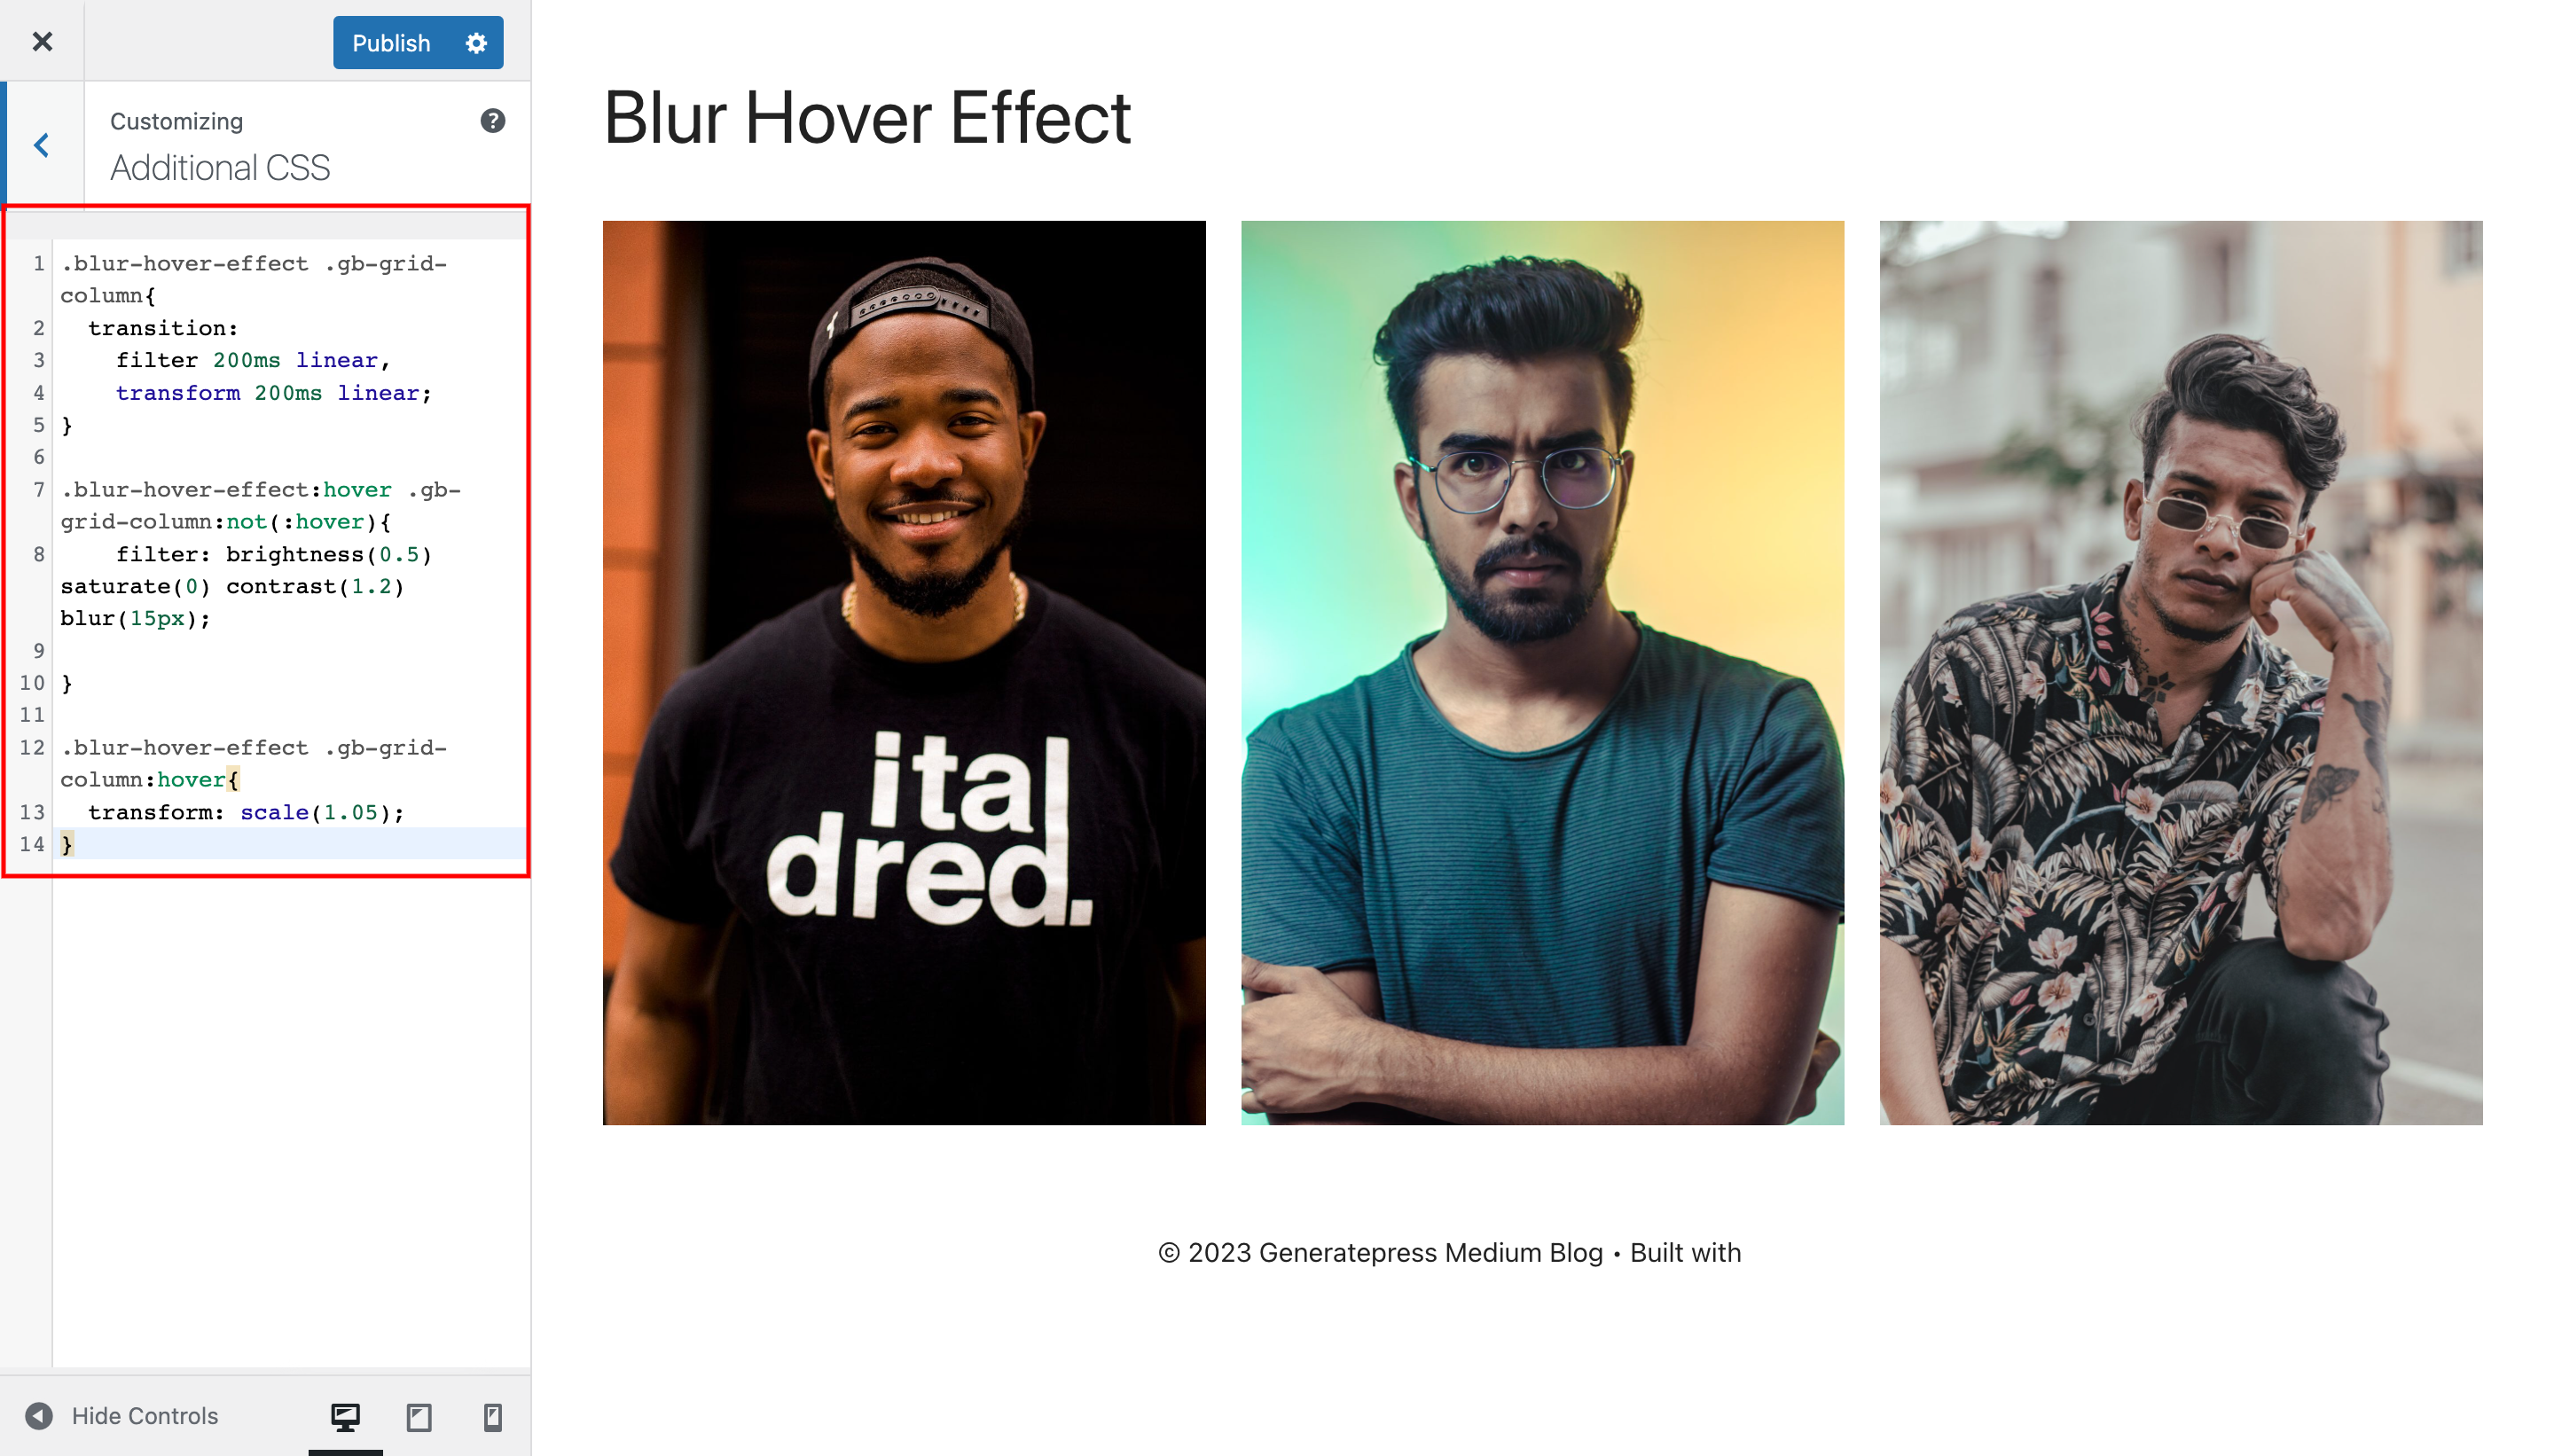
.blur-hover-effect .gb-grid-column{
  transition:
    filter 200ms linear,
    transform 200ms linear;
}

.blur-hover-effect:hover .gb-grid-column:not(:hover){
    filter: brightness(0.5) saturate(0) contrast(1.2) blur(15px);

}

.blur-hover-effect .gb-grid-column:hover{
  transform: scale(1.05);
}
CSS Explanation
.blur-hover-effect .gb-grid-column{
  transition:
    filter 200ms linear,
    transform 200ms linear;
}
This code sets a transition effect for both the filter and transform properties for any element with the .blur-hover-effect class that is a child of the .gb-grid-column class. The transition will take 200ms and use a linear easing function.
.blur-hover-effect:hover .gb-grid-column:not(:hover){
    filter: brightness(0.5) saturate(0) contrast(1.2) blur(15px);
}
This code applies a filter to any element with the .blur-hover-effect class that is a child of the .gb-grid-column class when the parent element is hovered over. The filter consists of four properties: brightness, saturation, contrast, and blur. This particular combination of properties creates a blurred effect with reduced brightness and saturation and increased contrast. The :not(:hover) pseudo-class is used to ensure that the filter is not applied to the element being hovered over.
.blur-hover-effect .gb-grid-column:hover{
  transform: scale(1.05);
}
This code applies a scale transformation to any element with the .blur-hover-effect class that is a child of the .gb-grid-column class when the element is hovered over. The scale factor is set to 1.05, which enlarges the element slightly to create a zoom-in effect.
In summary, this CSS code creates a blur hover effect by applying a filter to an element and scaling it when the parent element is hovered over. The transition effect smooths the change between the original and modified states of the element.
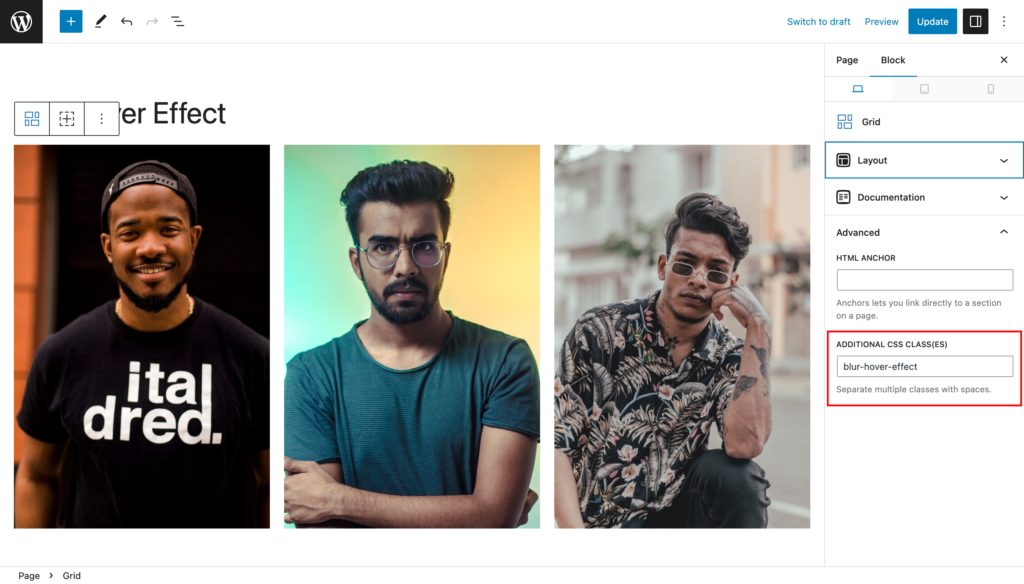
Add a class name
Give the grid block a class name called “blur-hover-effect“. To do this, click on the grid block, go to the “Advanced” tab in the settings panel, and add the class name in the “CSS Classes” field.
Save and preview
Save the changes you made and preview the page to see the blur hover effect in action.
You can apply this effect to any content on your website by adding the “blur-hover-effect” class to the grid block that contains the container block.
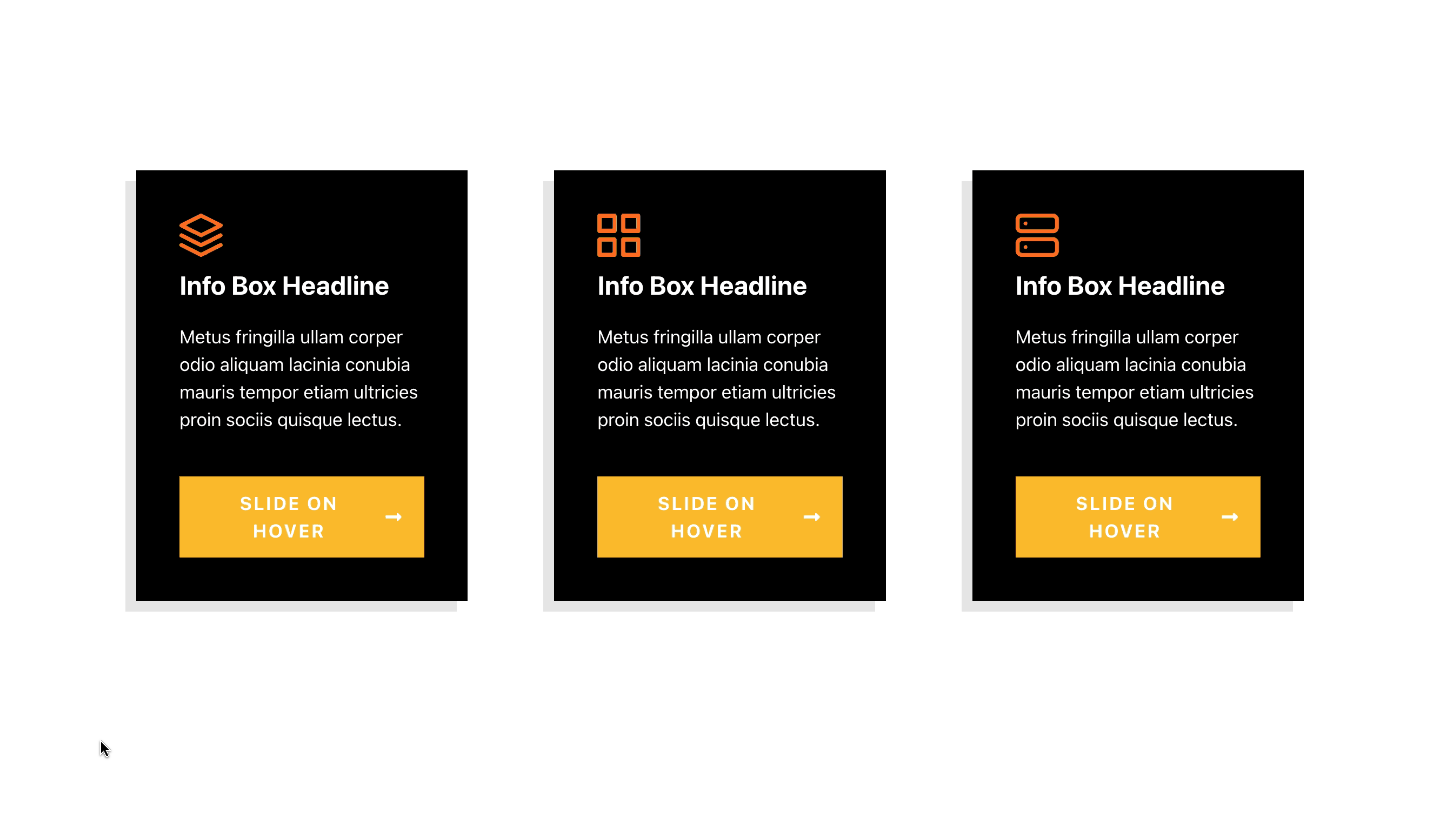
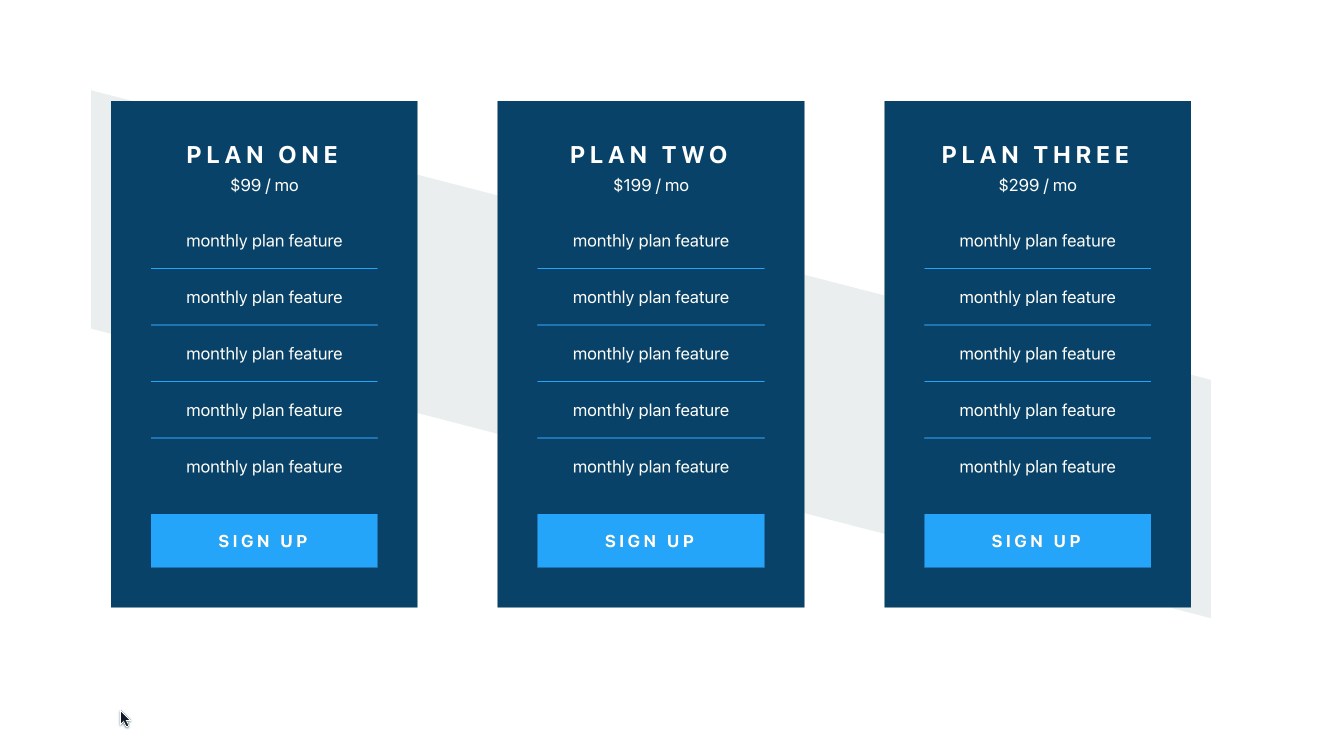
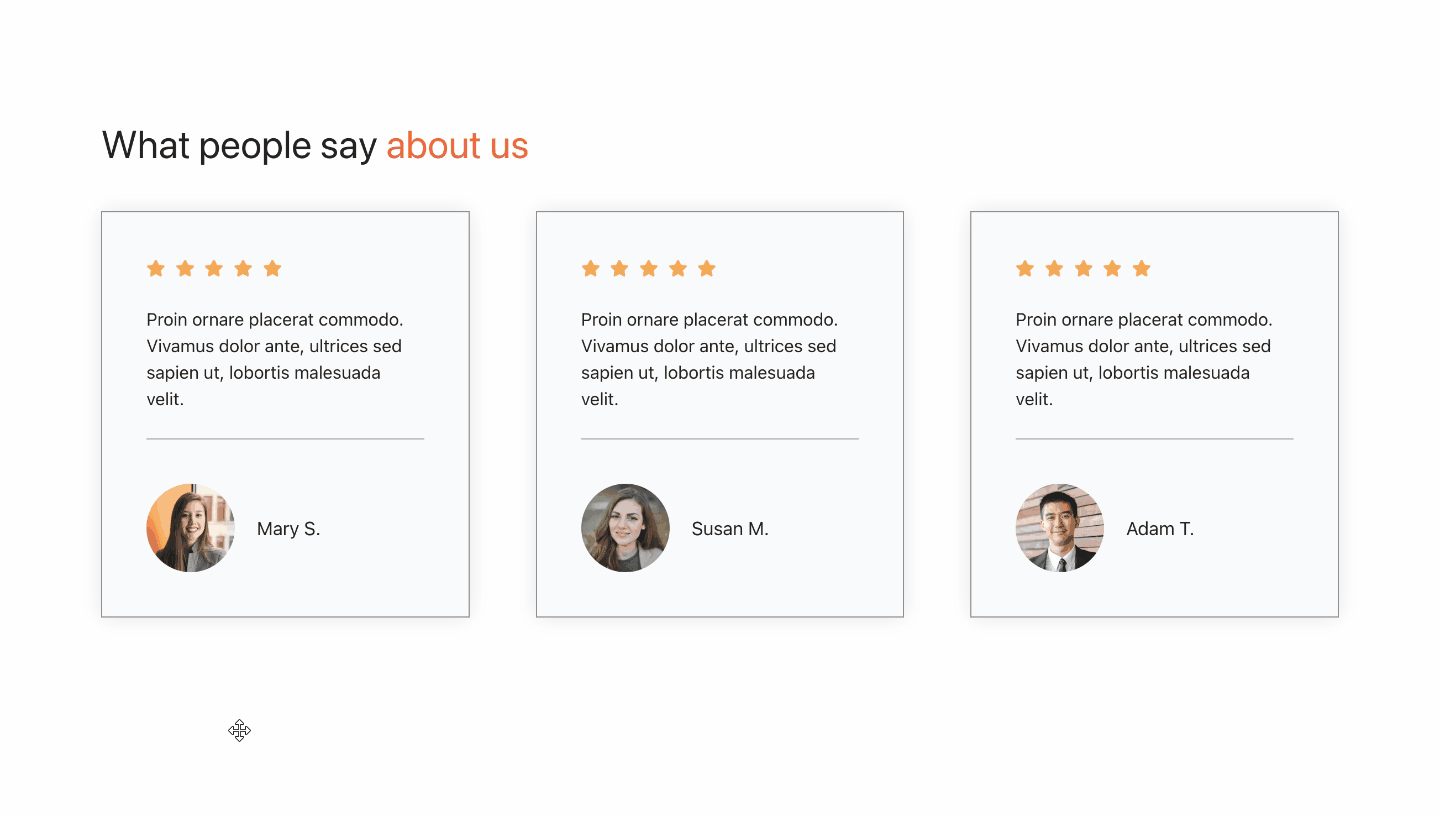
Some Examples
Here are some examples of patterns that I created using the Patterns Library in GenerateBlocks.

We hope that this tutorial has been helpful and informative for you. If you have any questions or feedback, please feel free to leave a comment below. And if you found this tutorial useful, please share it with your friends and colleagues.
Thank you for reading and happy designing!


Leave a Reply